TL;DR
I share my experiences with a project which gave me a lot of FUN – a cardboard pinball toy, with some electronics, some wooden parts like skewer sticks or ice cream sticks and a lot of hot glue. Interested? Read more!
I started my pinball journey after I watched a video of wonderful team building a custom pinball machine – the real wooden one. I was searching for a long time, but I didn’t find any video from that moment, it’s a pity. Before I start, please forgive me missing photos of some steps, I was building this cardboard pinball 3 years ago. Total time spent on it closes in about 3 months, but it took 7 months with breaks to finish it.
The box
The pinball project idea has been with me for a long time. I was always fascinated with all that mechanics, custom patented solutions that was made with passion by the constructors.
Finally, one day, I got a package packed in big hard cardboard box. I’ve been collecting various parts for some time, so it was a good moment to start.

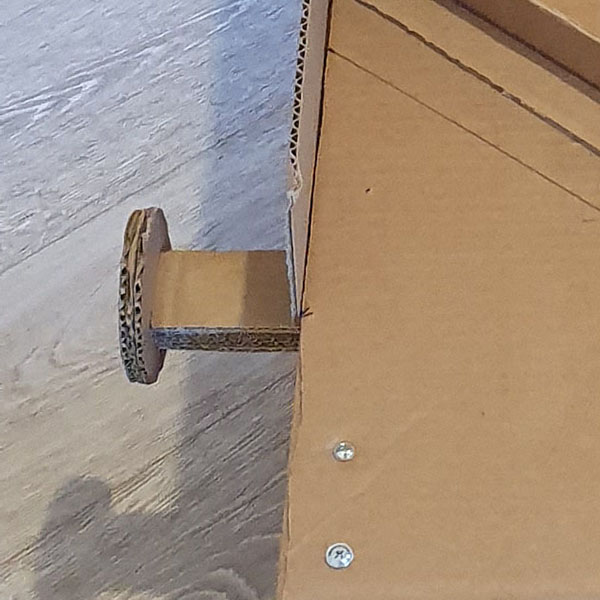
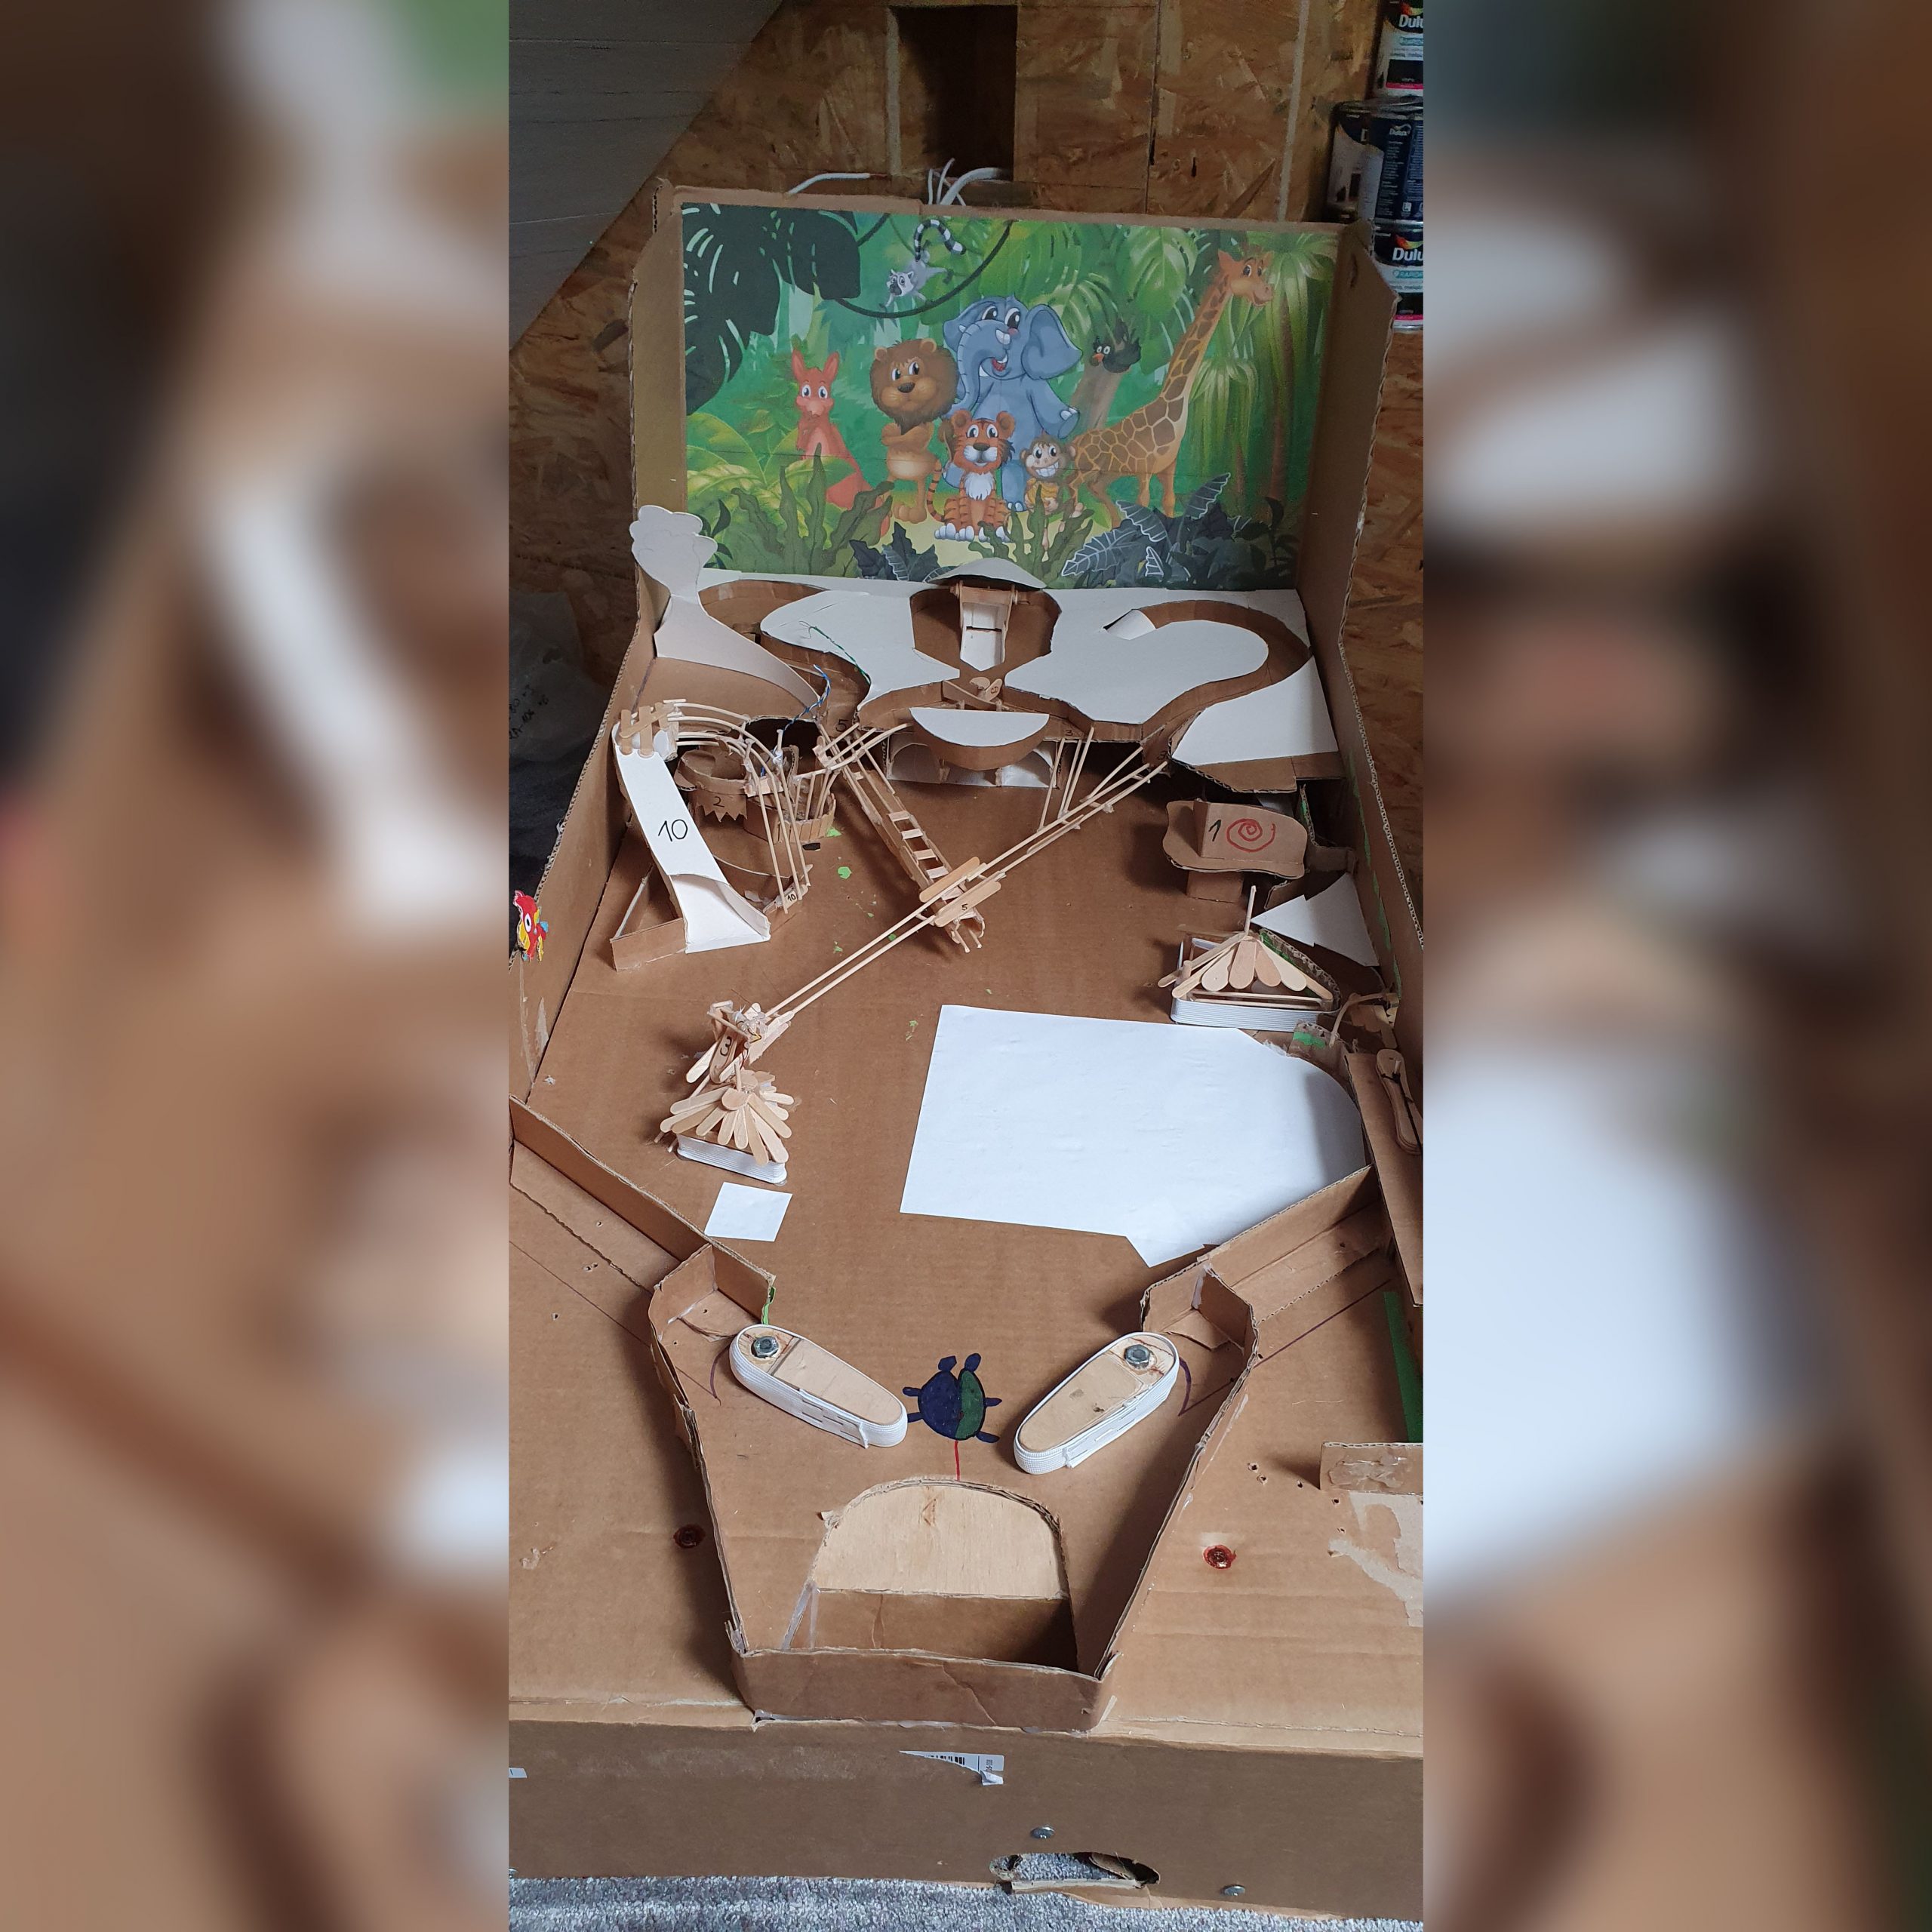
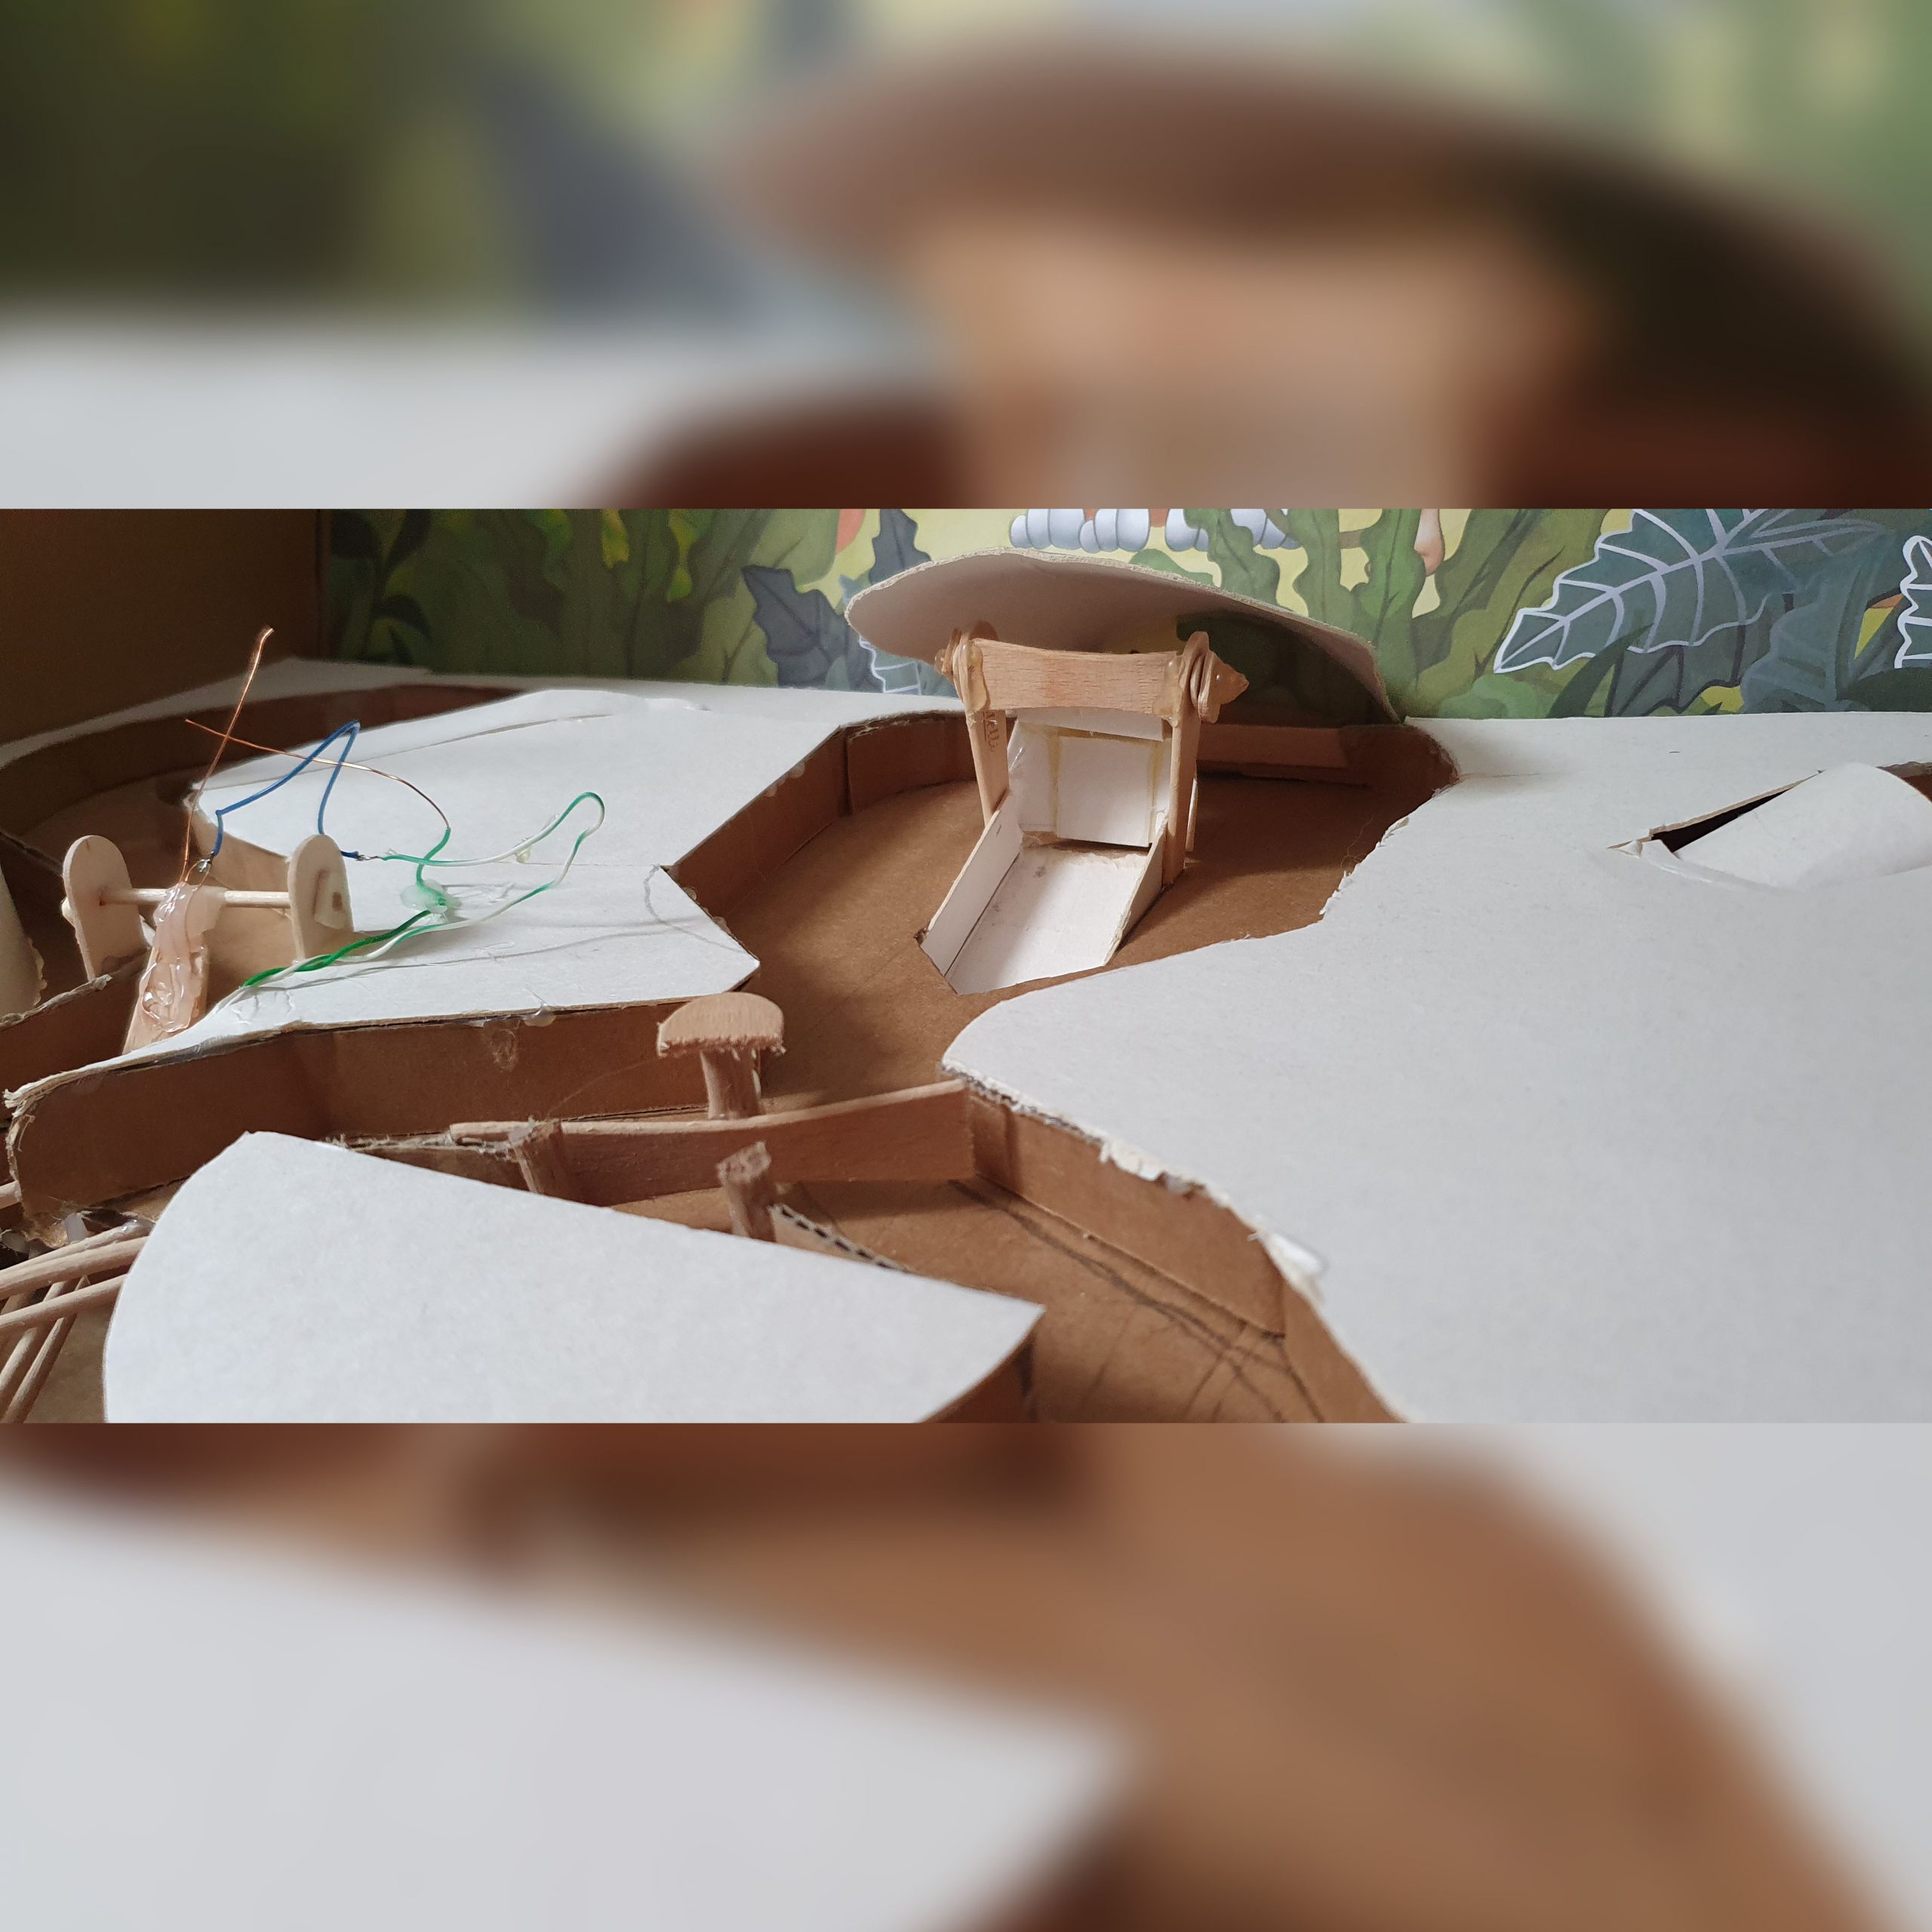
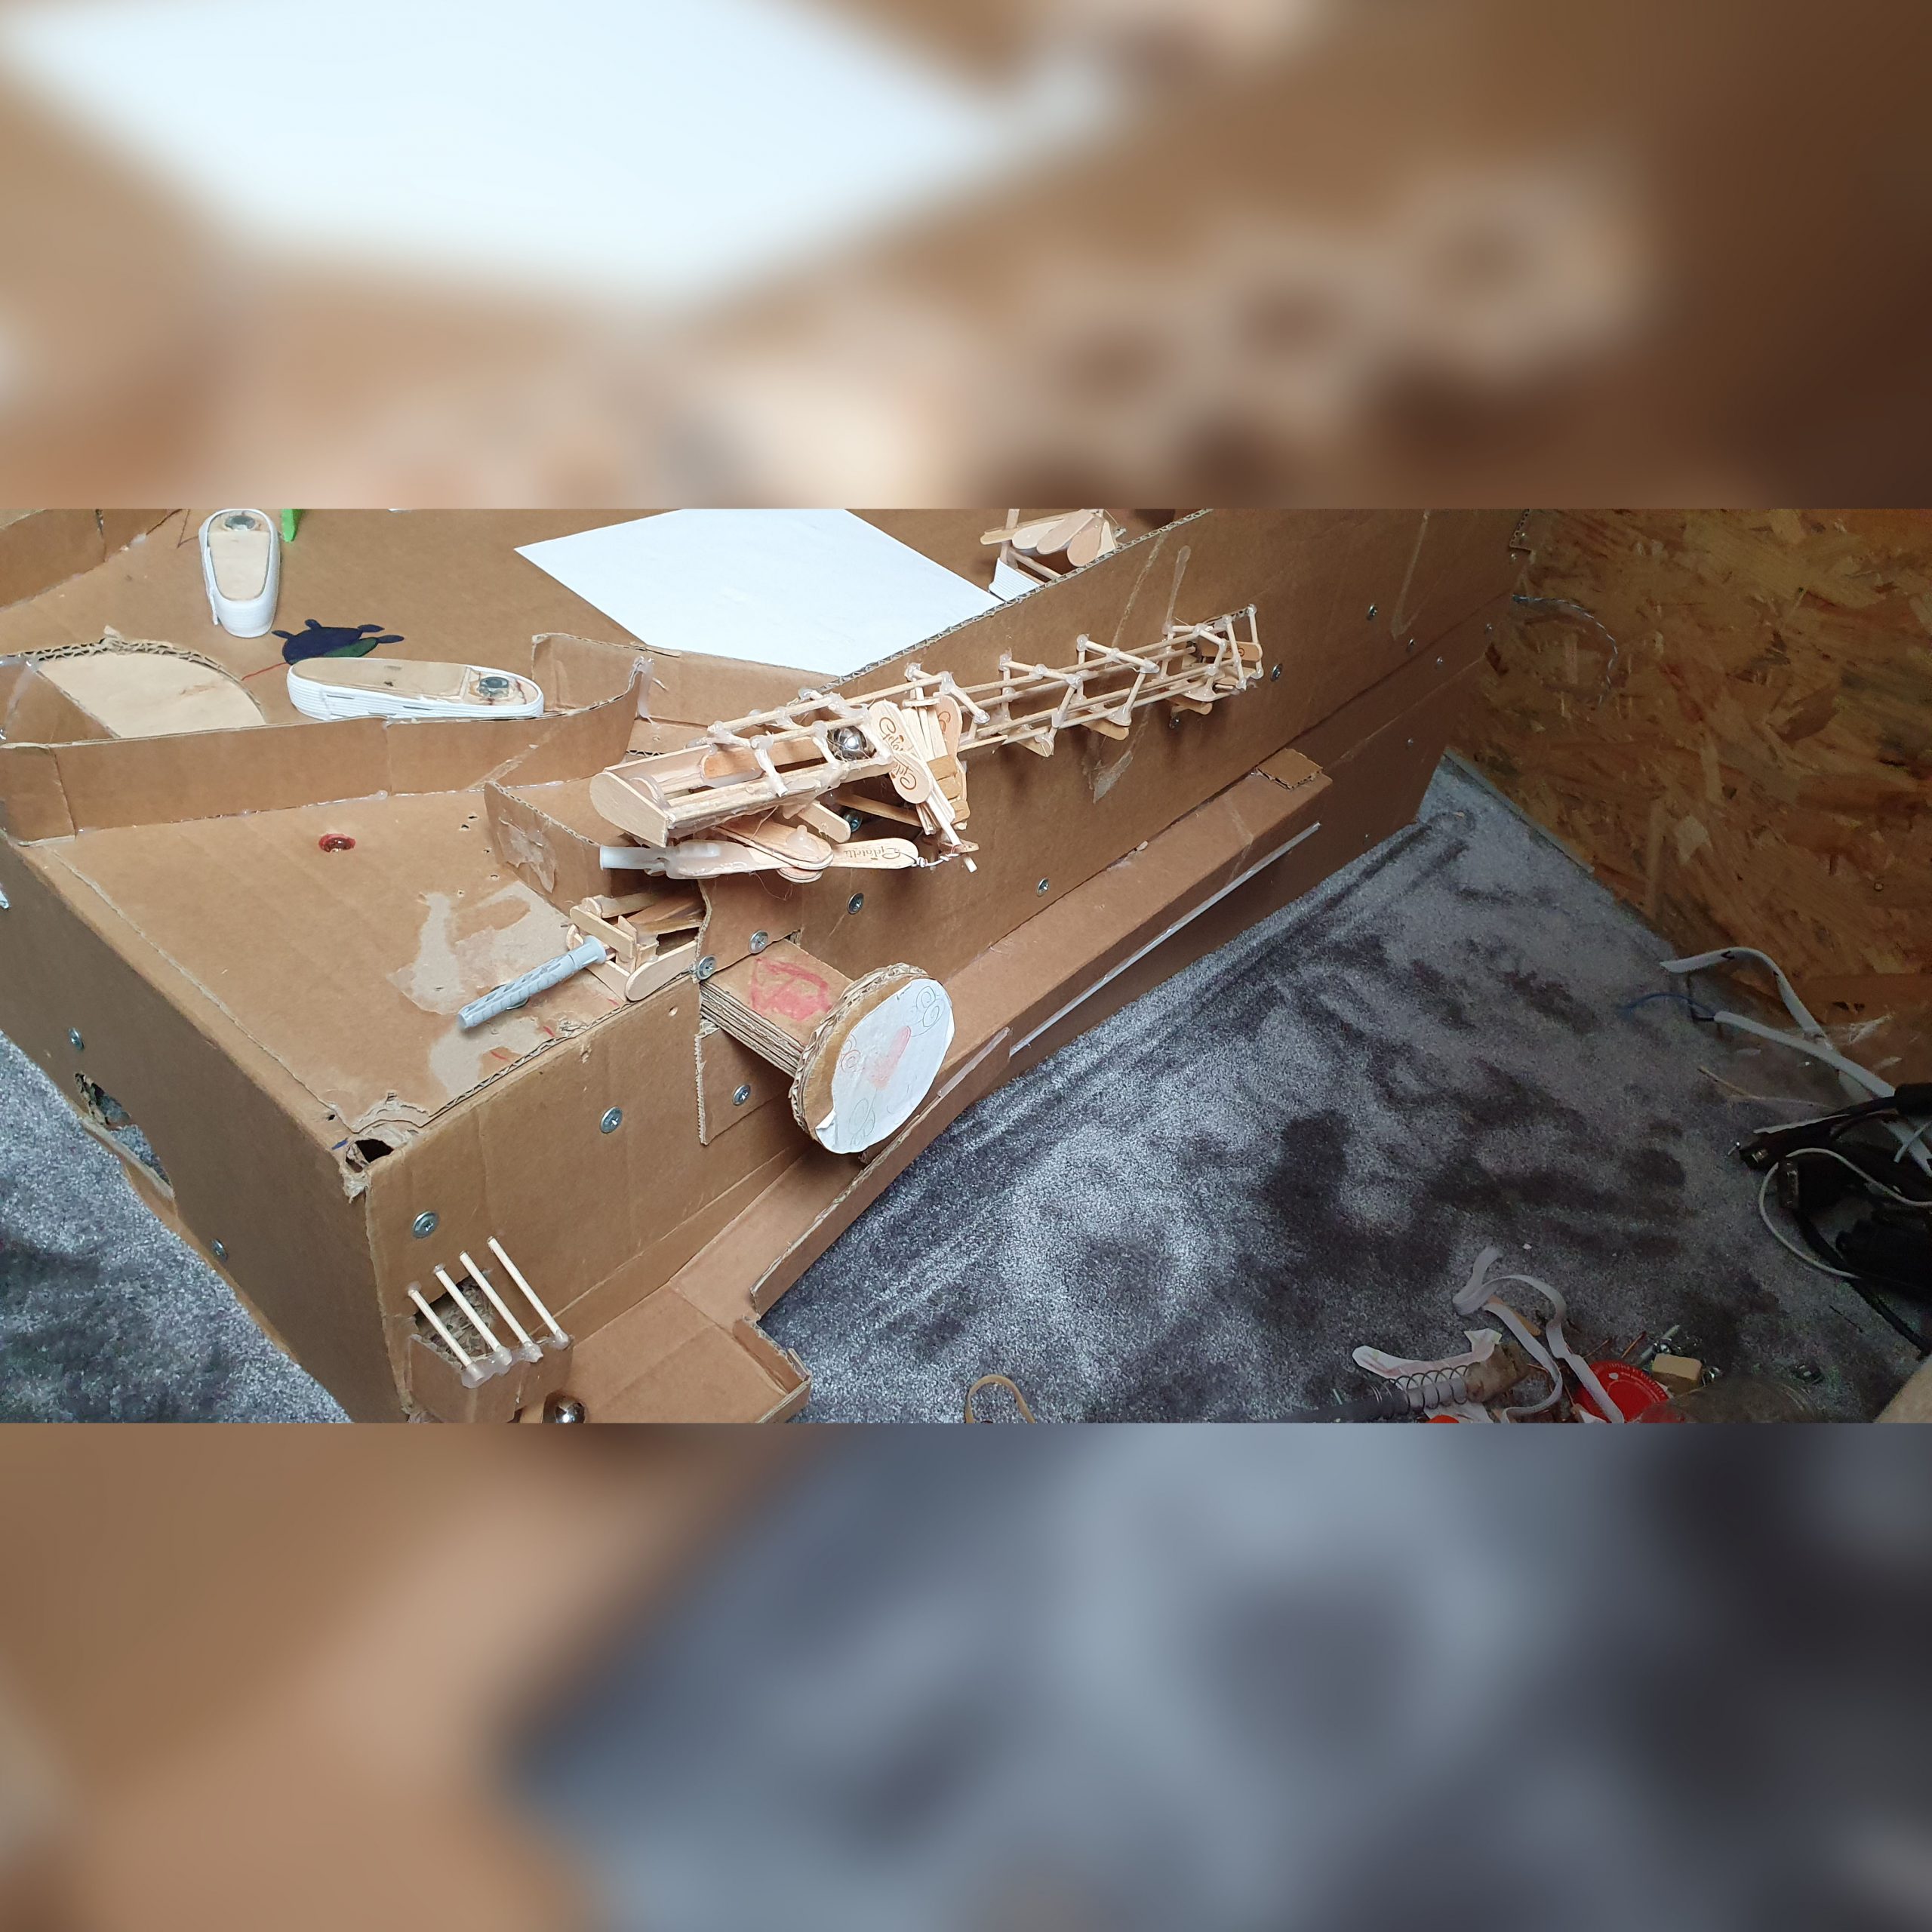
I started with building the playfield, some side panels and flippers. The playfield was created from the big hard cardboard box, other parts cut from other boxes.
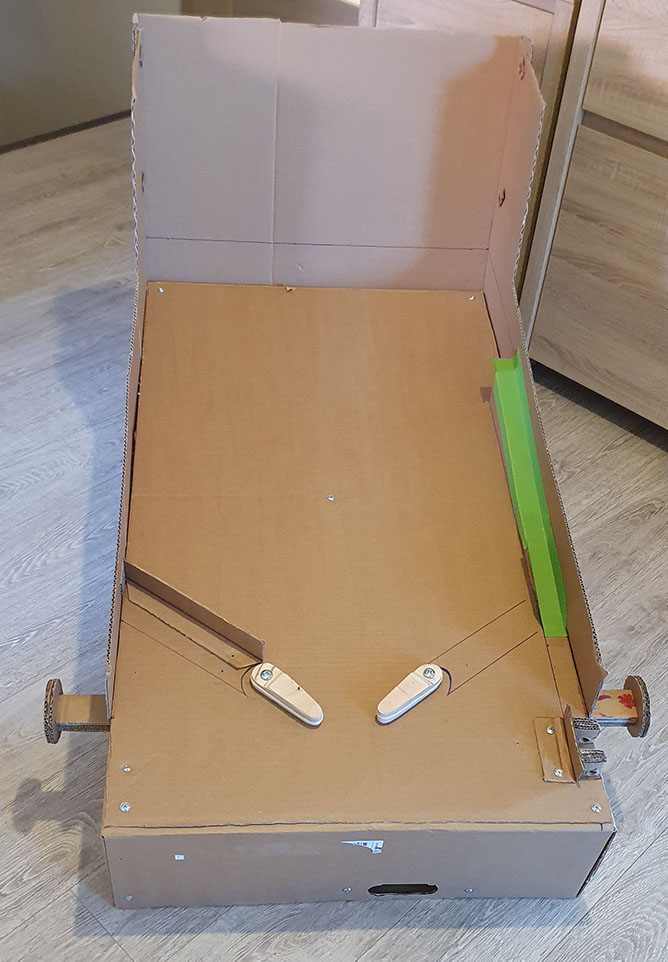
The earliest stage photo I have is the one on left. It was the first moment I completed both flippers and was testing how it works with the steel ball.
Hmm…when I look on this now, it looks pretty ugly, isn’t it ?
Nevermind, let’s check next step.
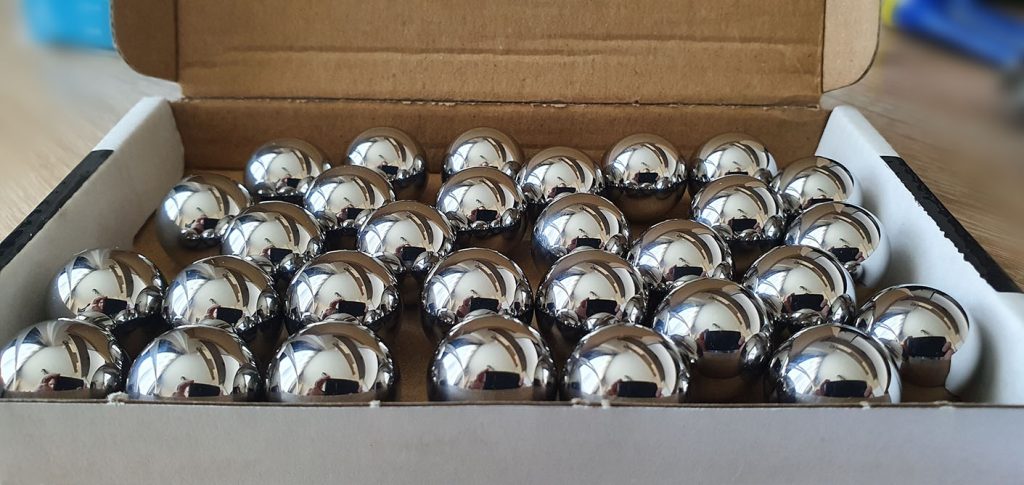
Pinball ball
The steel balls used in my project were not in original size. They were smaller. The diameter was 19mm. I bought them on Aliexpress. They looked really nice when arrived :-).
Flipper
Flippers in pinball machines are the most important mechanical parts. Originally they are two moving plastic sticks with metal core. When user press the button the flipper flips up, when button is released it resumes initial position. They look like on screen below.
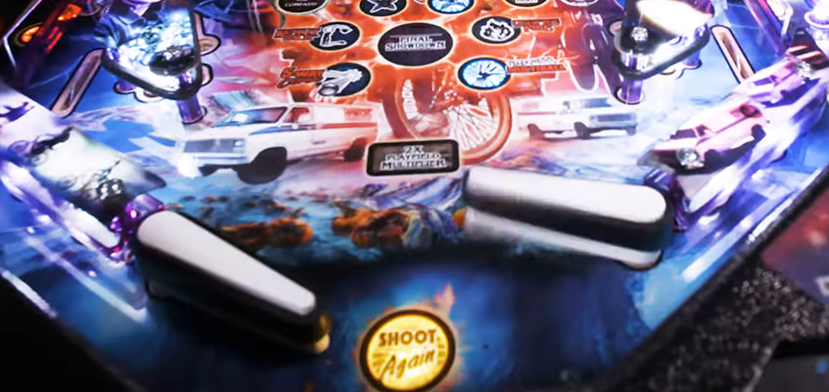
The mechanics is much more complicated then mine cardboard equivalent, but anyway it worked.
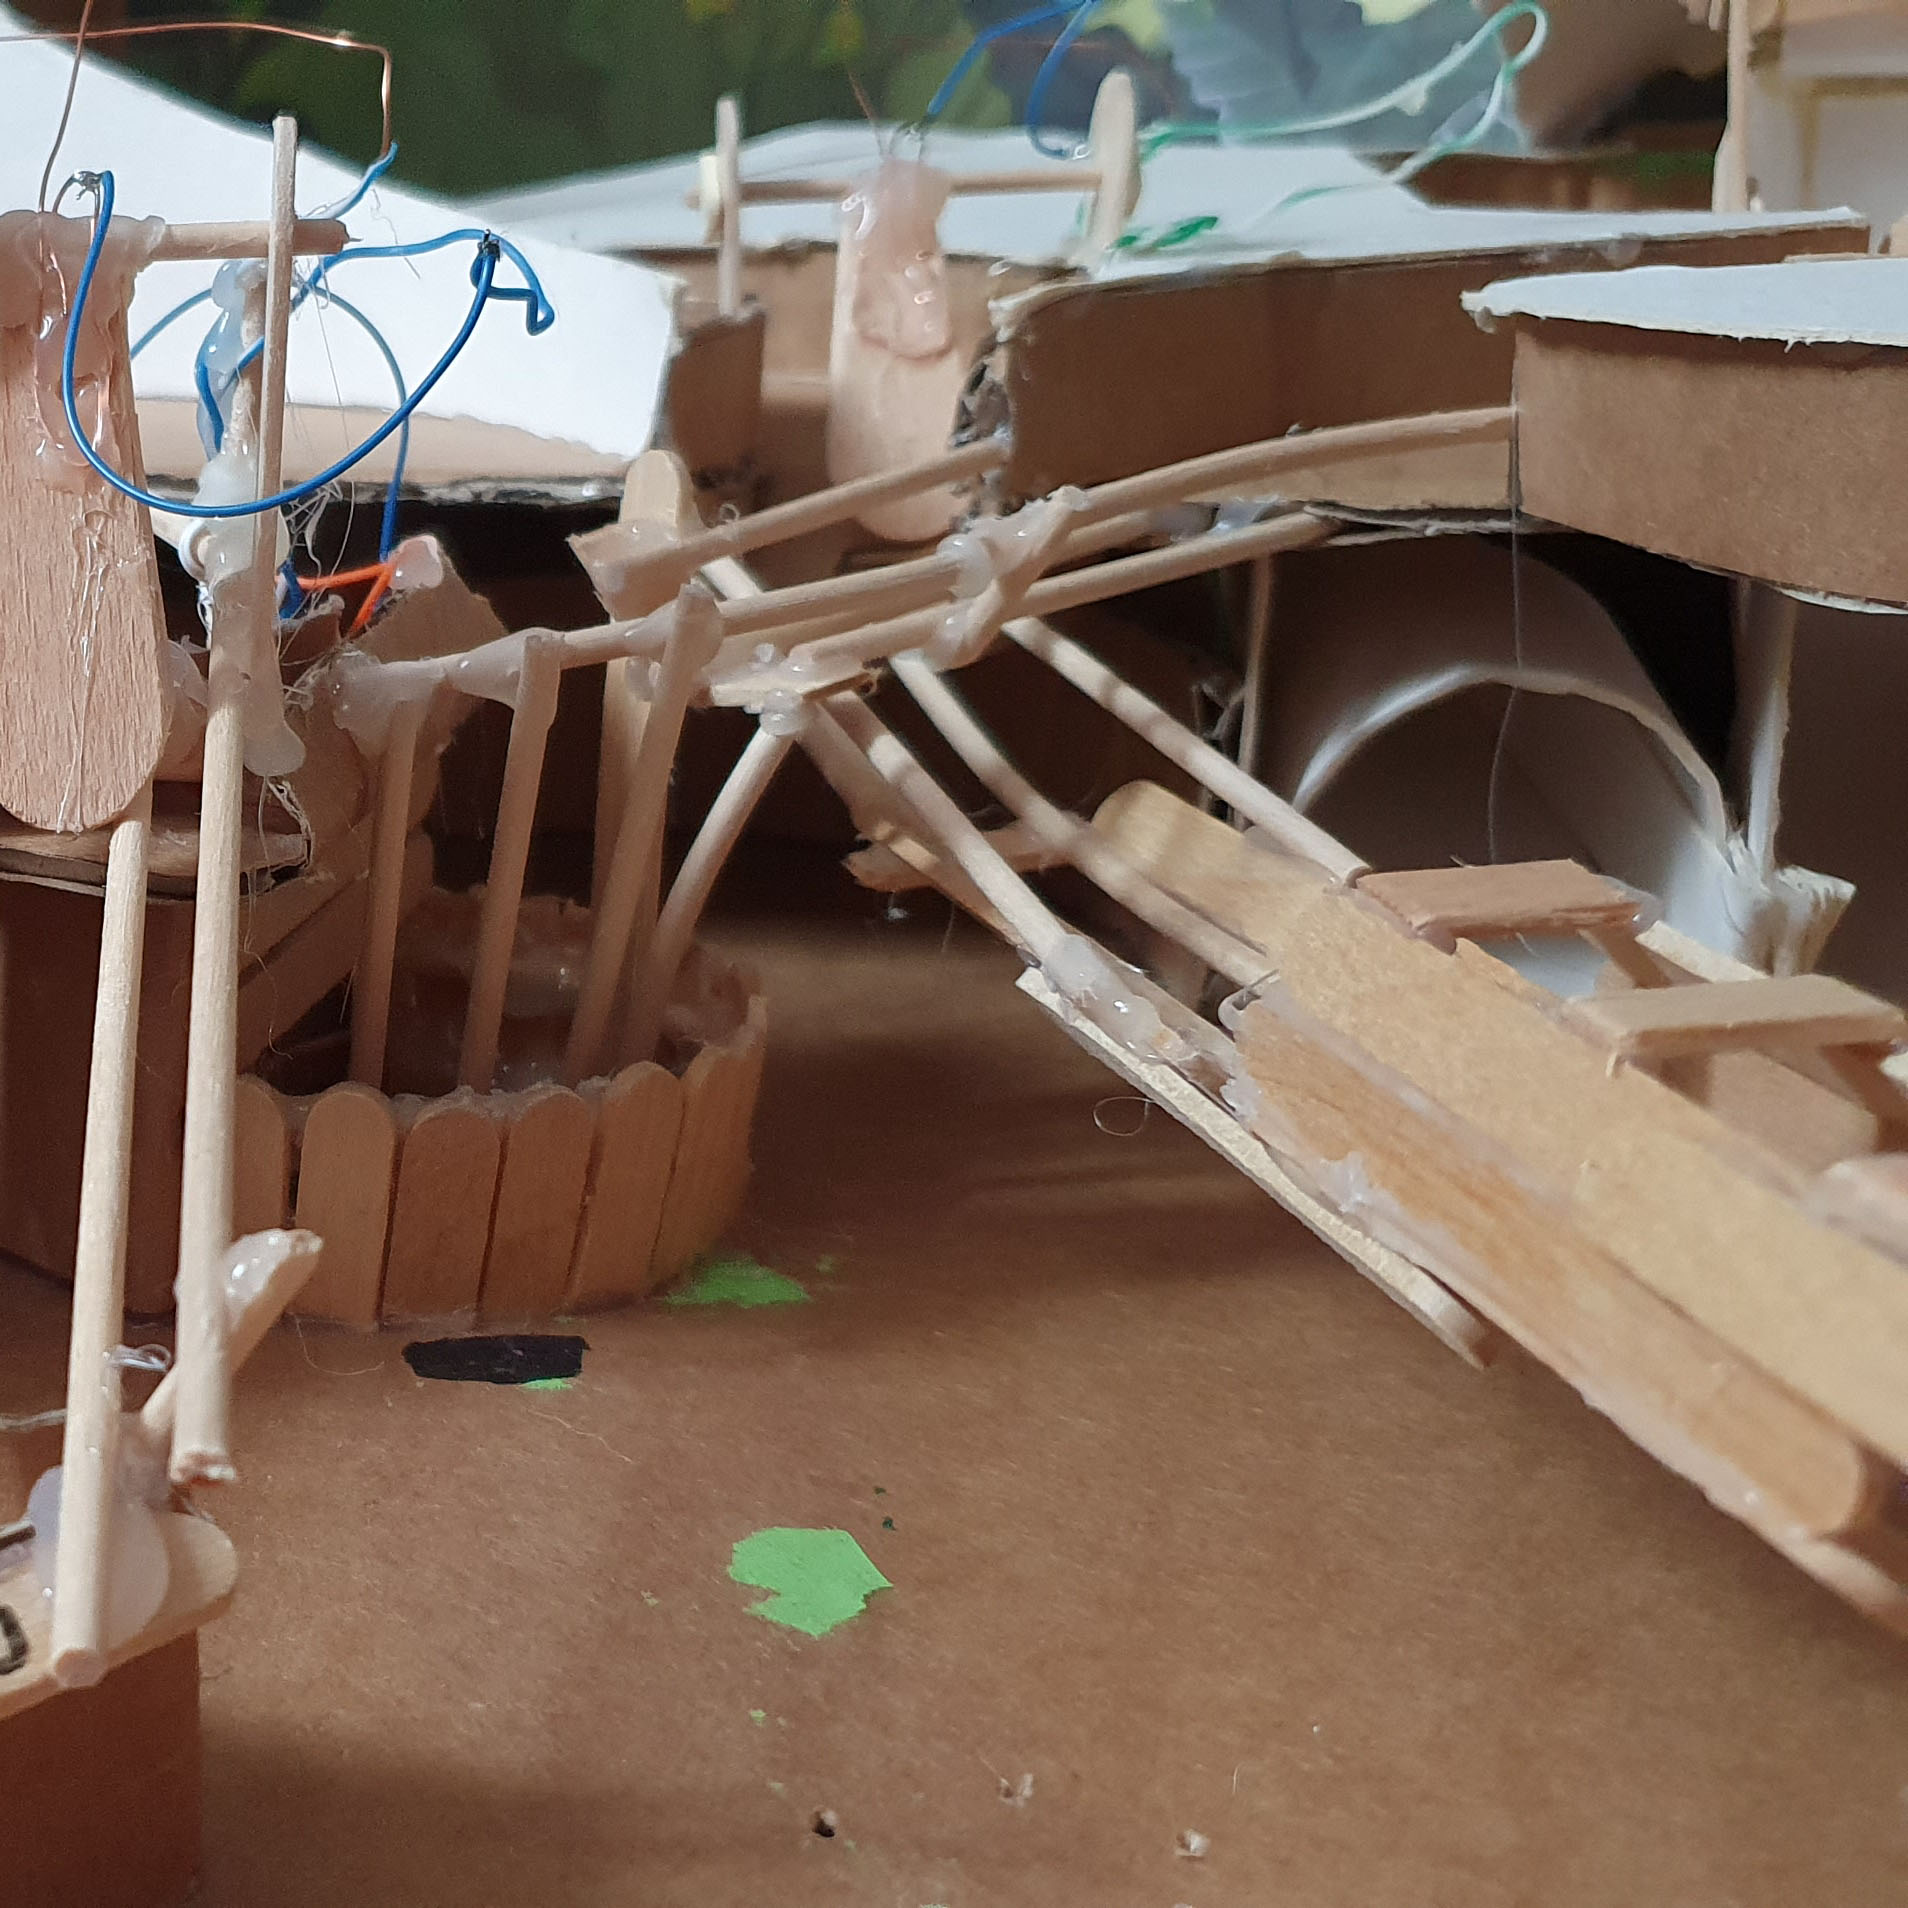
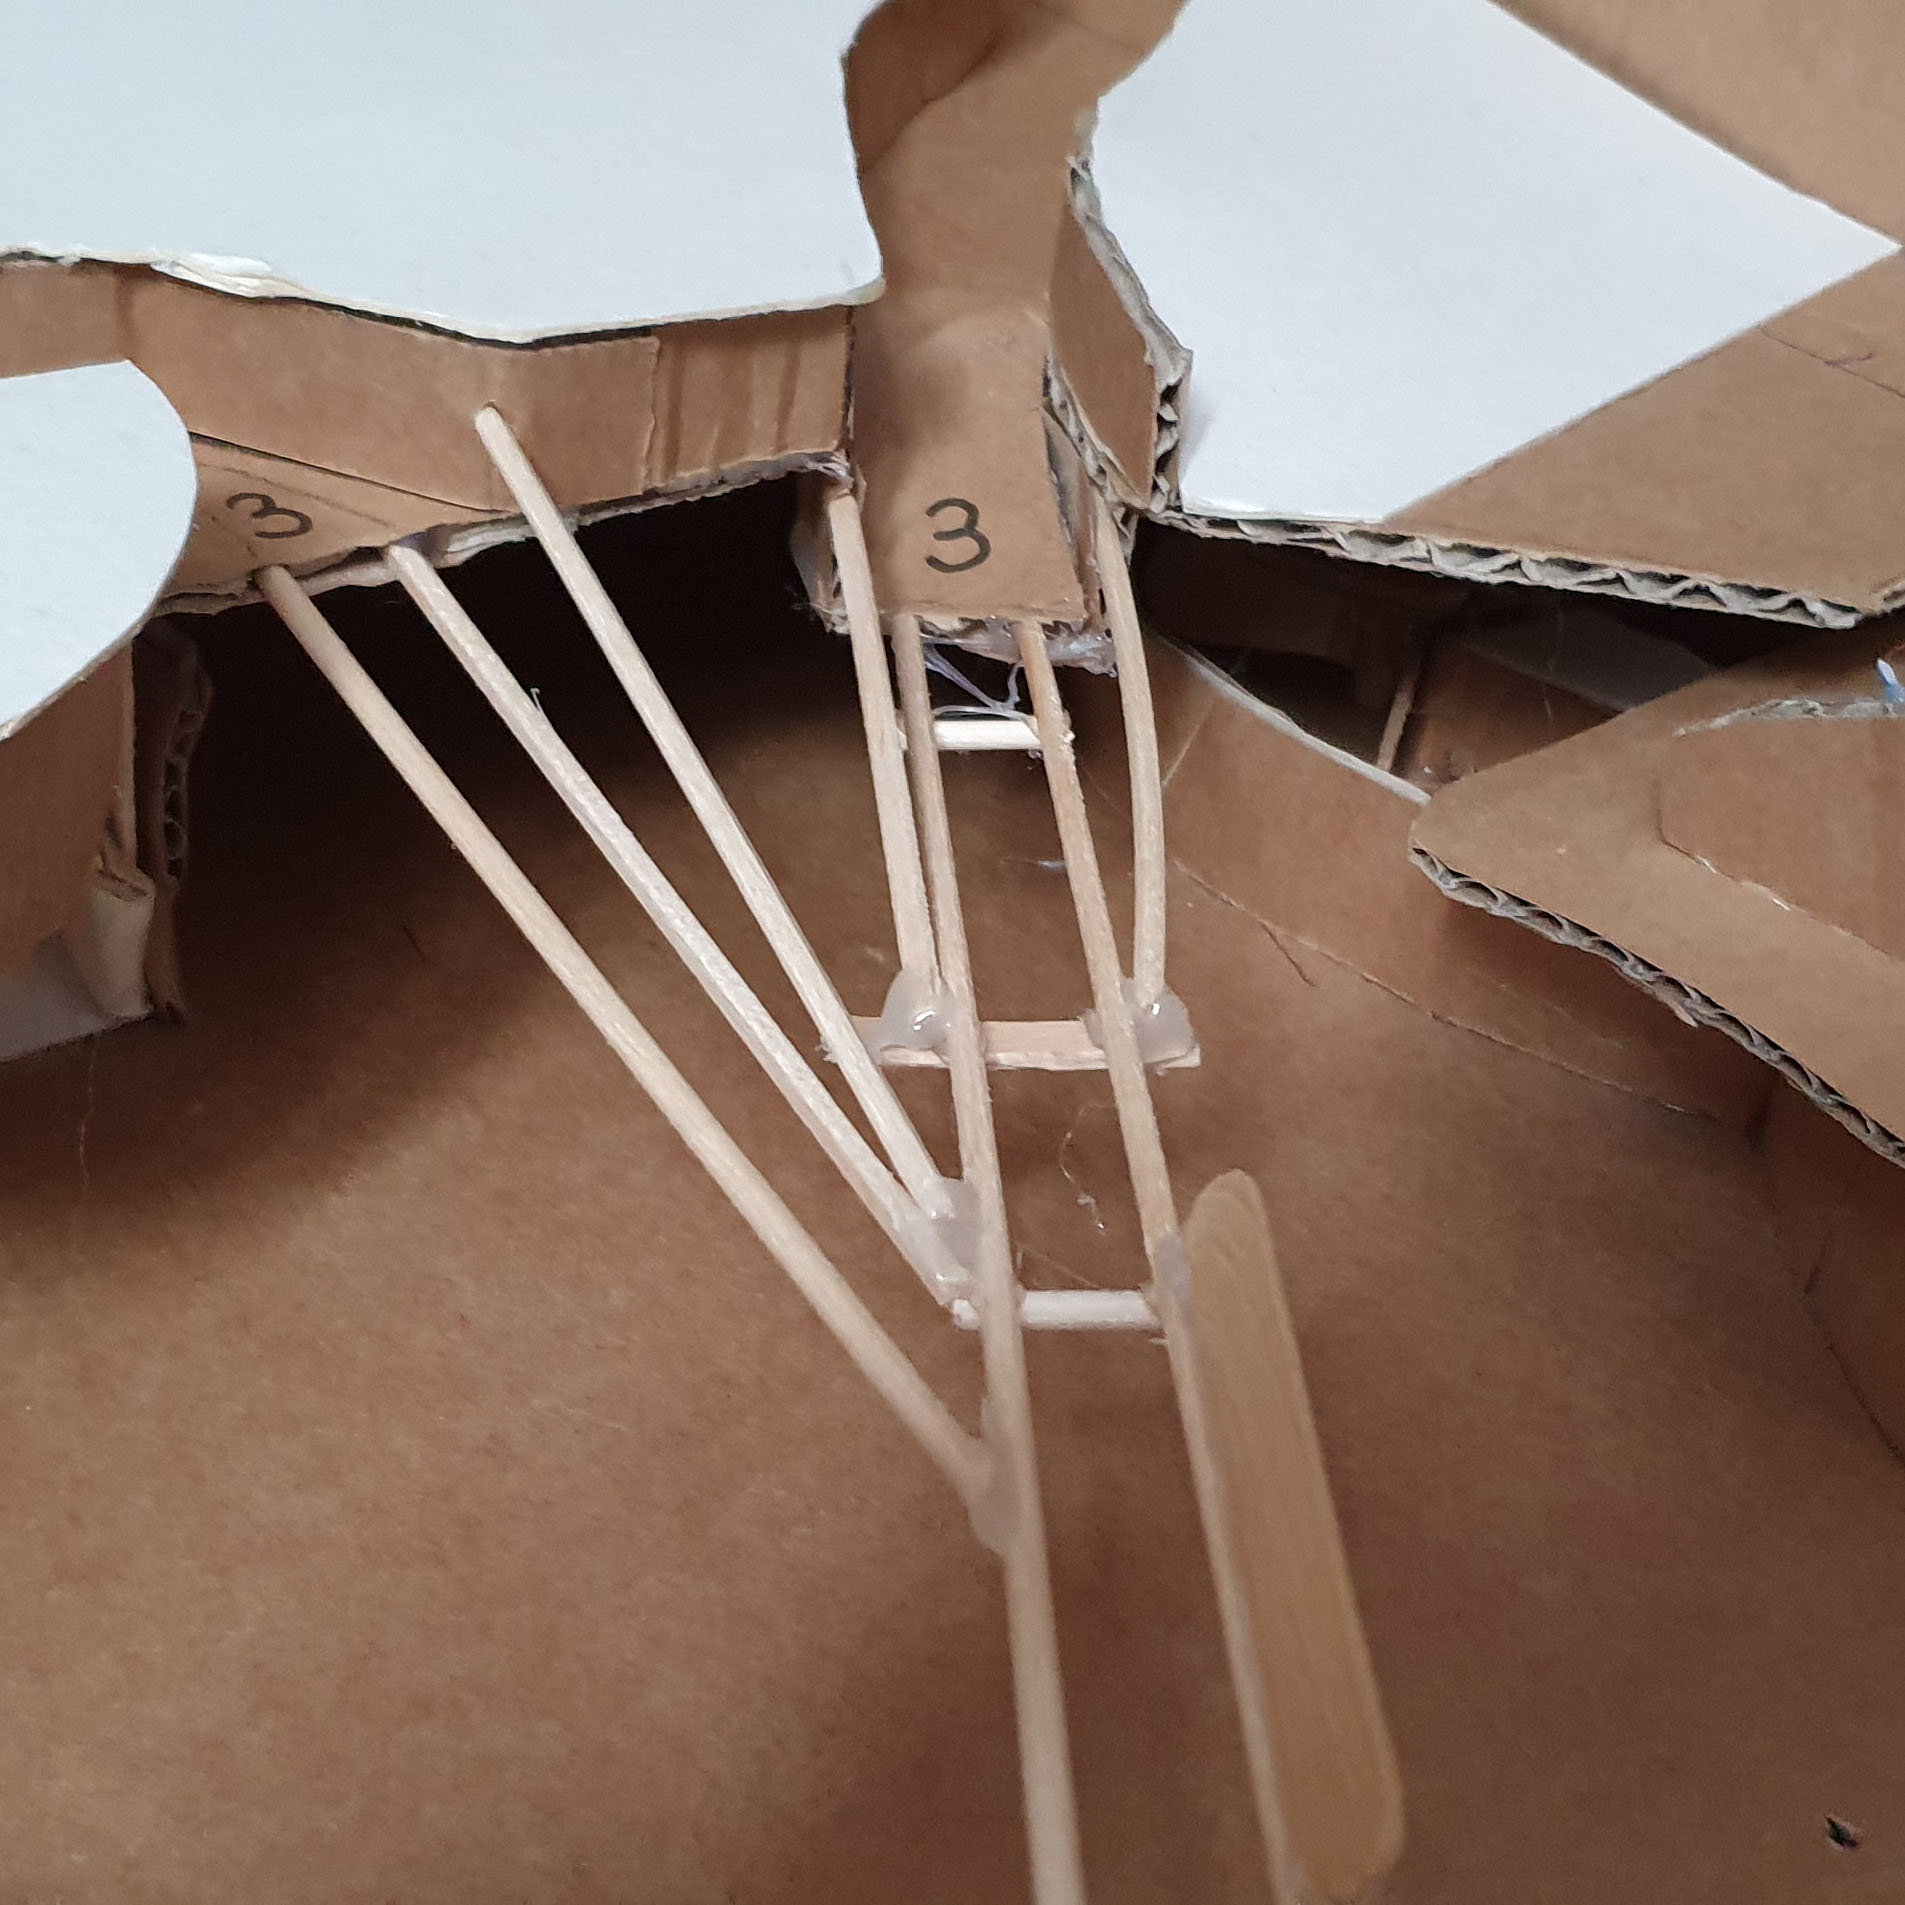
The flippers were made from two plywood pars glued into one 2cm thick piece. Then I cut two quote big flippers. The mechanics is simple, take a look:
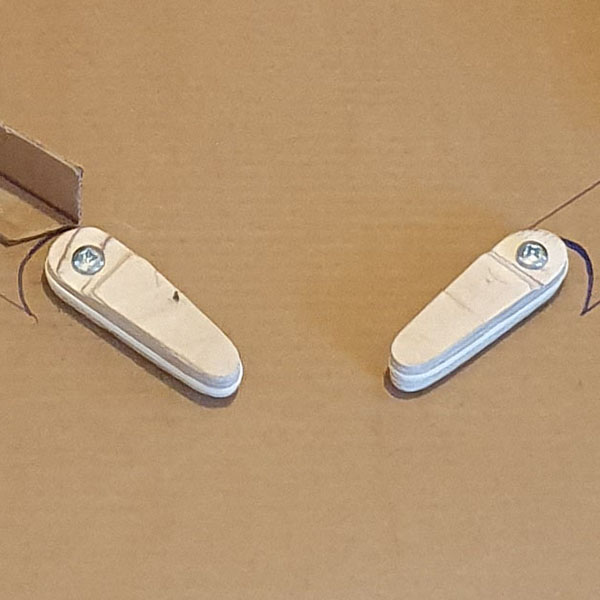
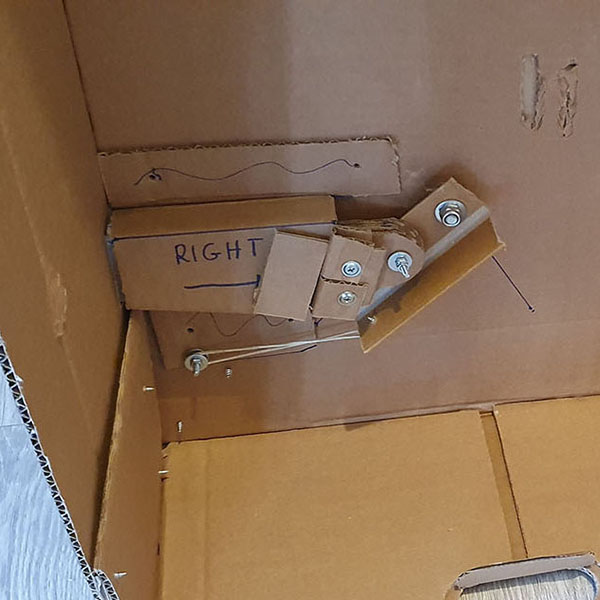
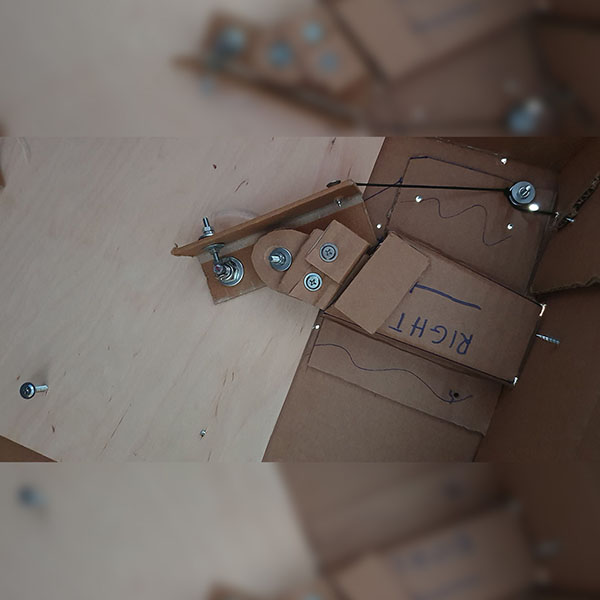
Handles that move flippers were made from 5-7 cardboards stacked and glued together. Additionally I remember that I used fat wood screws to join the pieces together until the gule dried. I used rubber bands instead of springs, other elastic types will also work. To be honest, now I know that metal springs would be better, because rubbers had to be replaced each day. The circle handle used to push the flipper is screwed to the movable core with 2 wood screws, but are not visible because are covered by a piece of paper.
When the handle is pushed inside the box, the flipper flips up, then releasing cause the handle to move back out from the box.
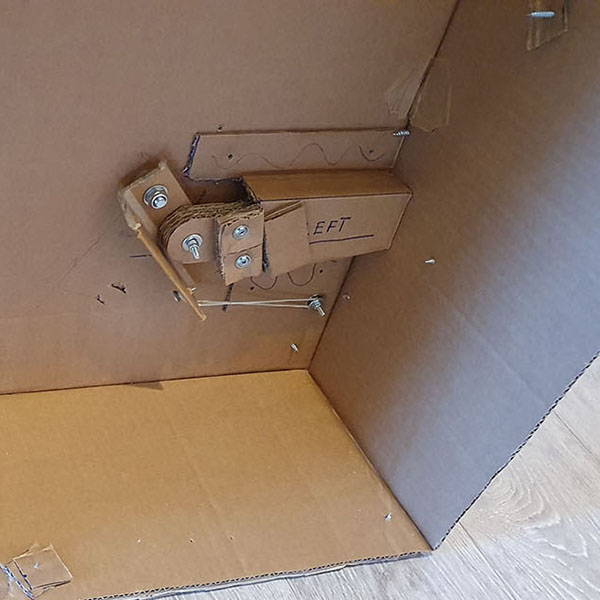
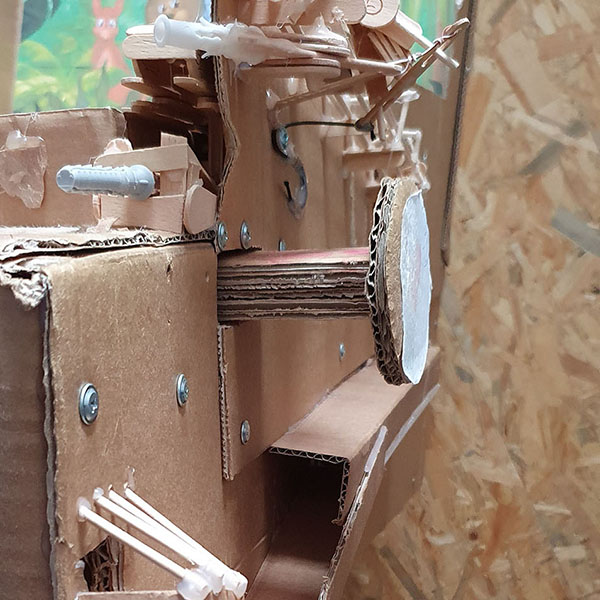
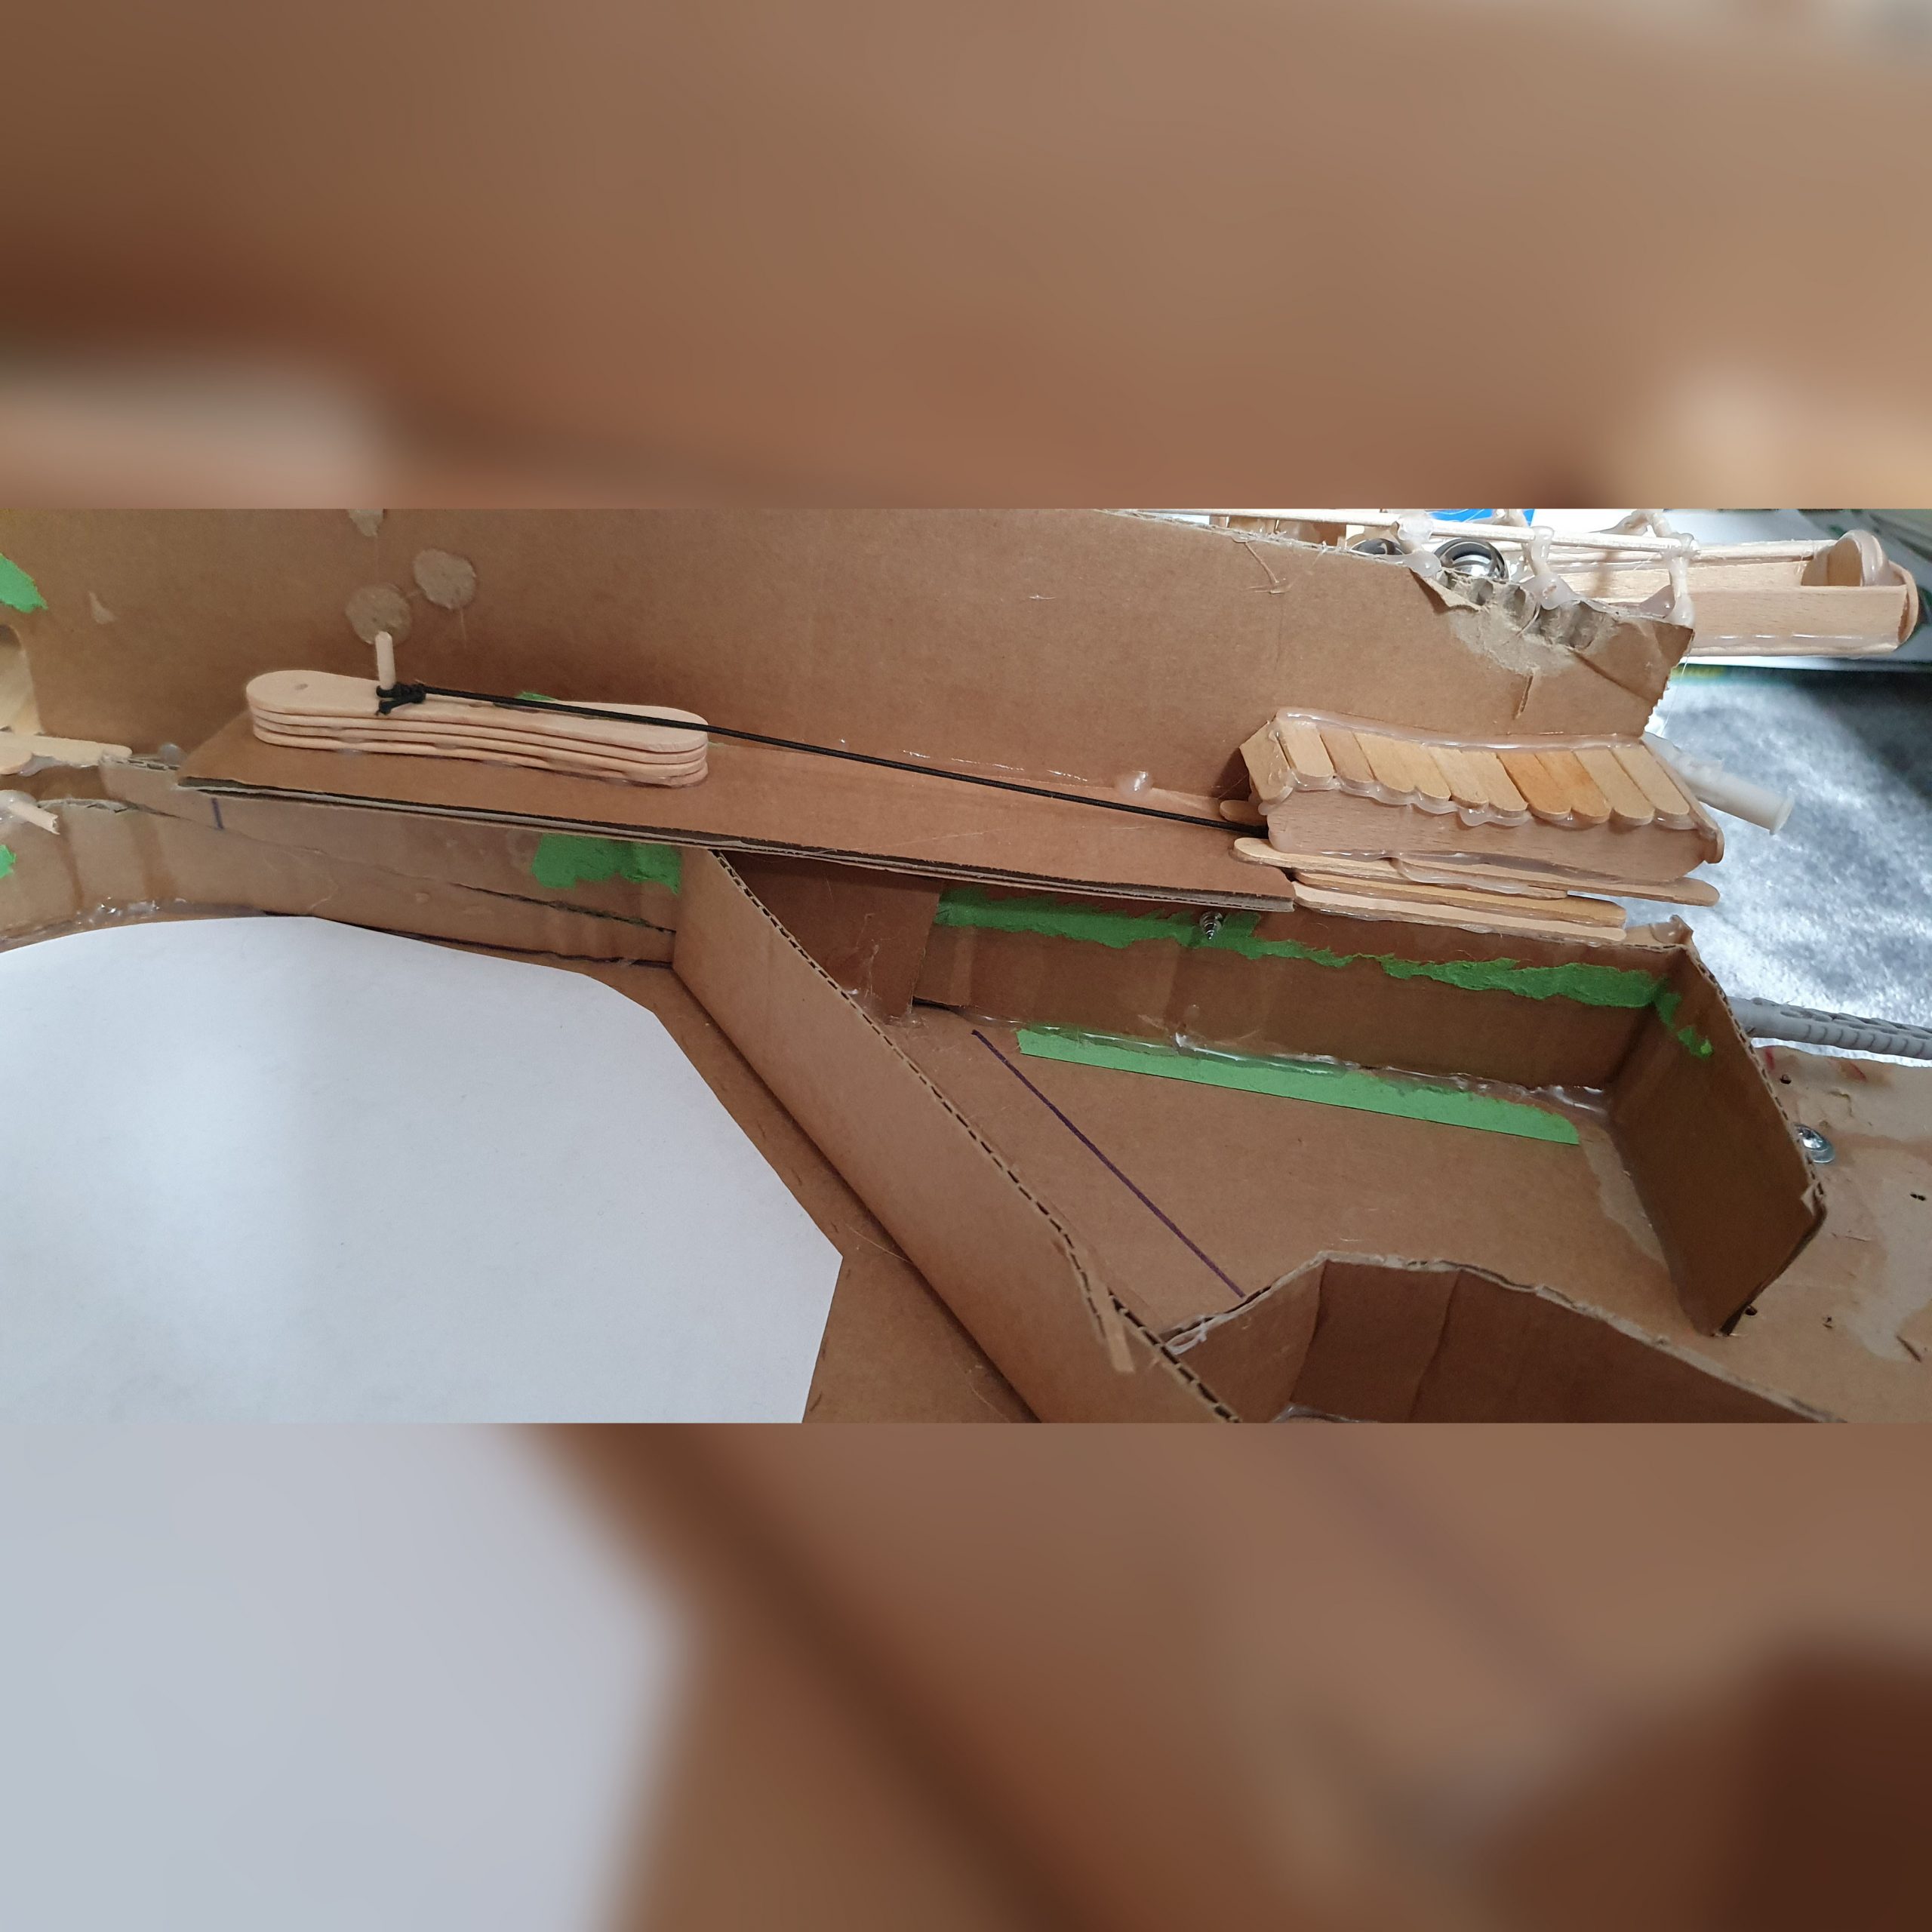
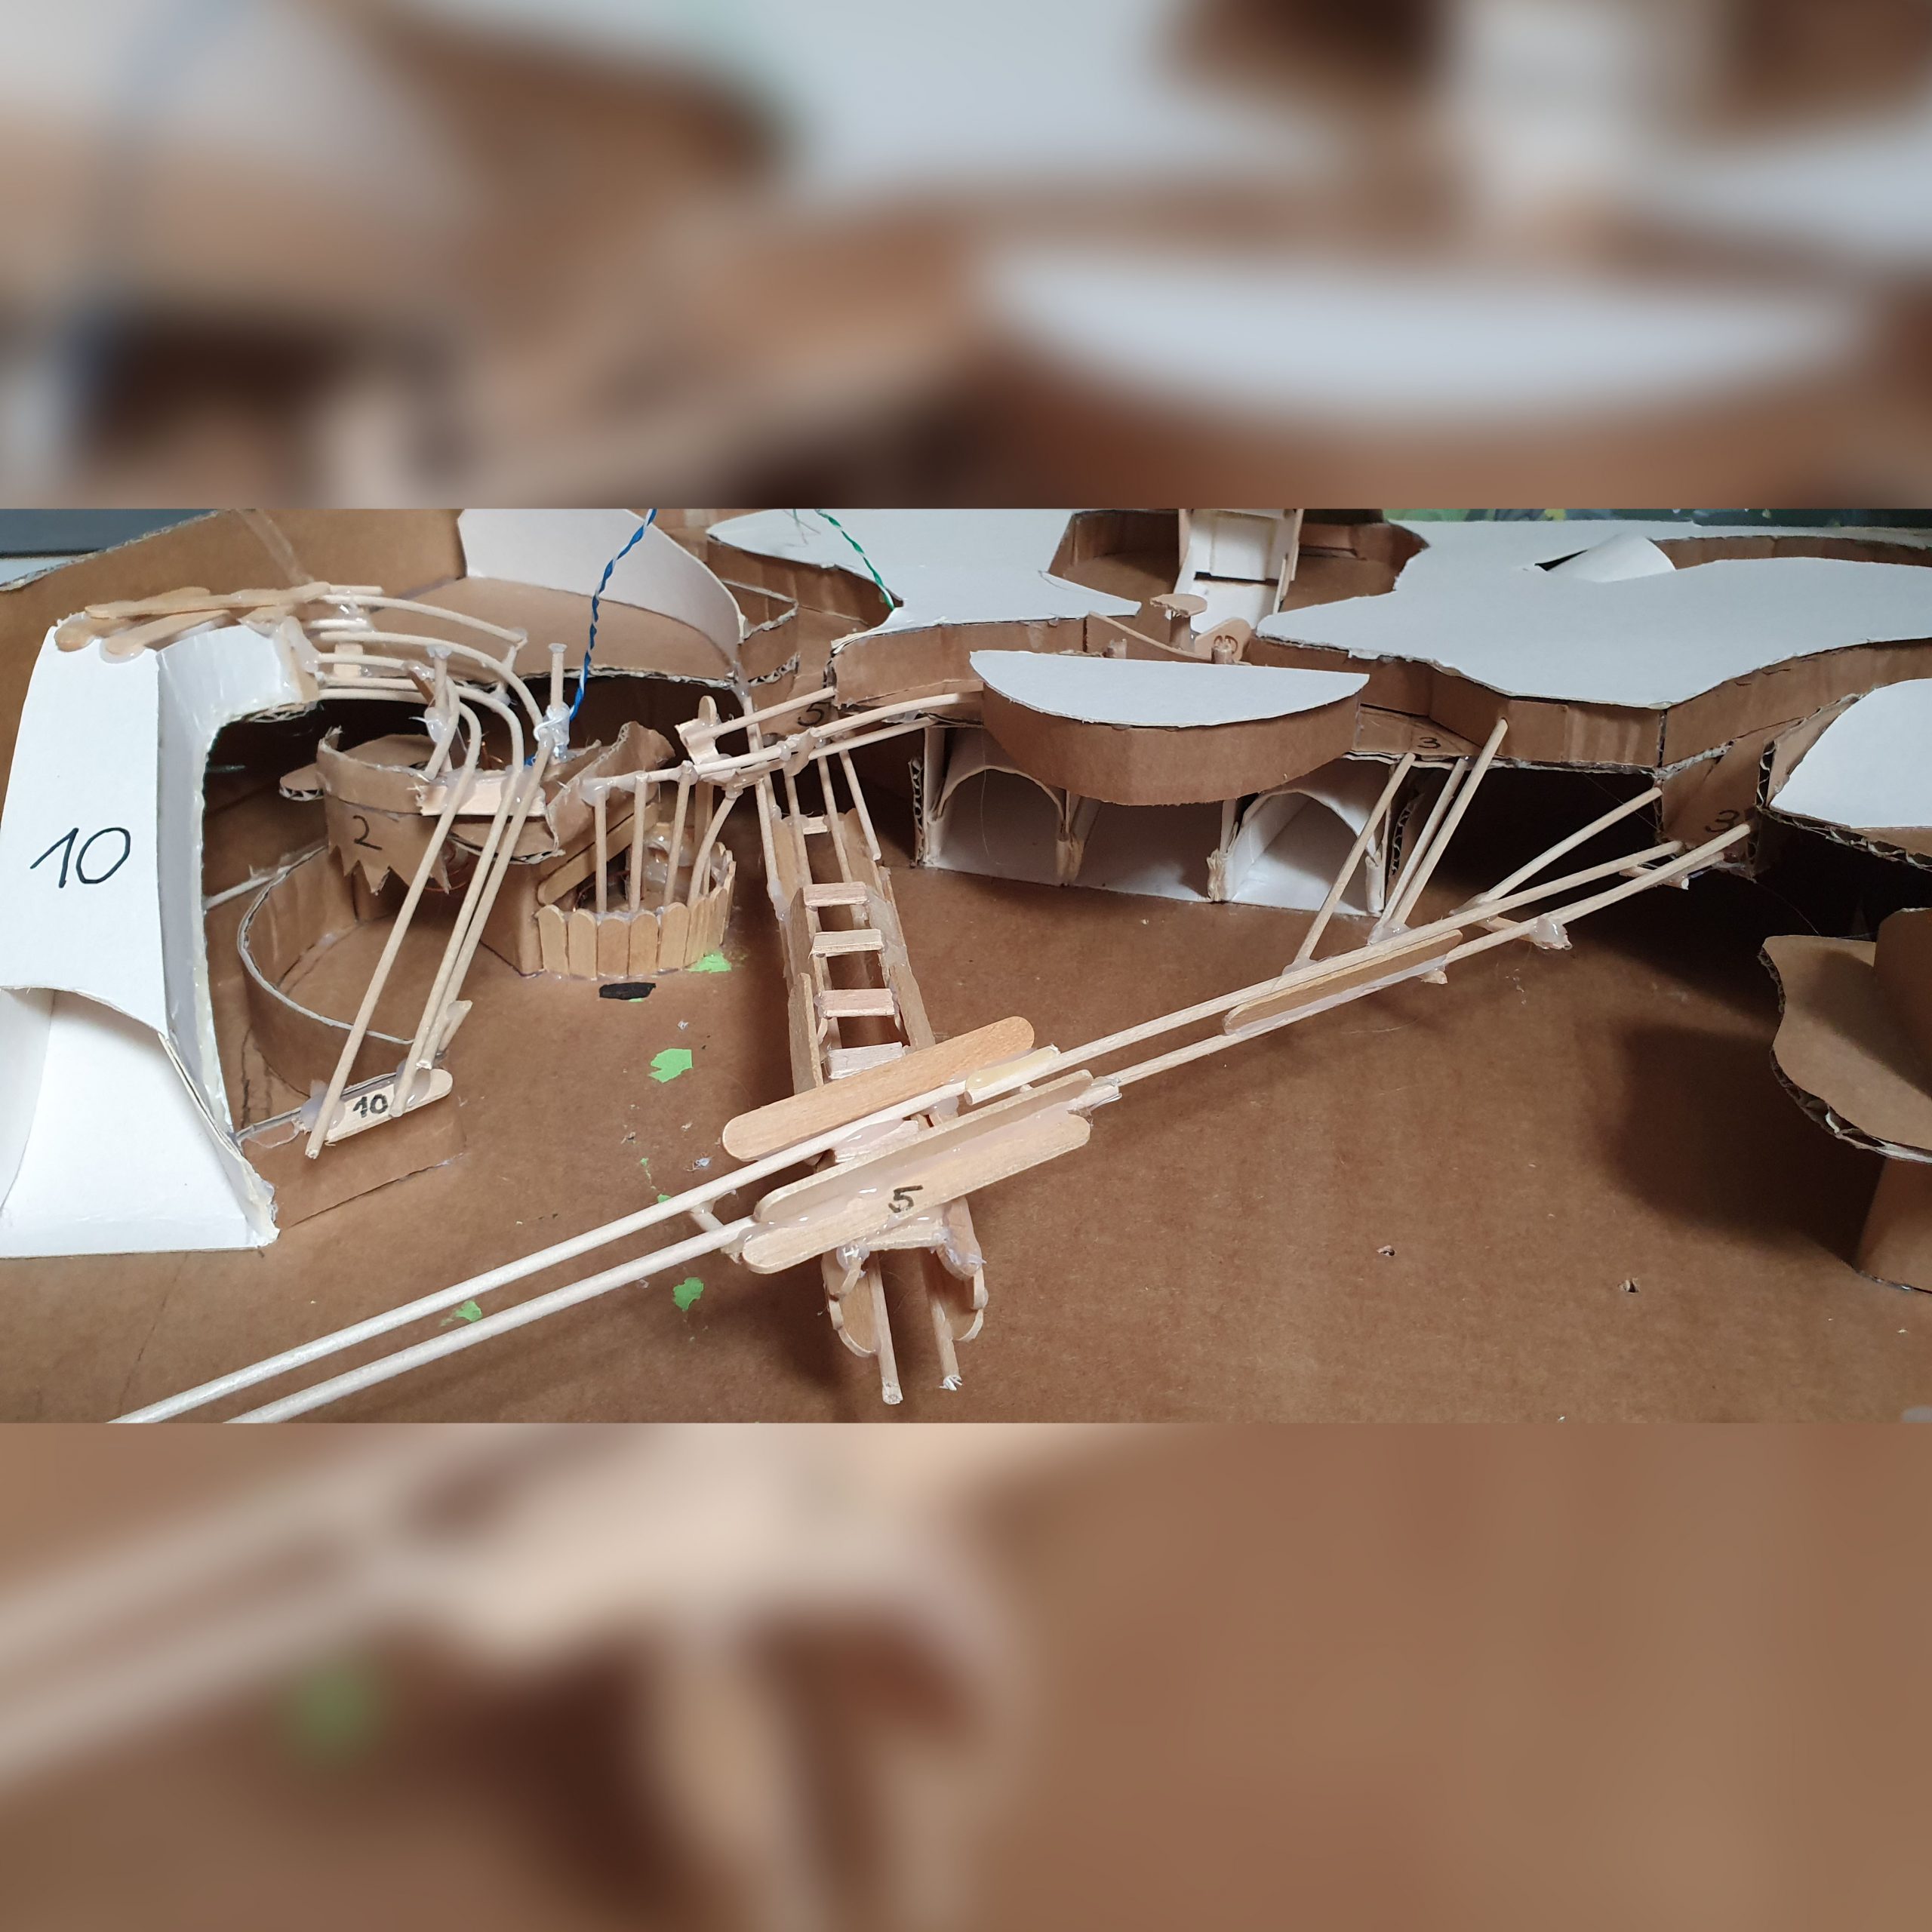
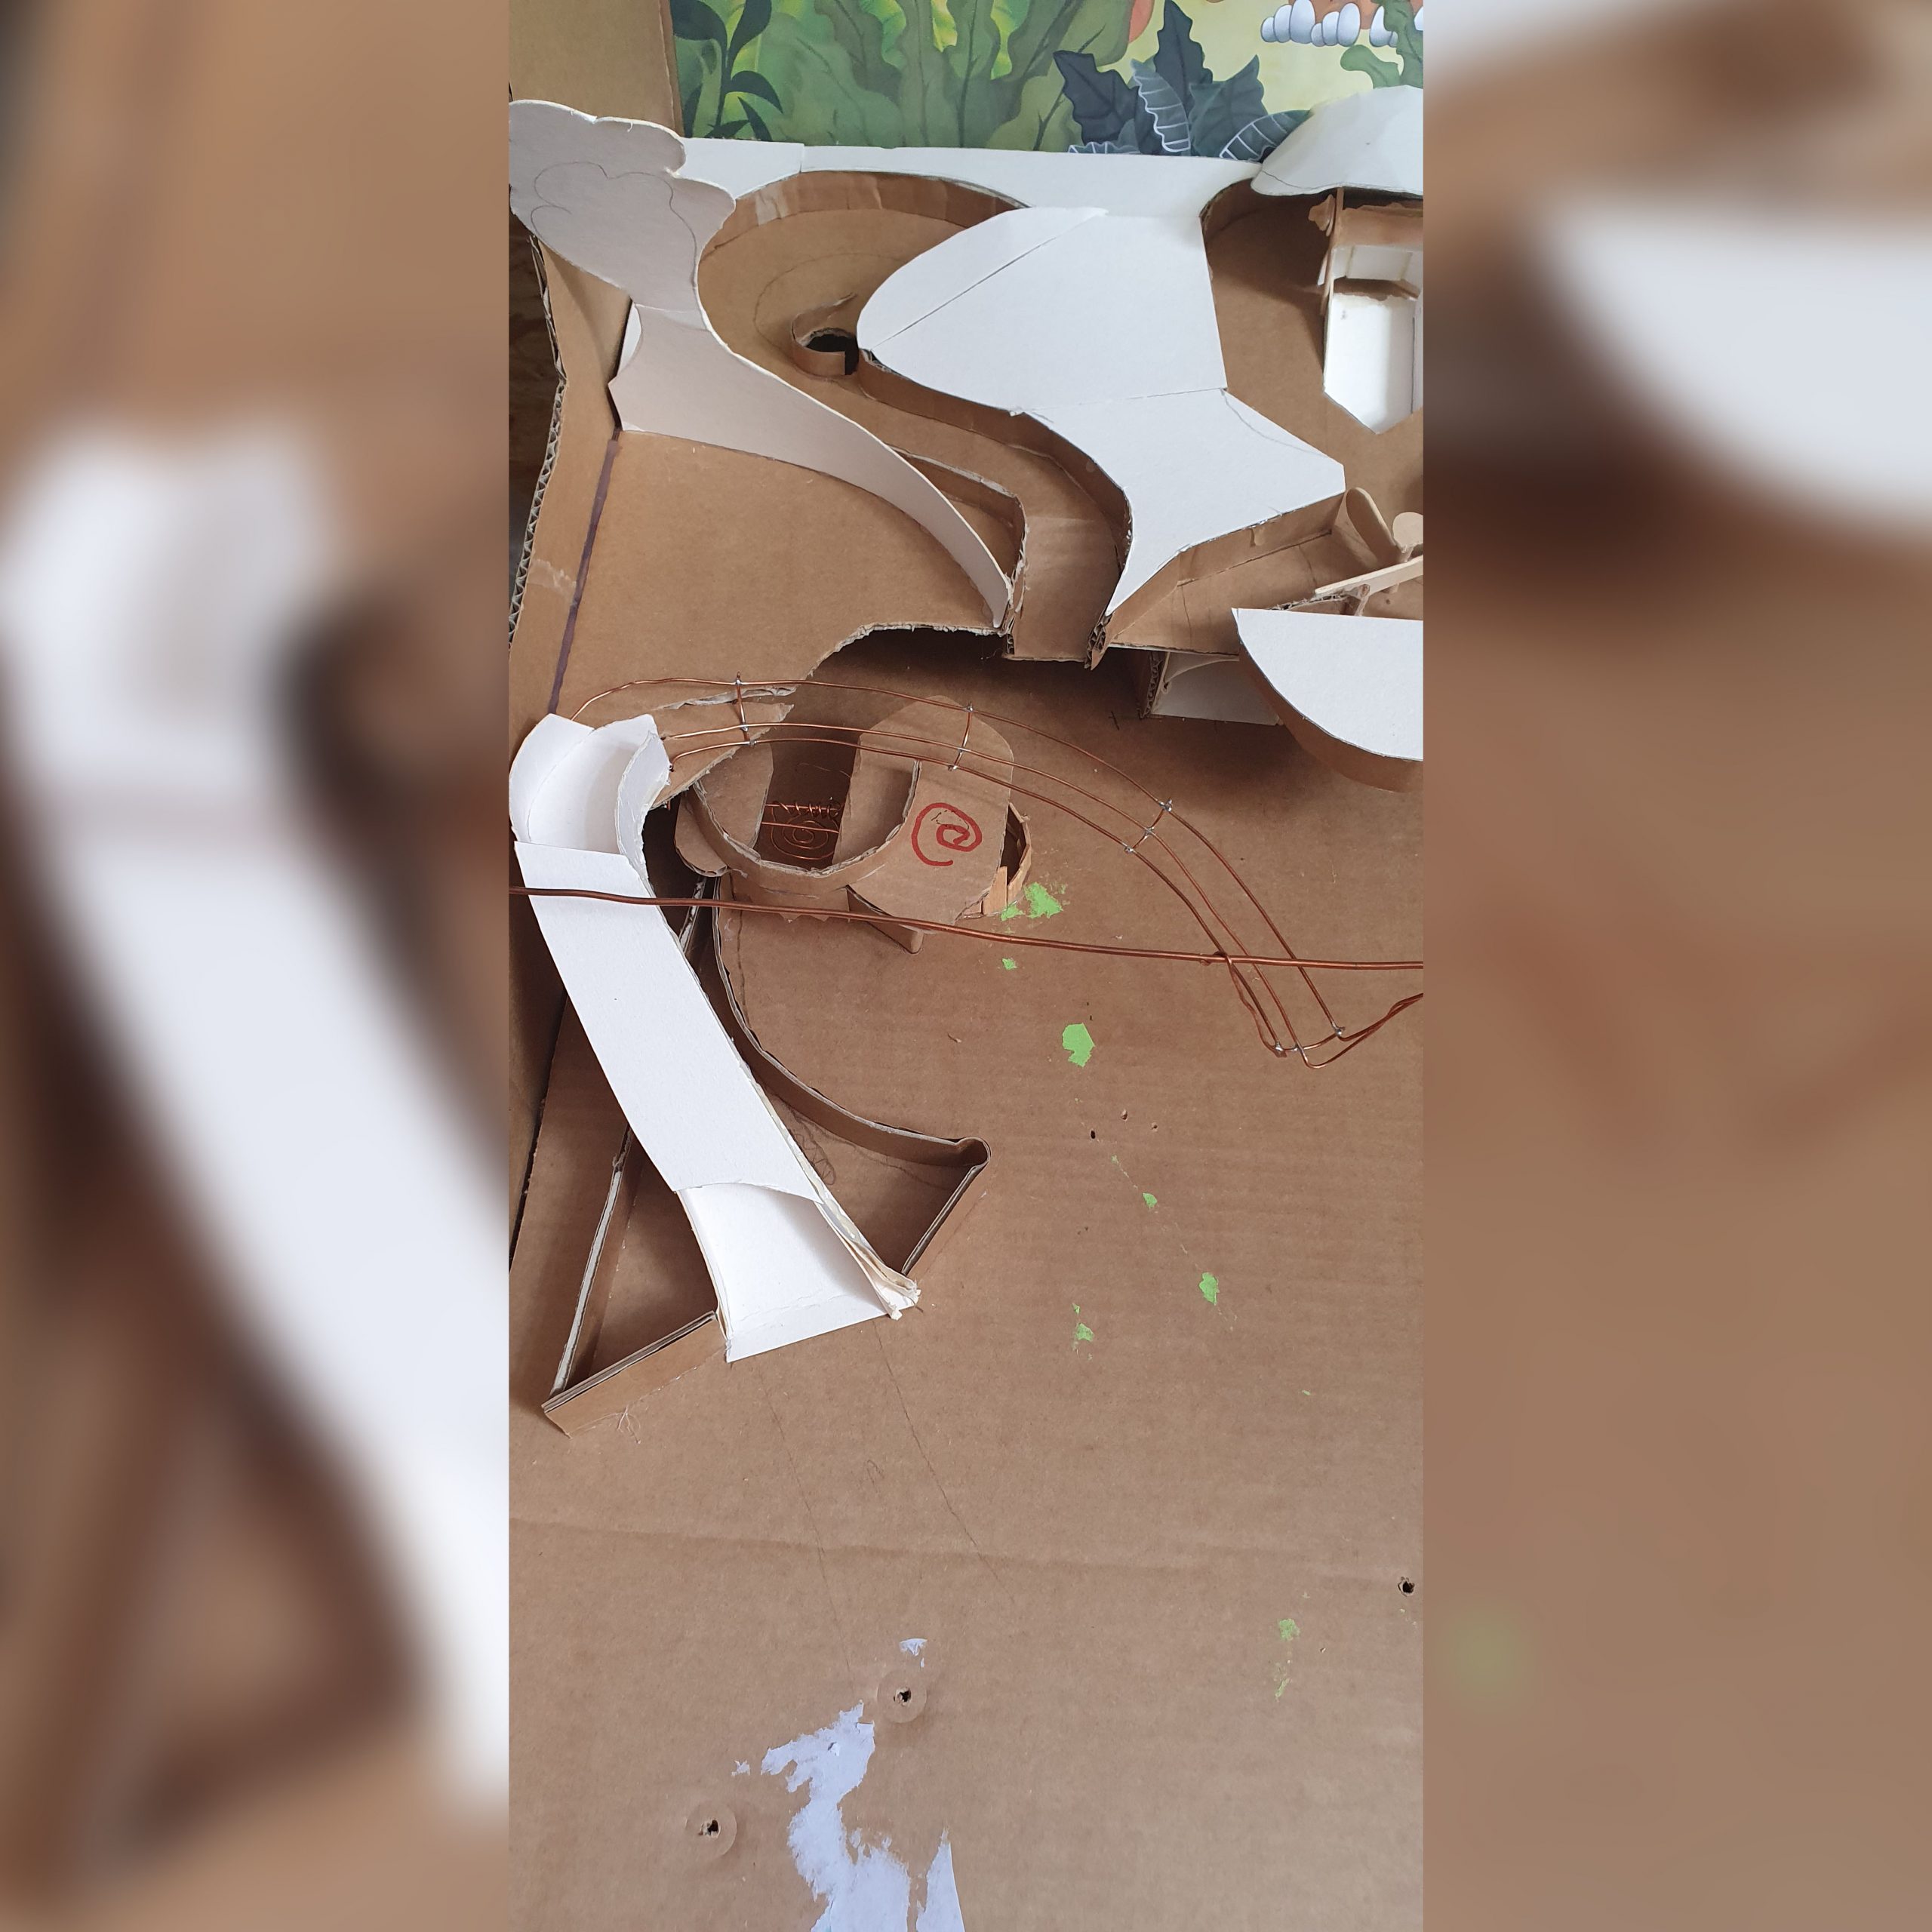
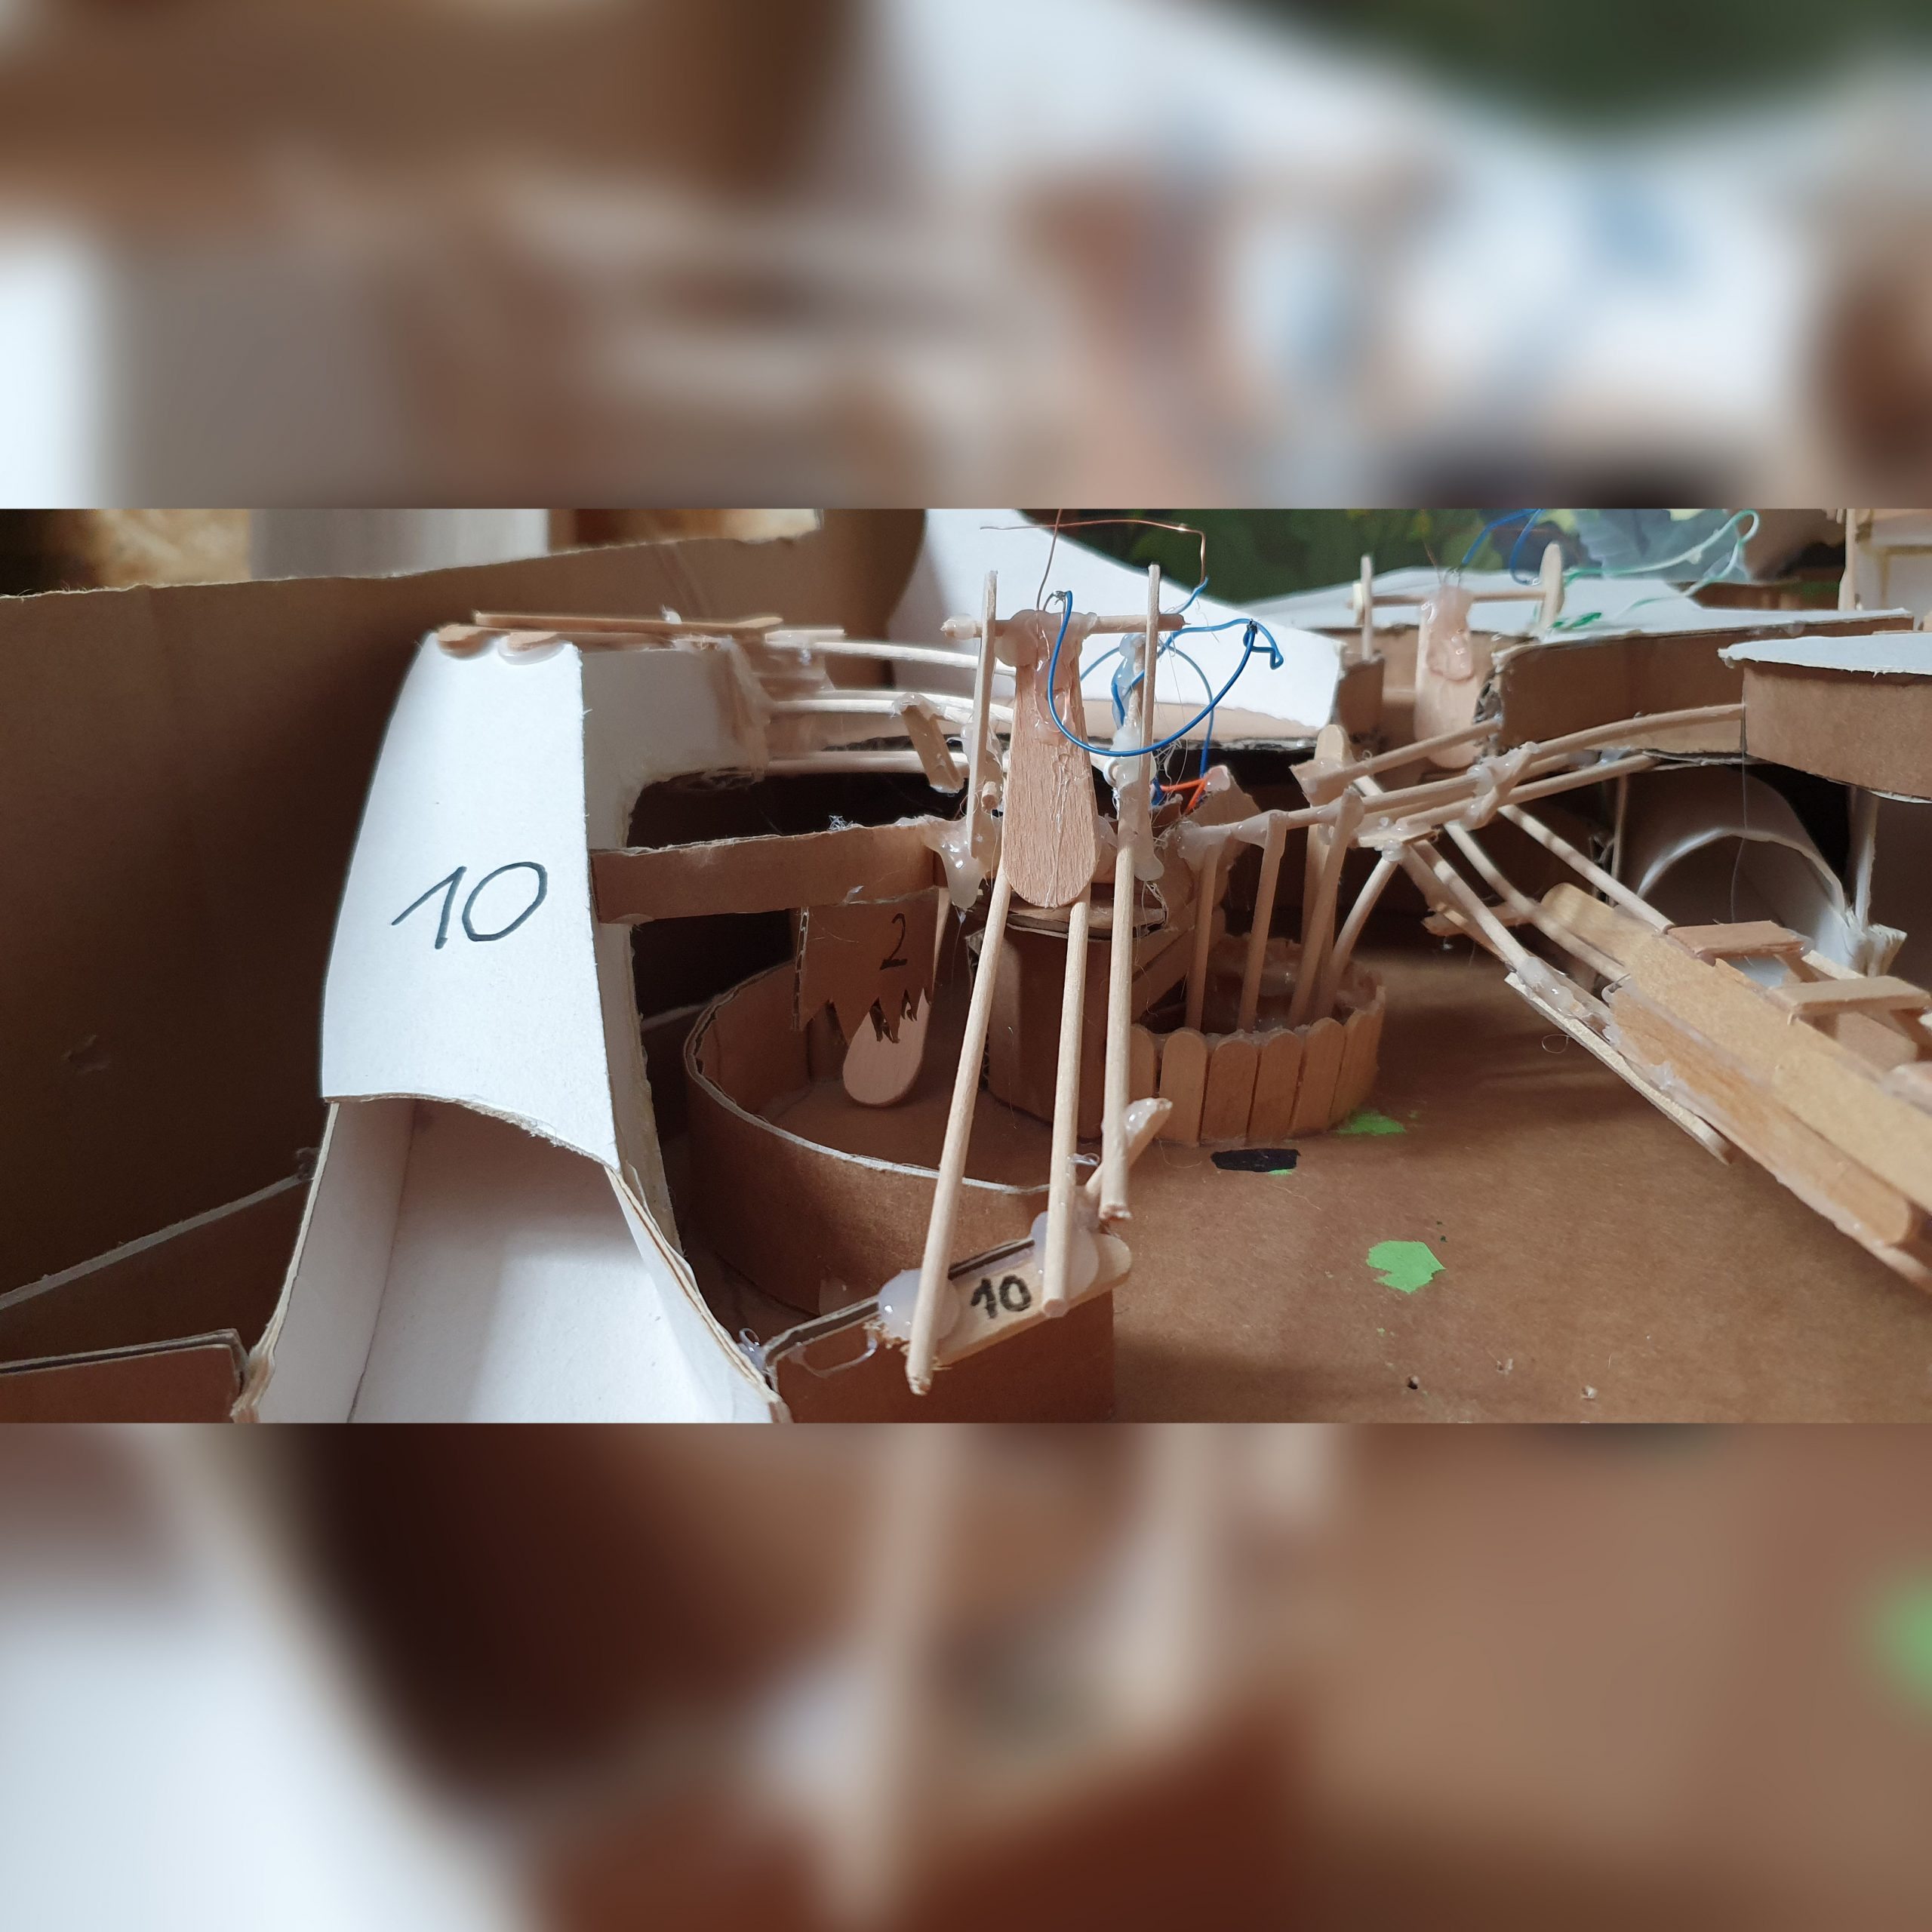
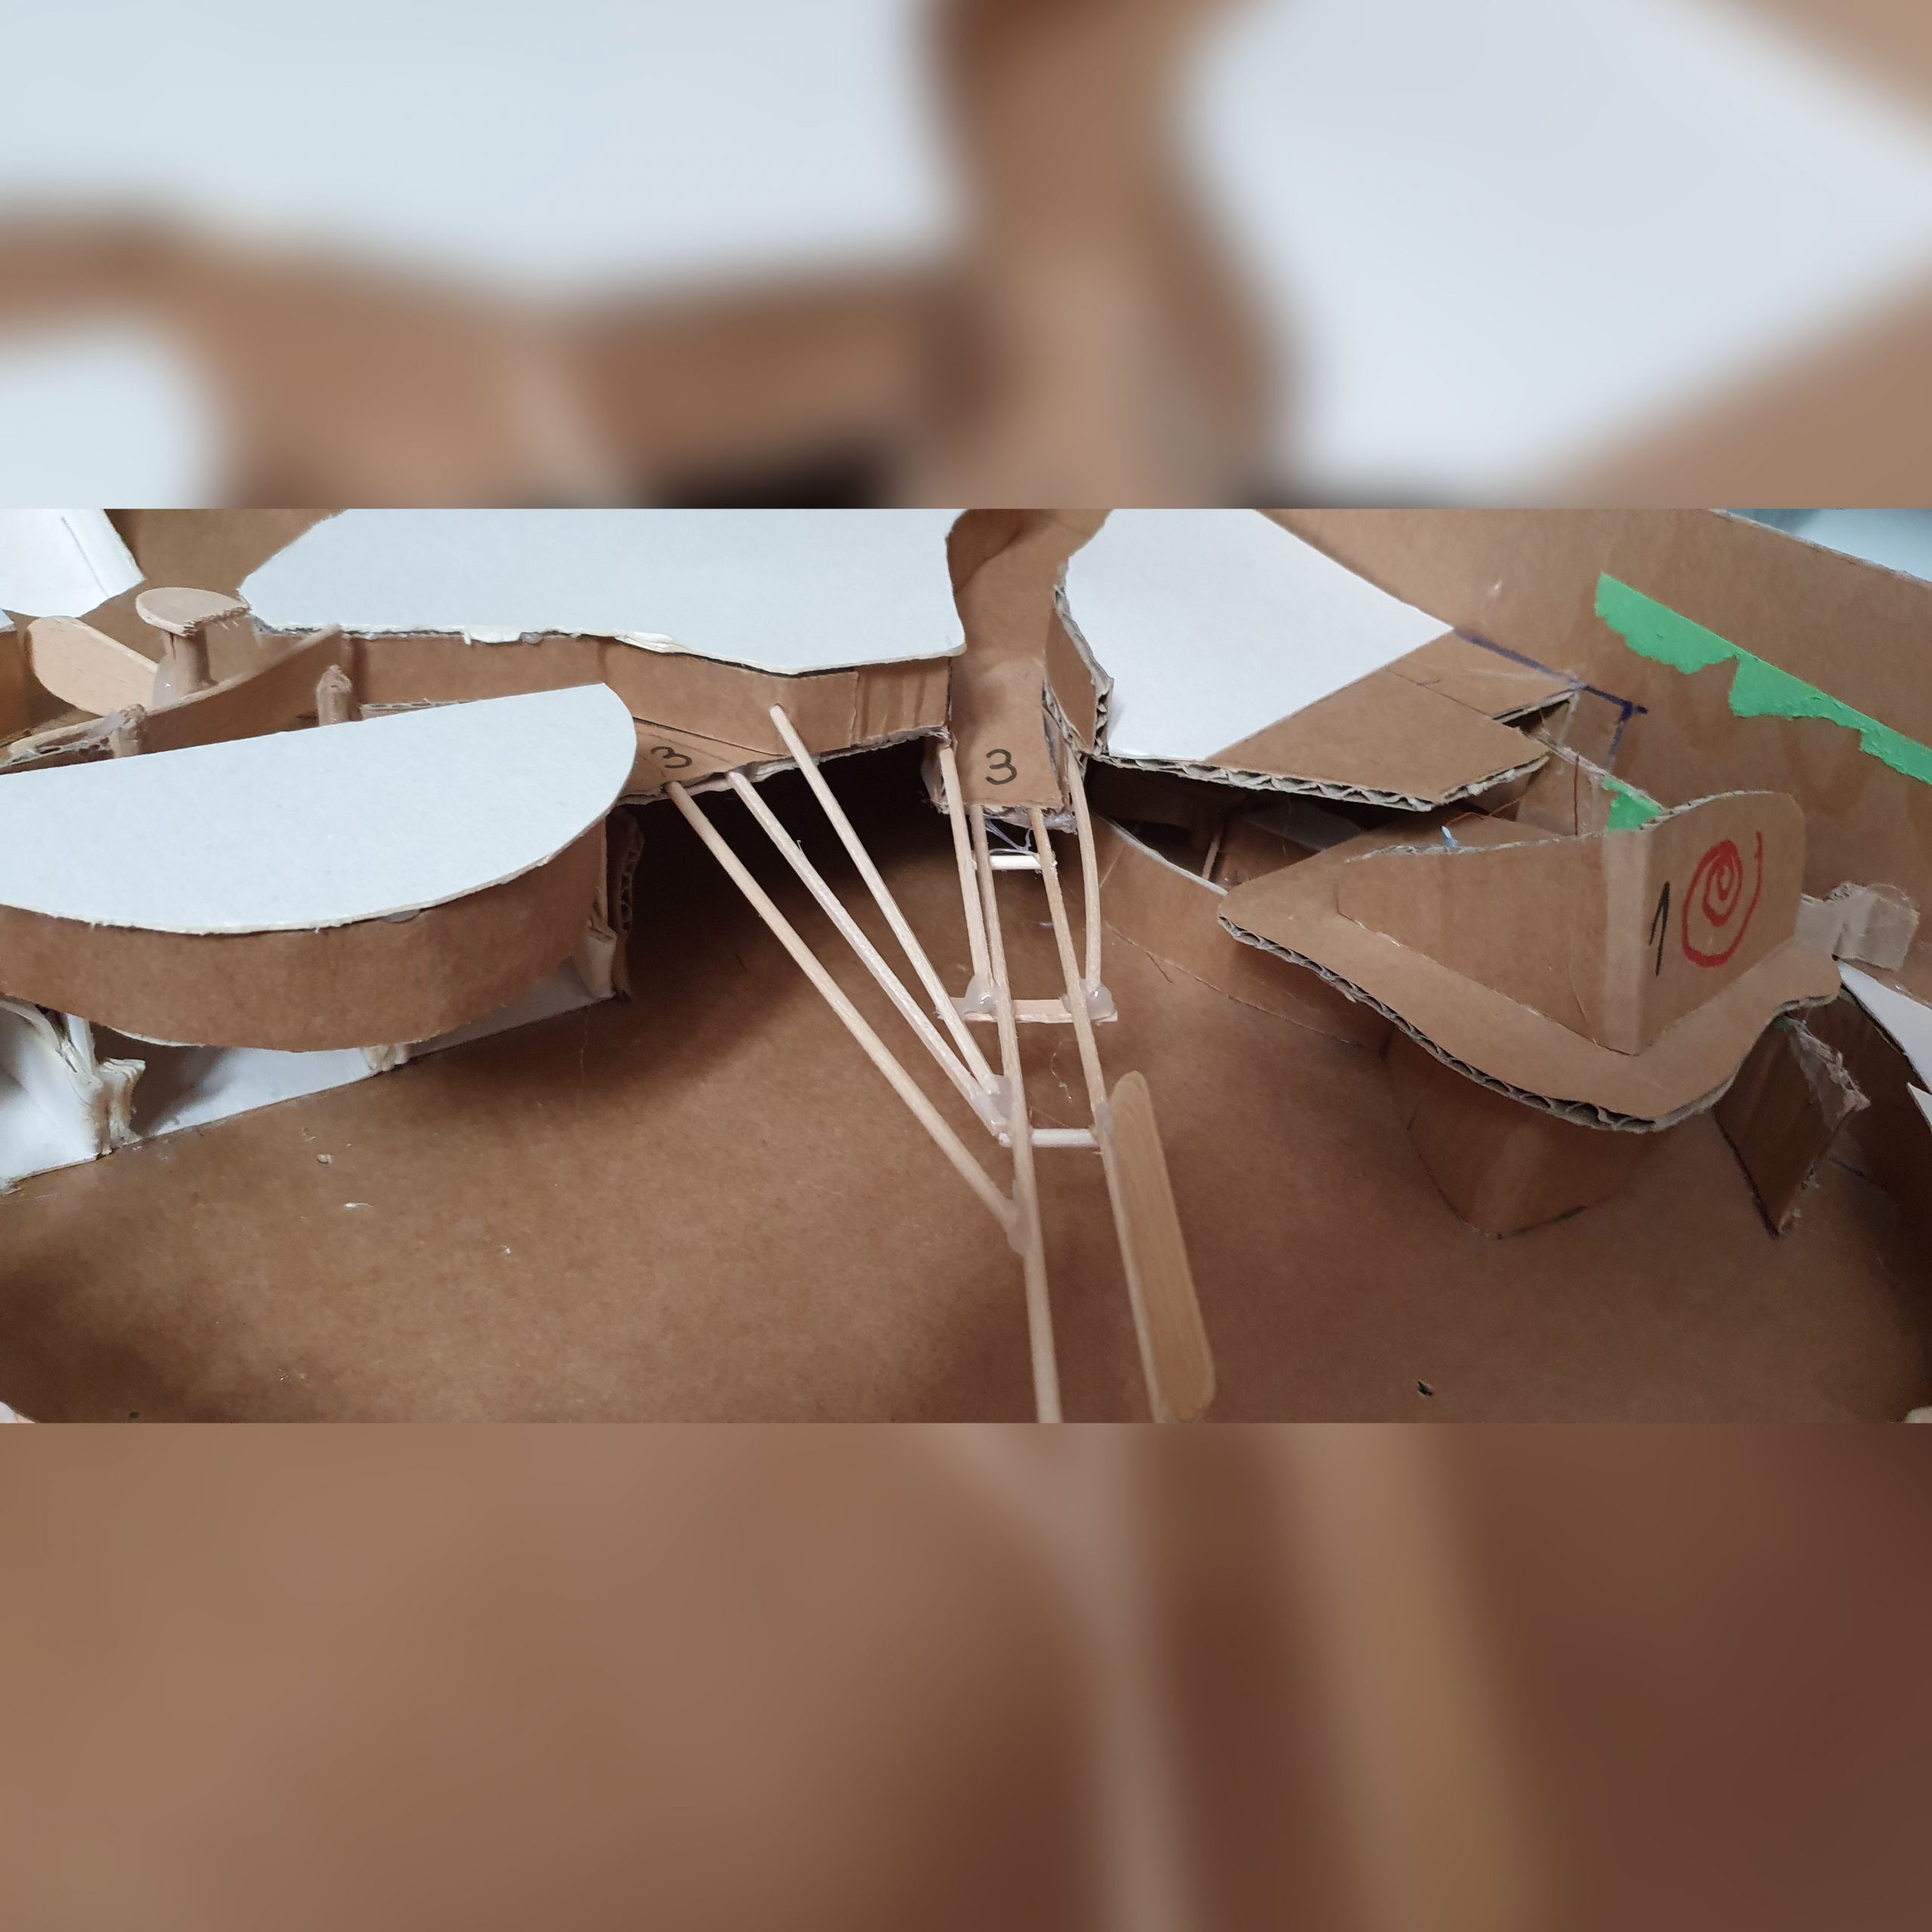
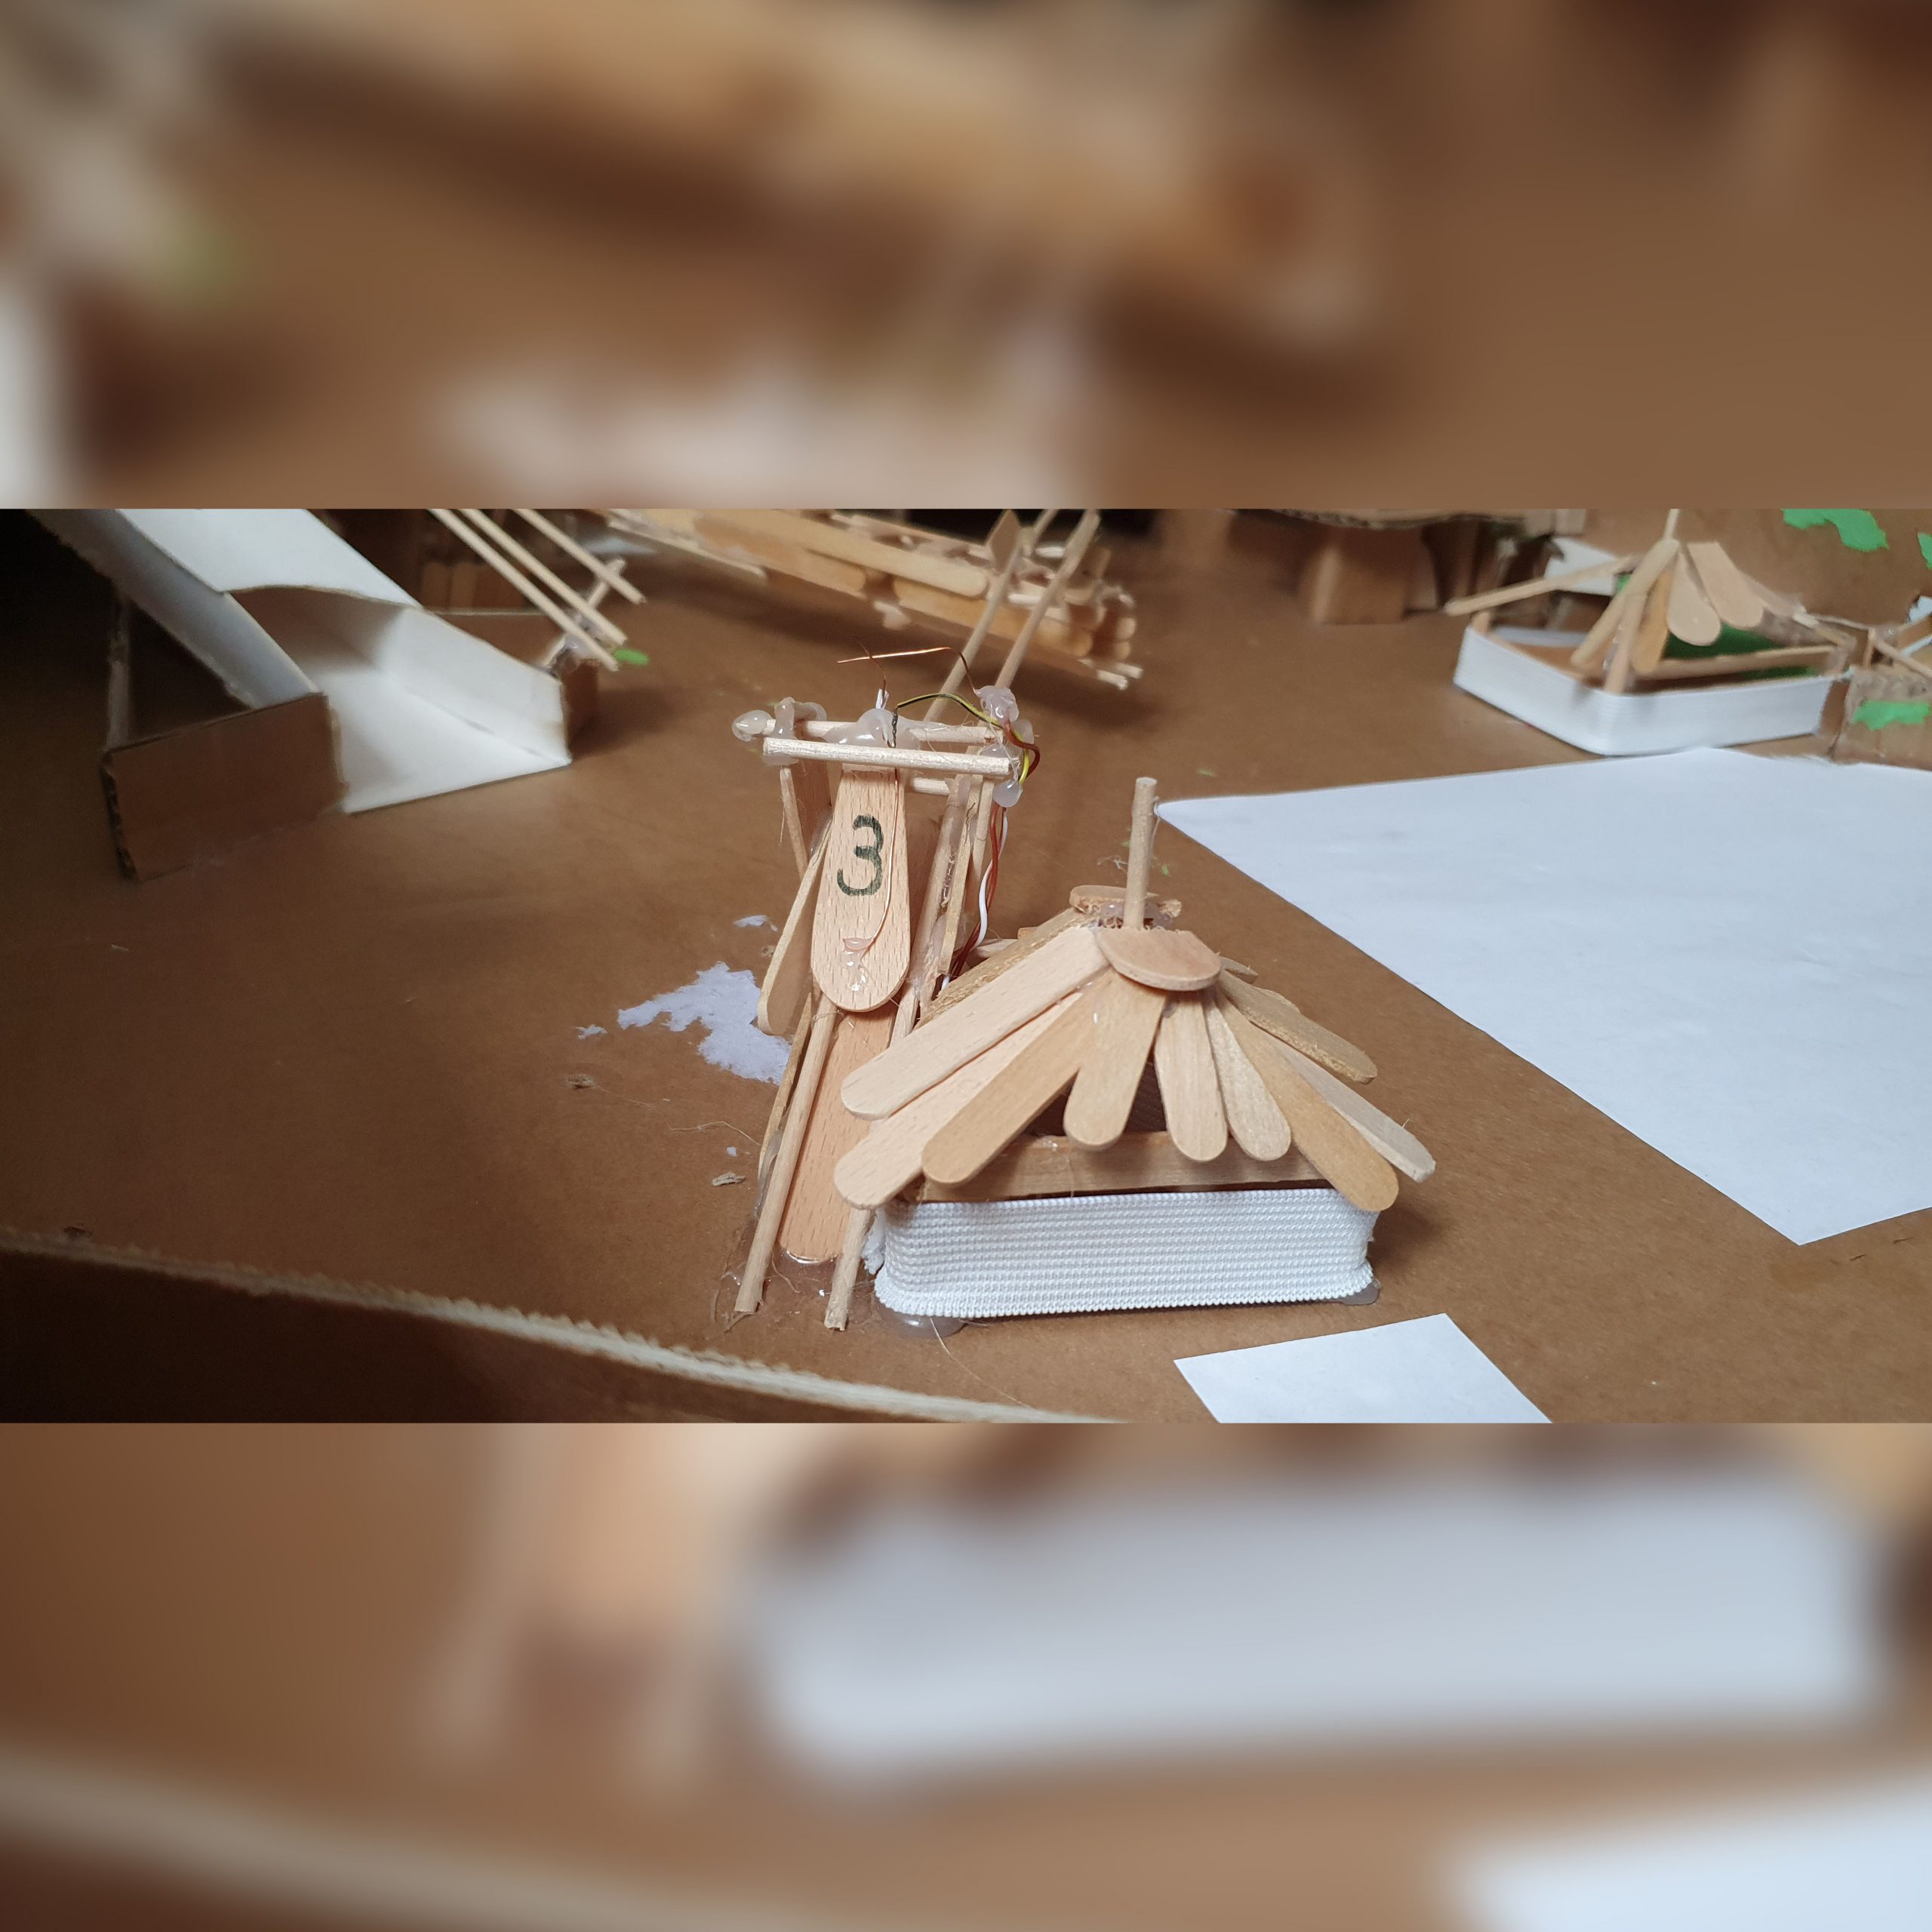
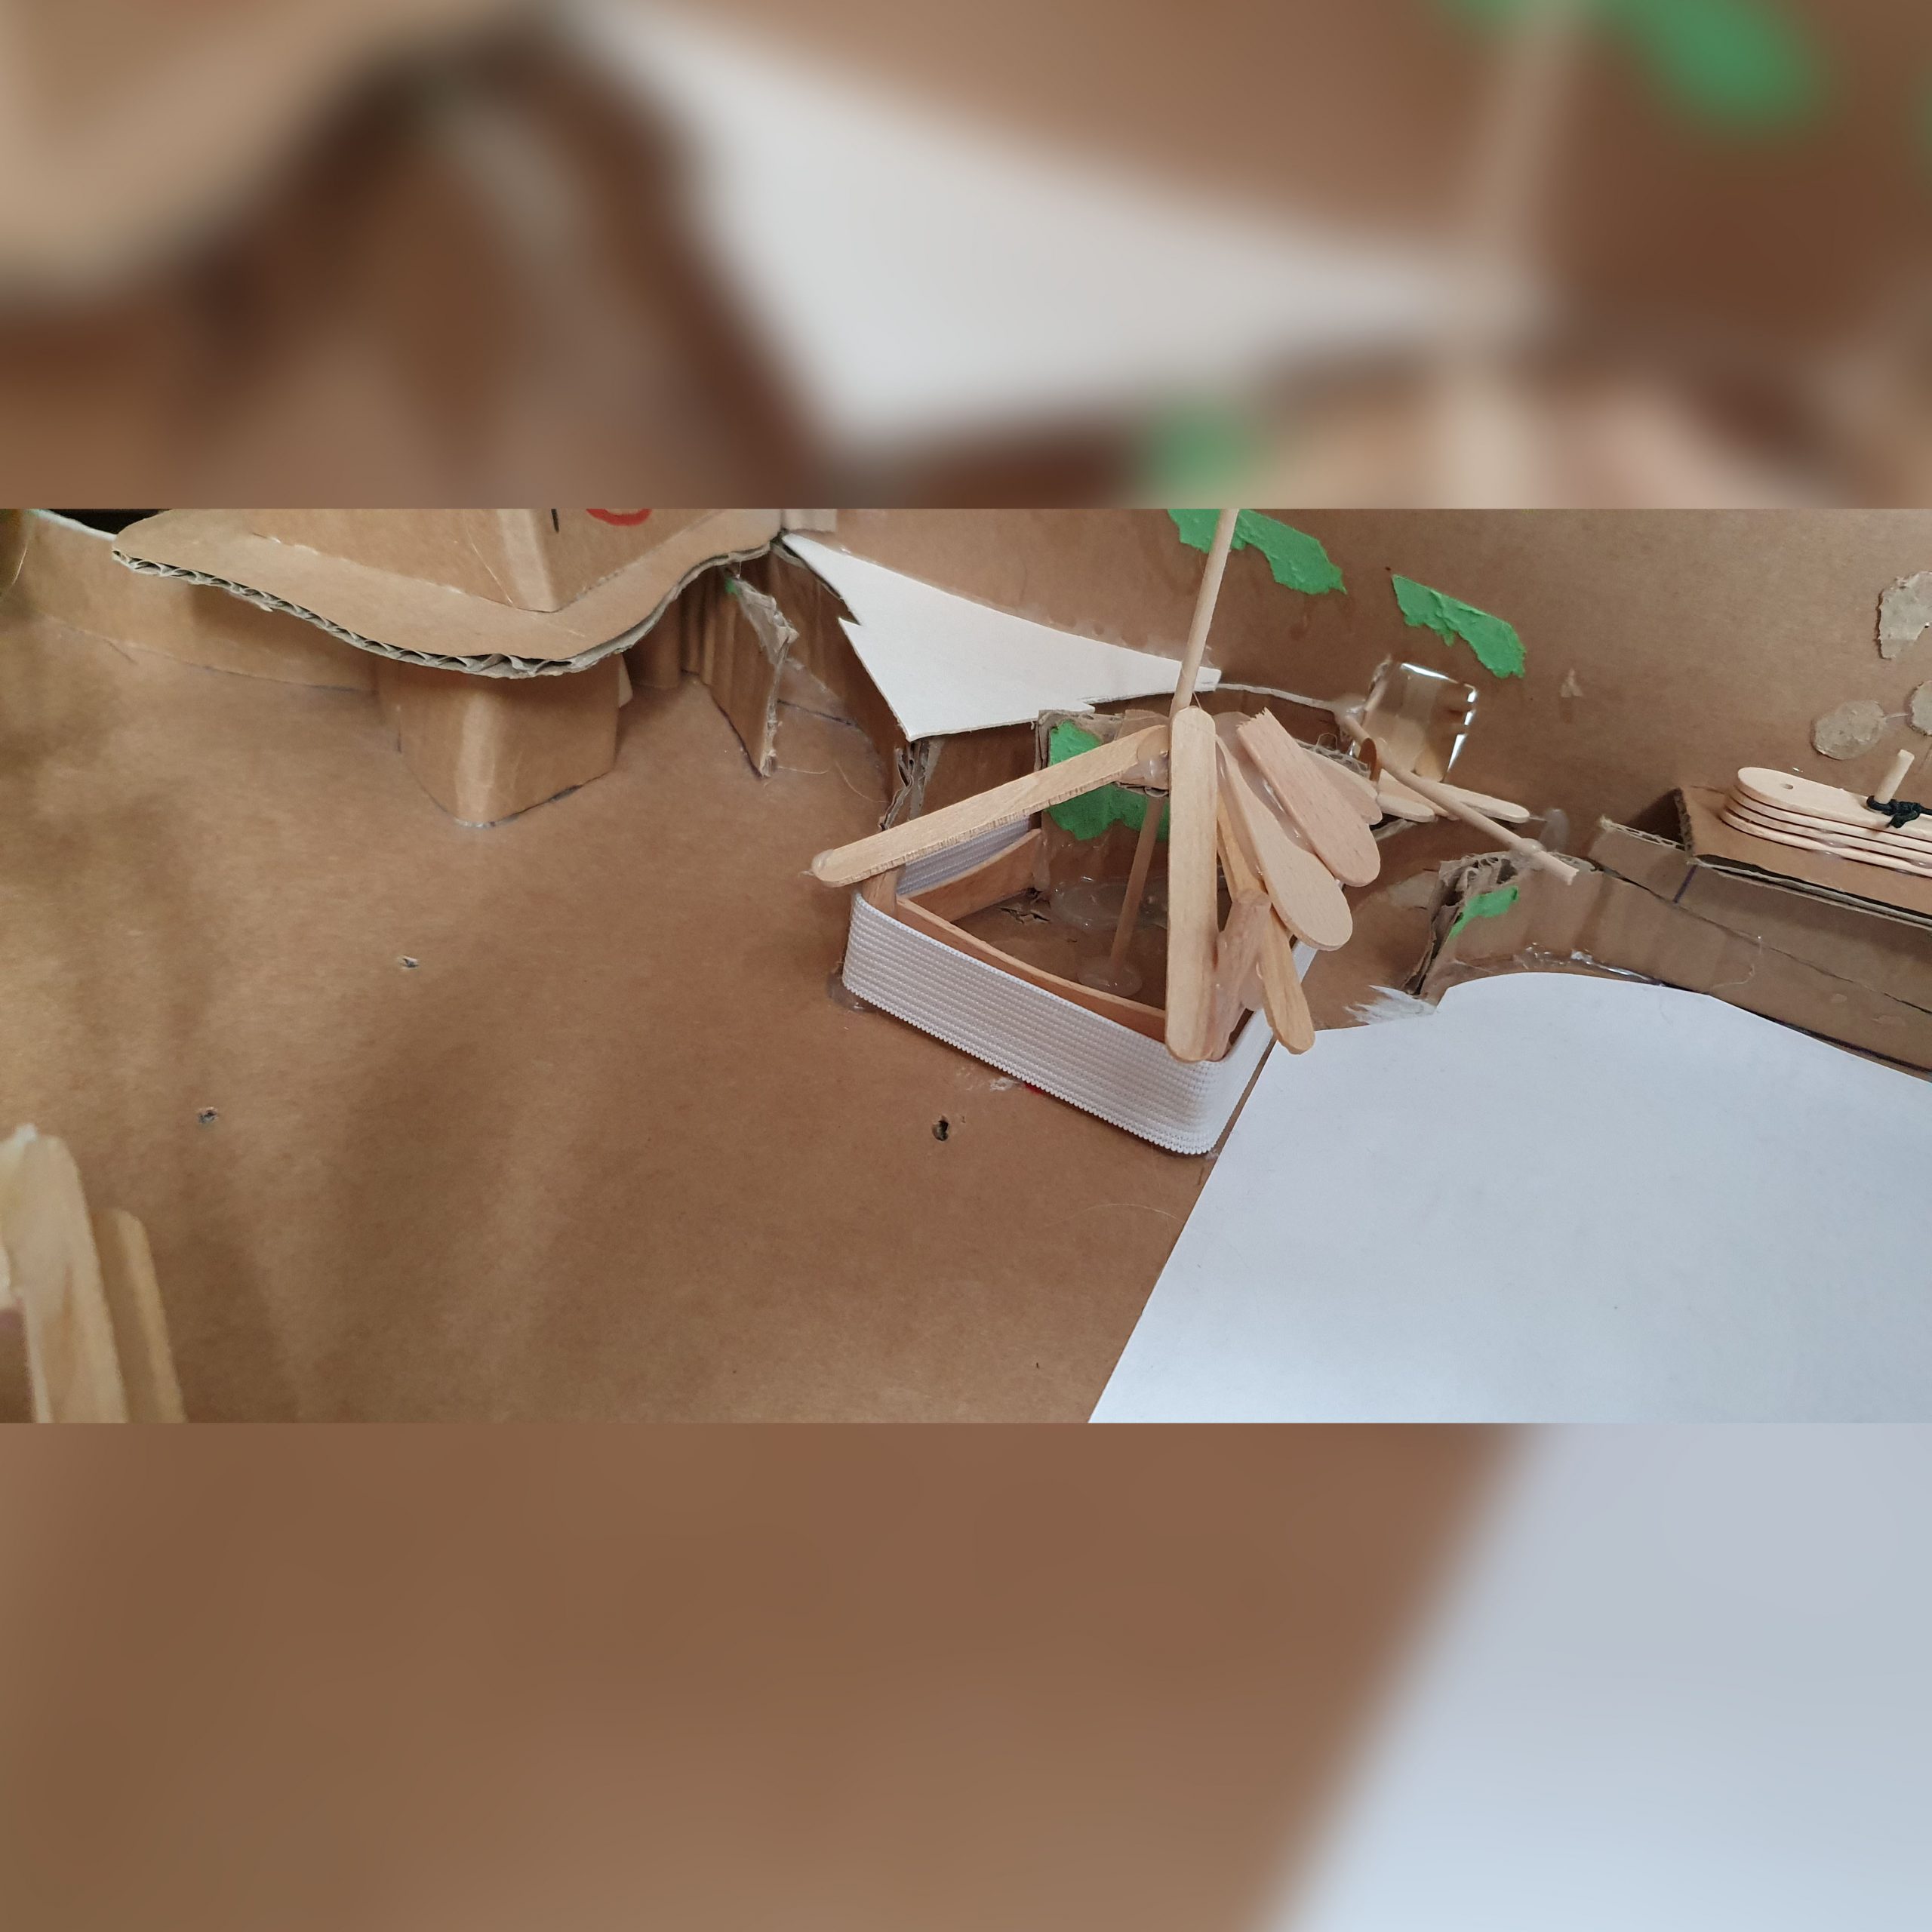
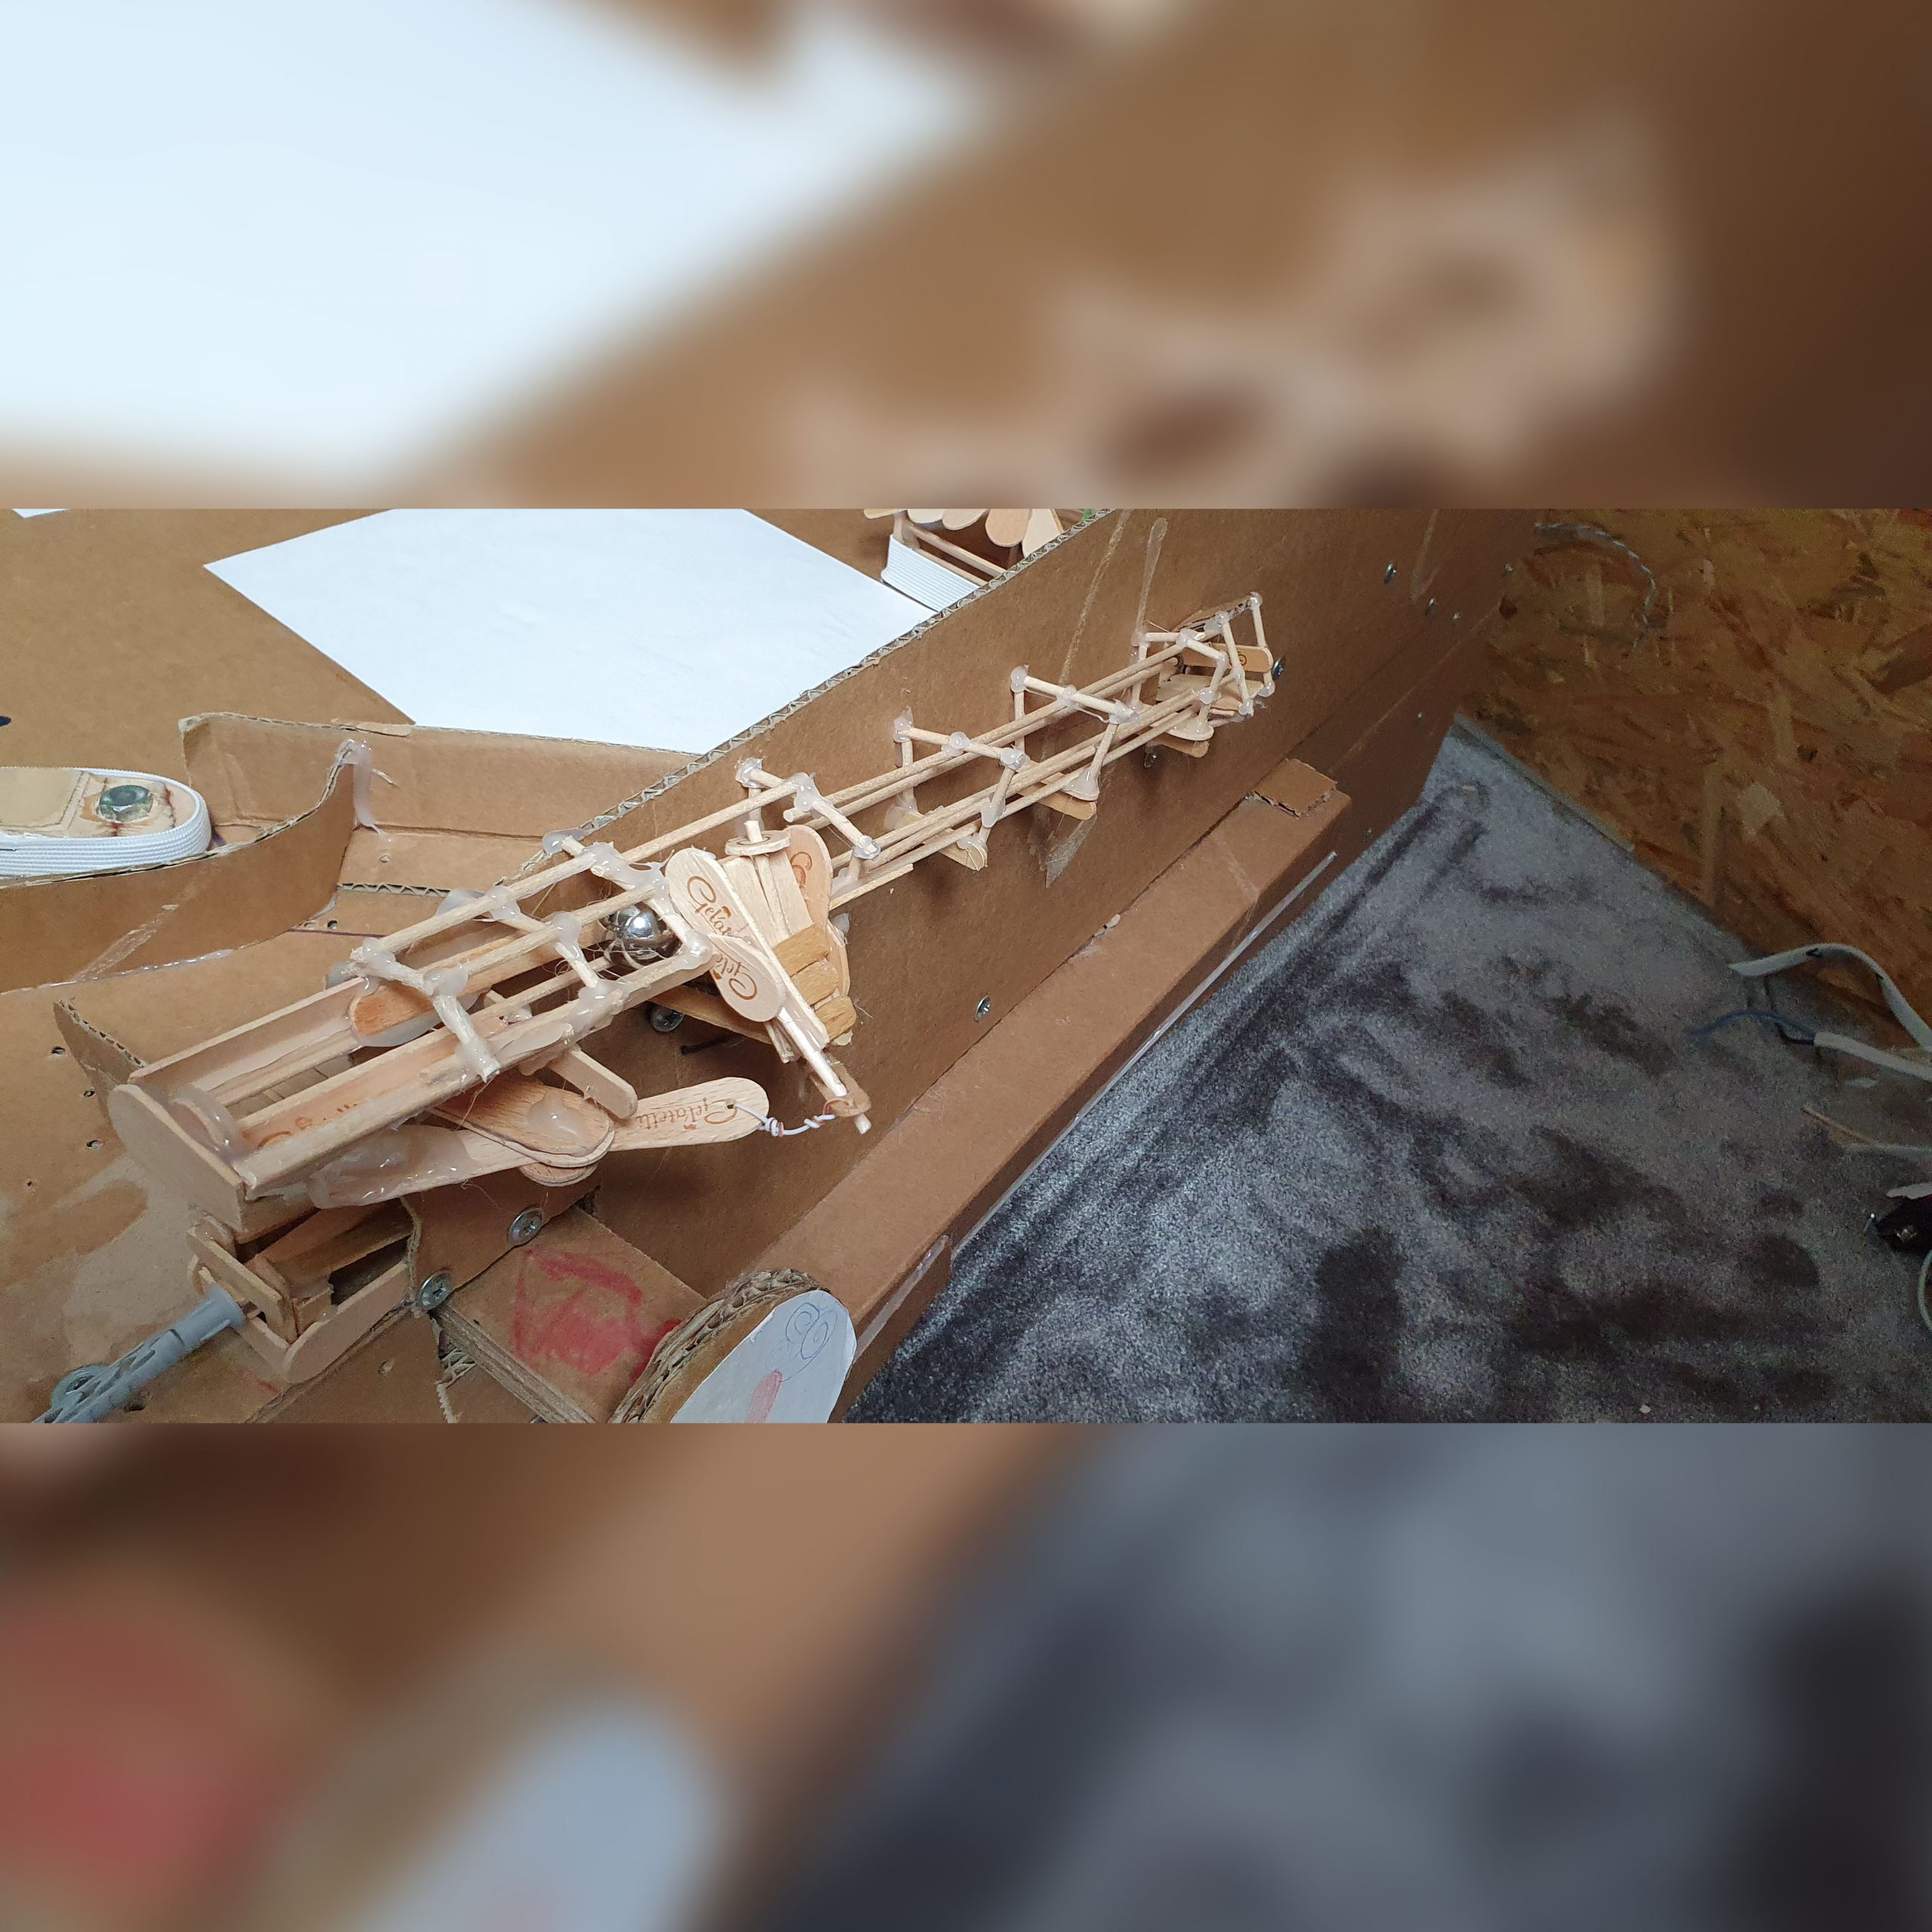
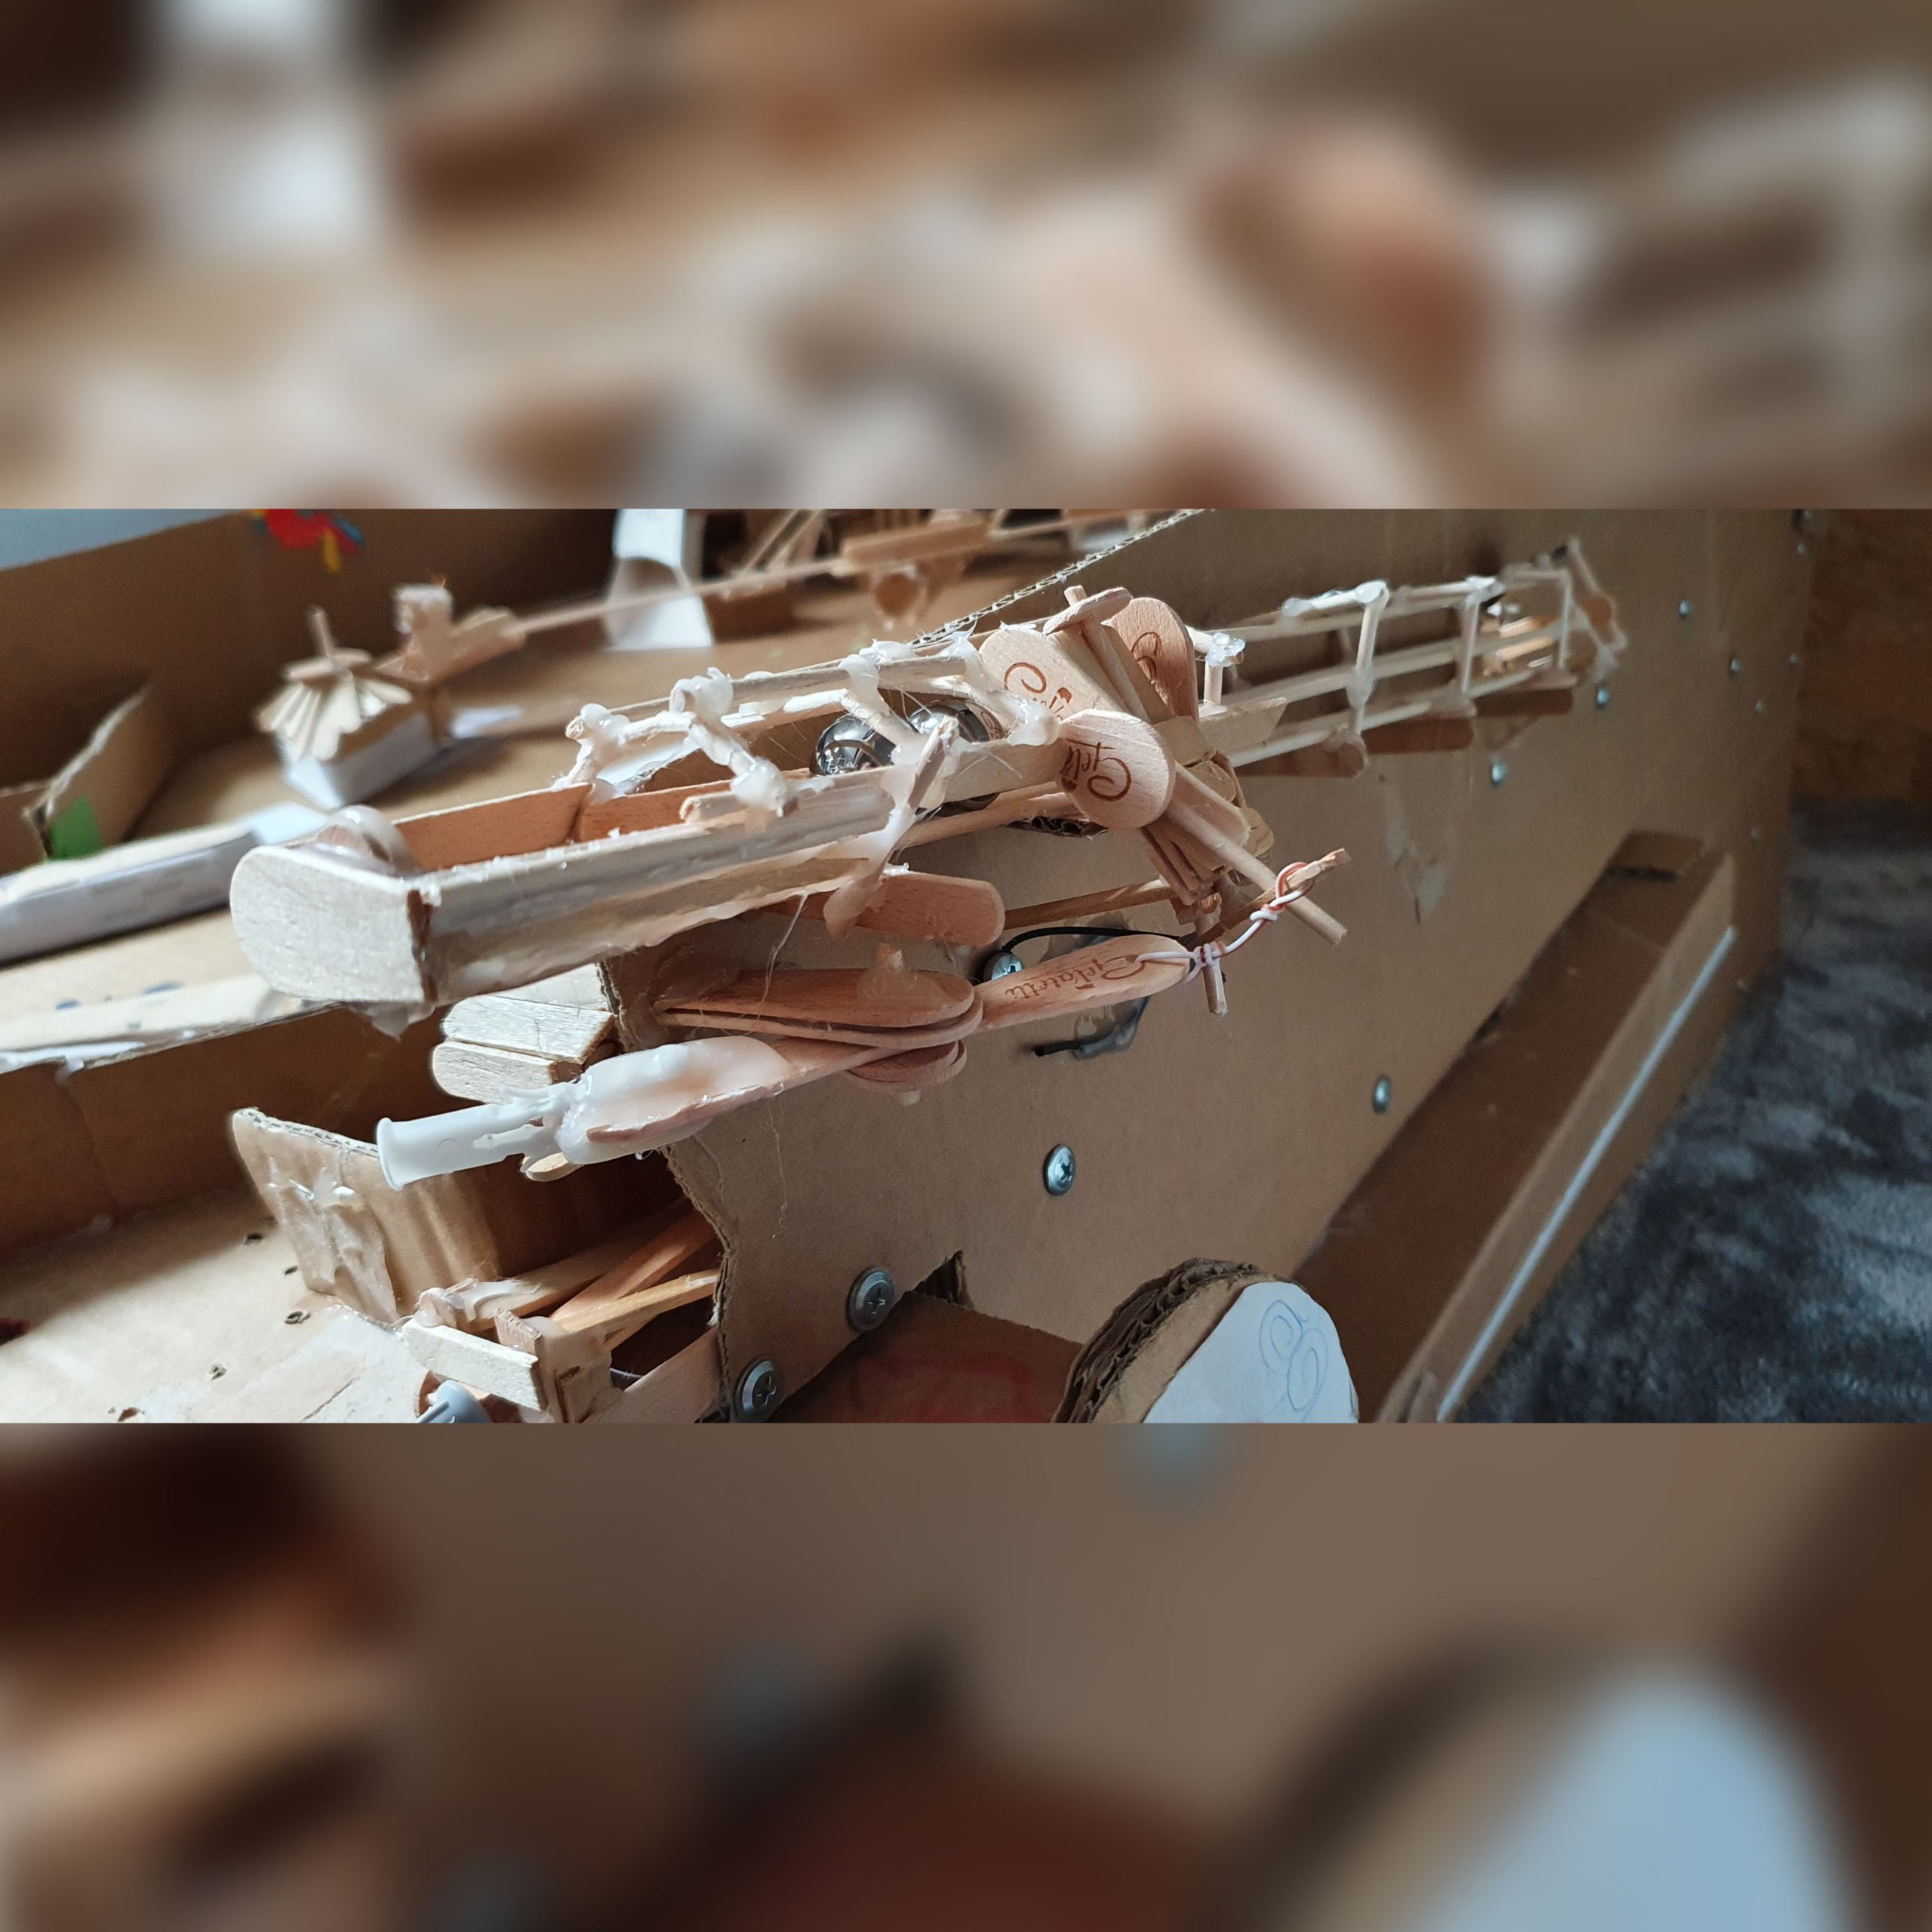
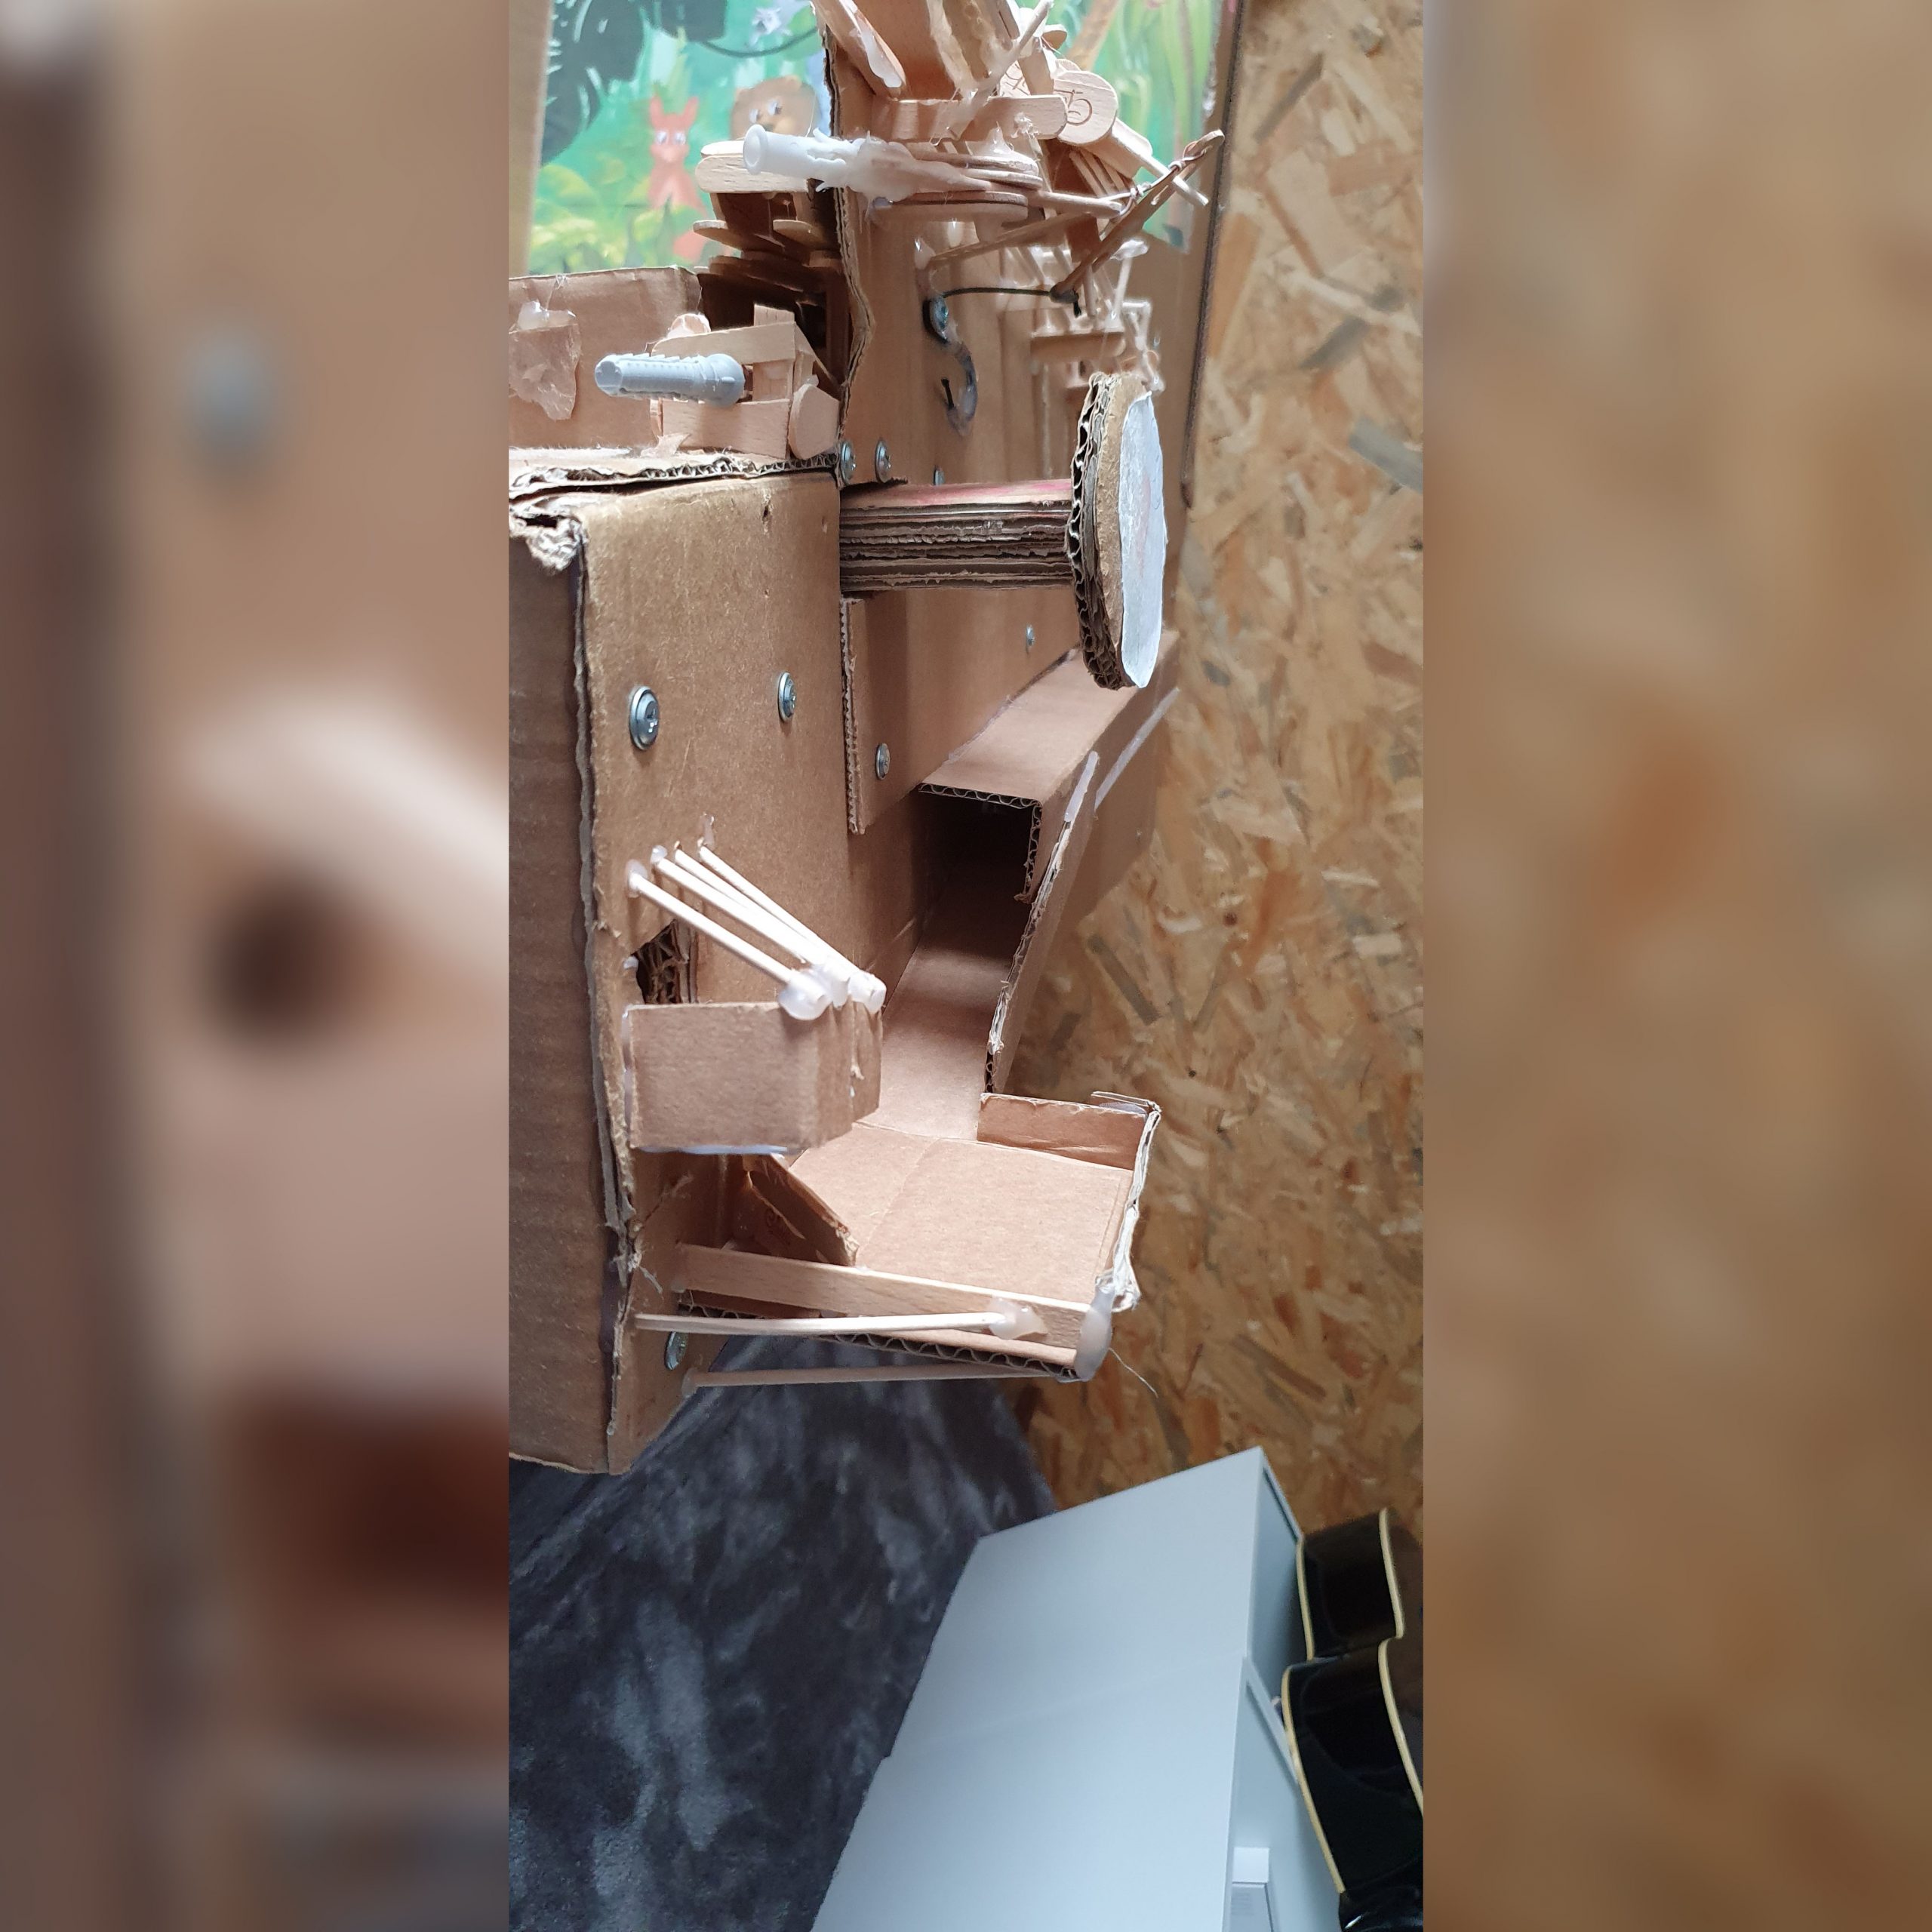
Ramps
The first ramp I created were made from 1.5mm copper wires soldered together as you can see on the photos.
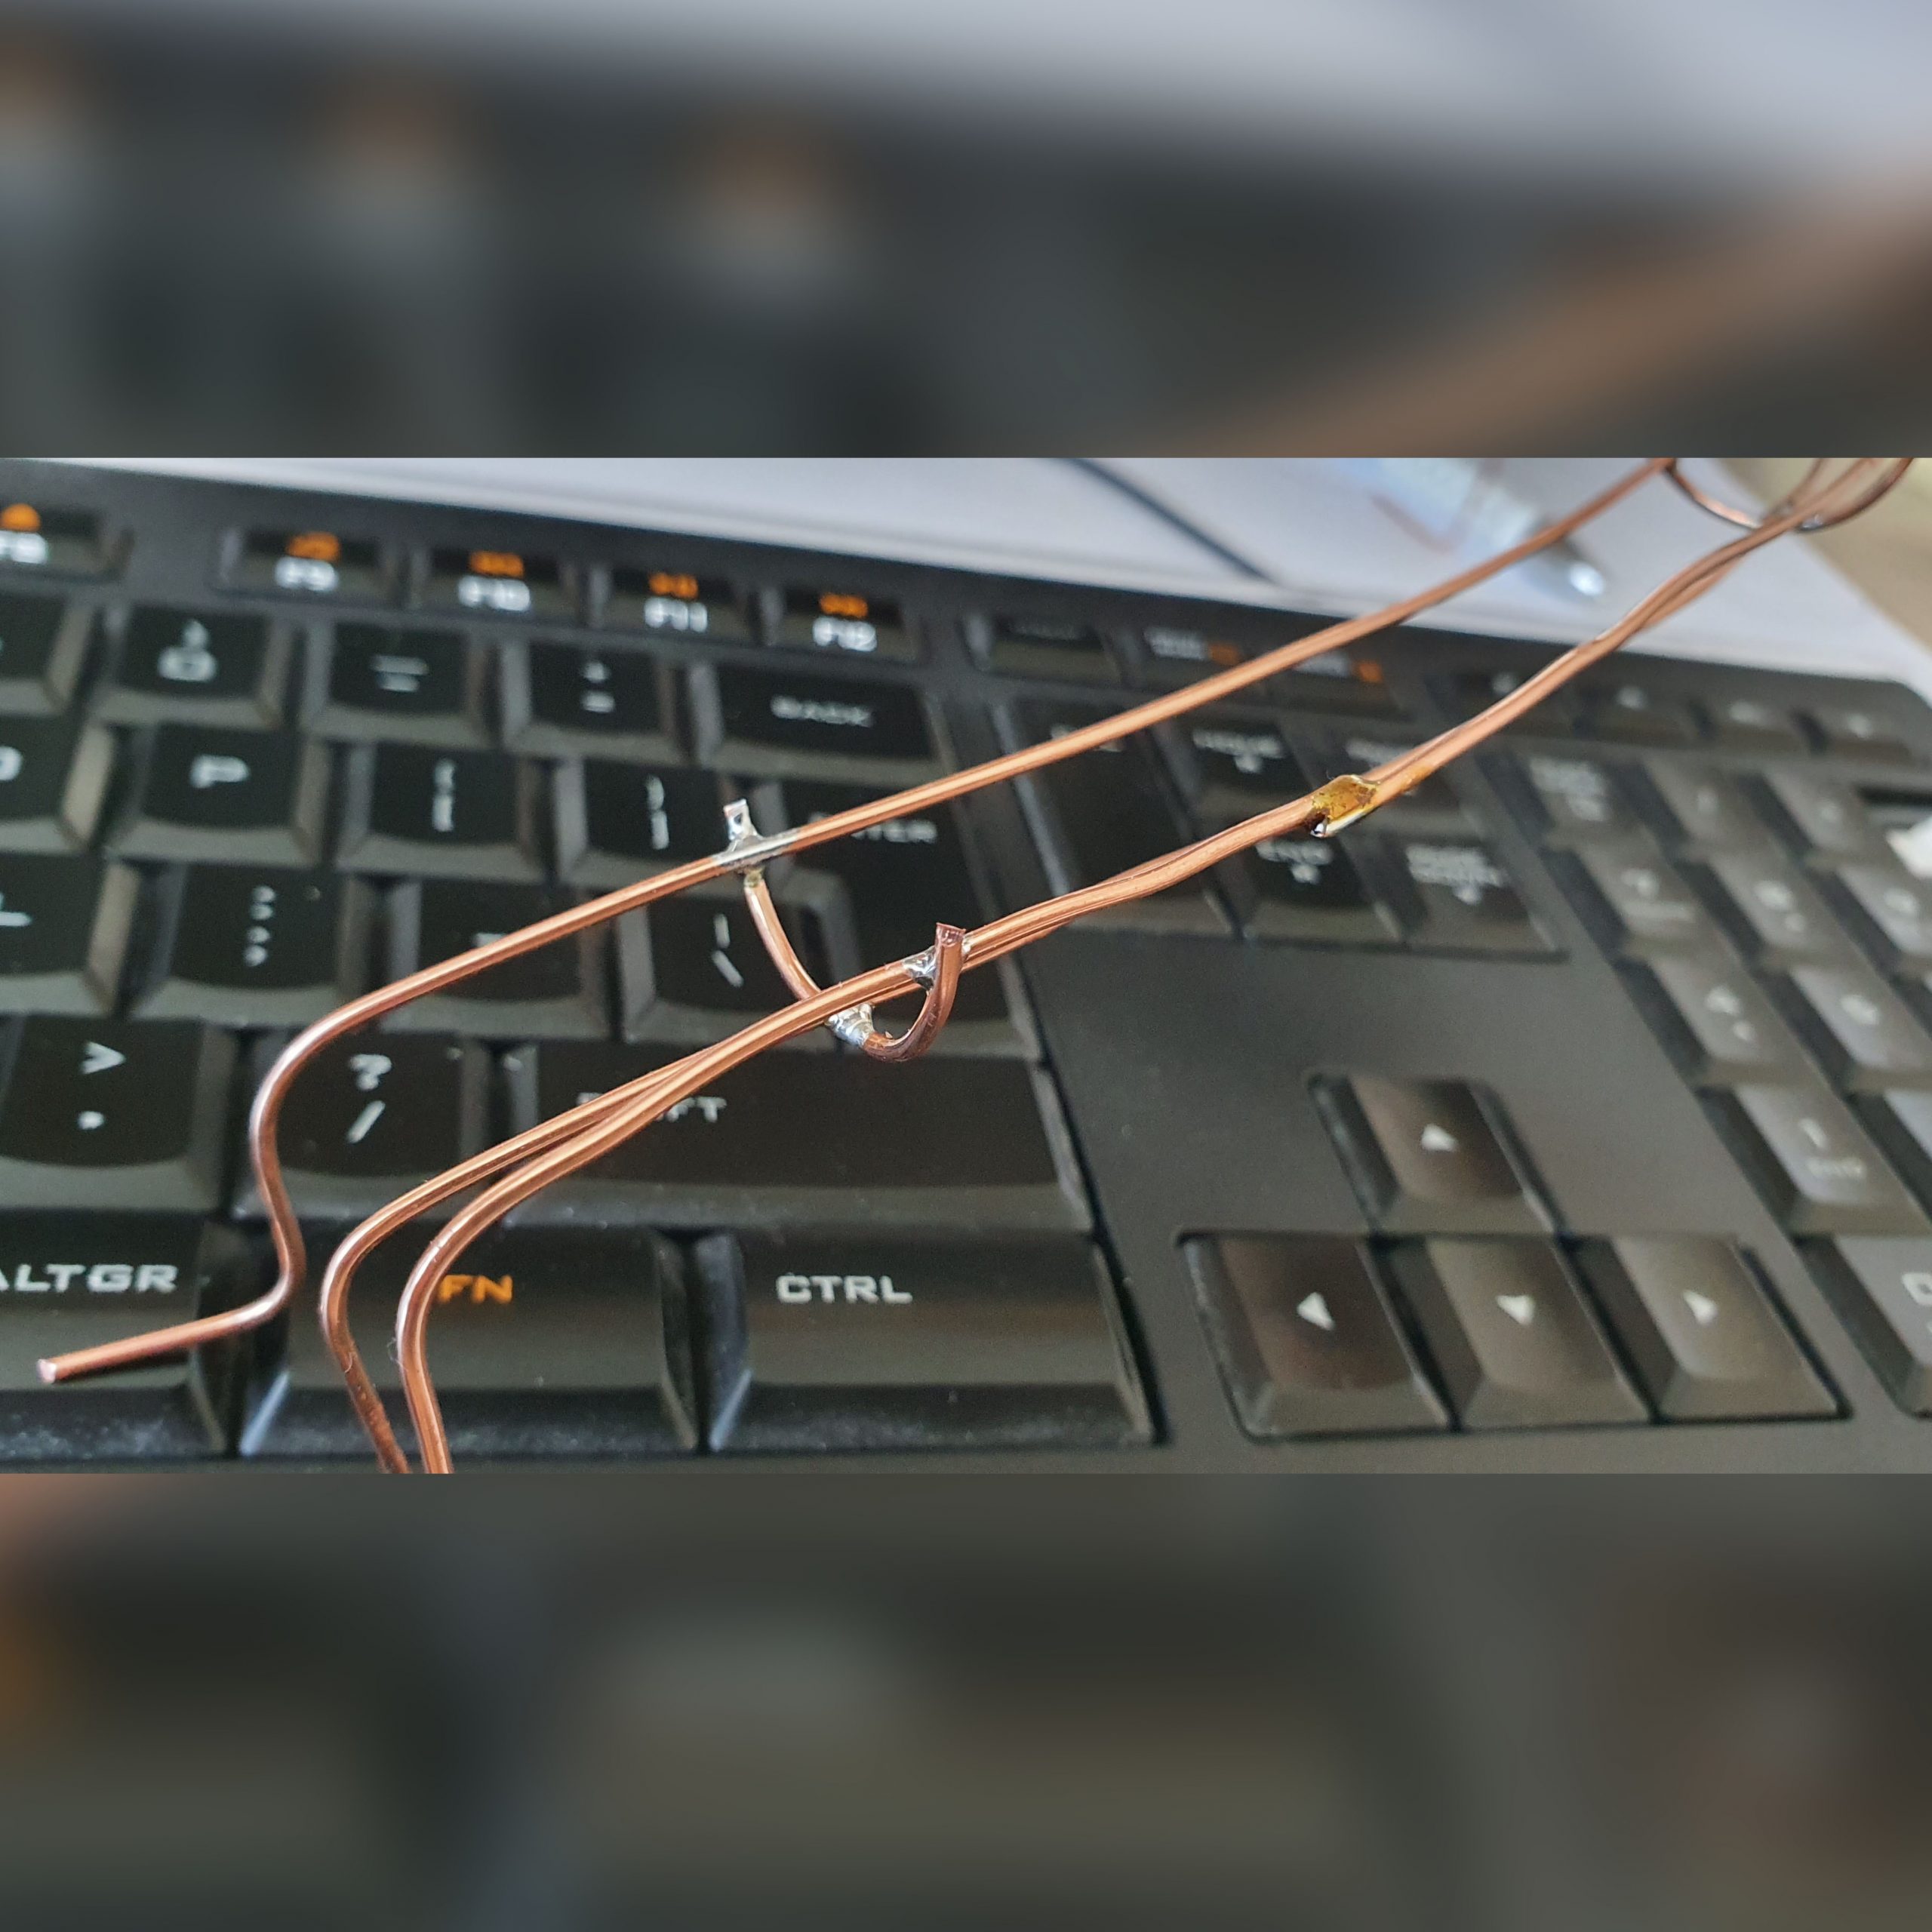
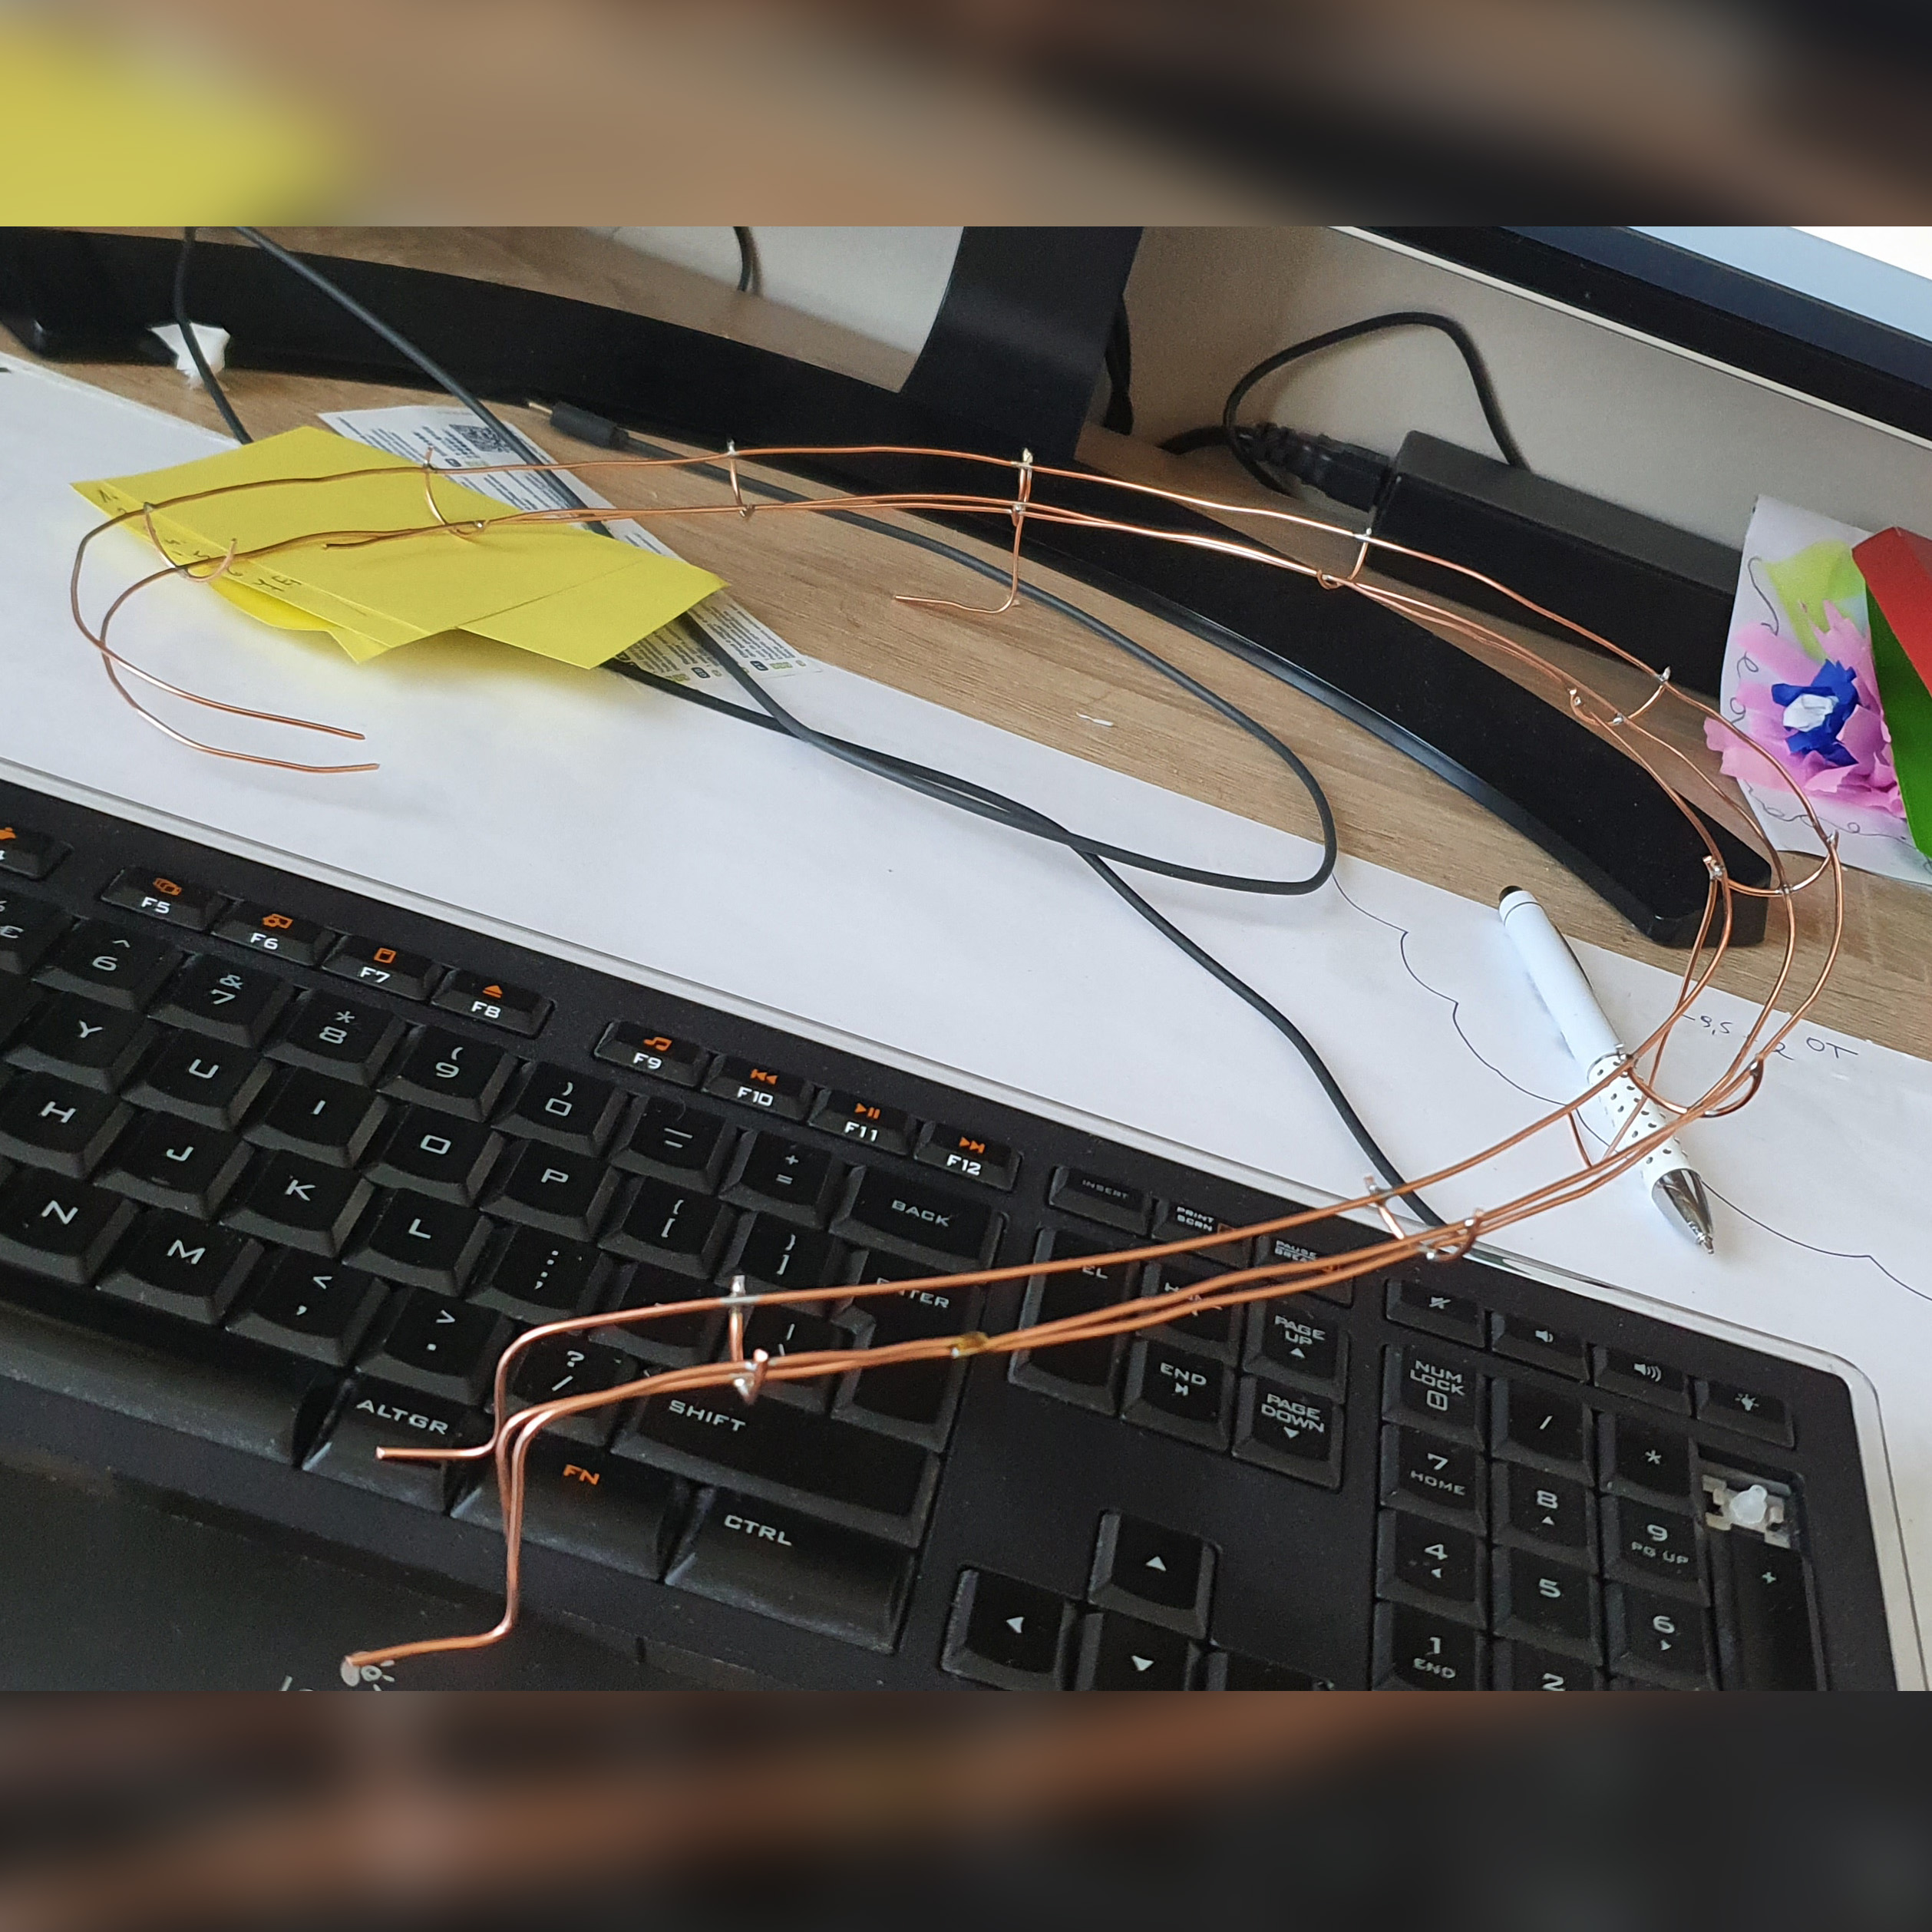
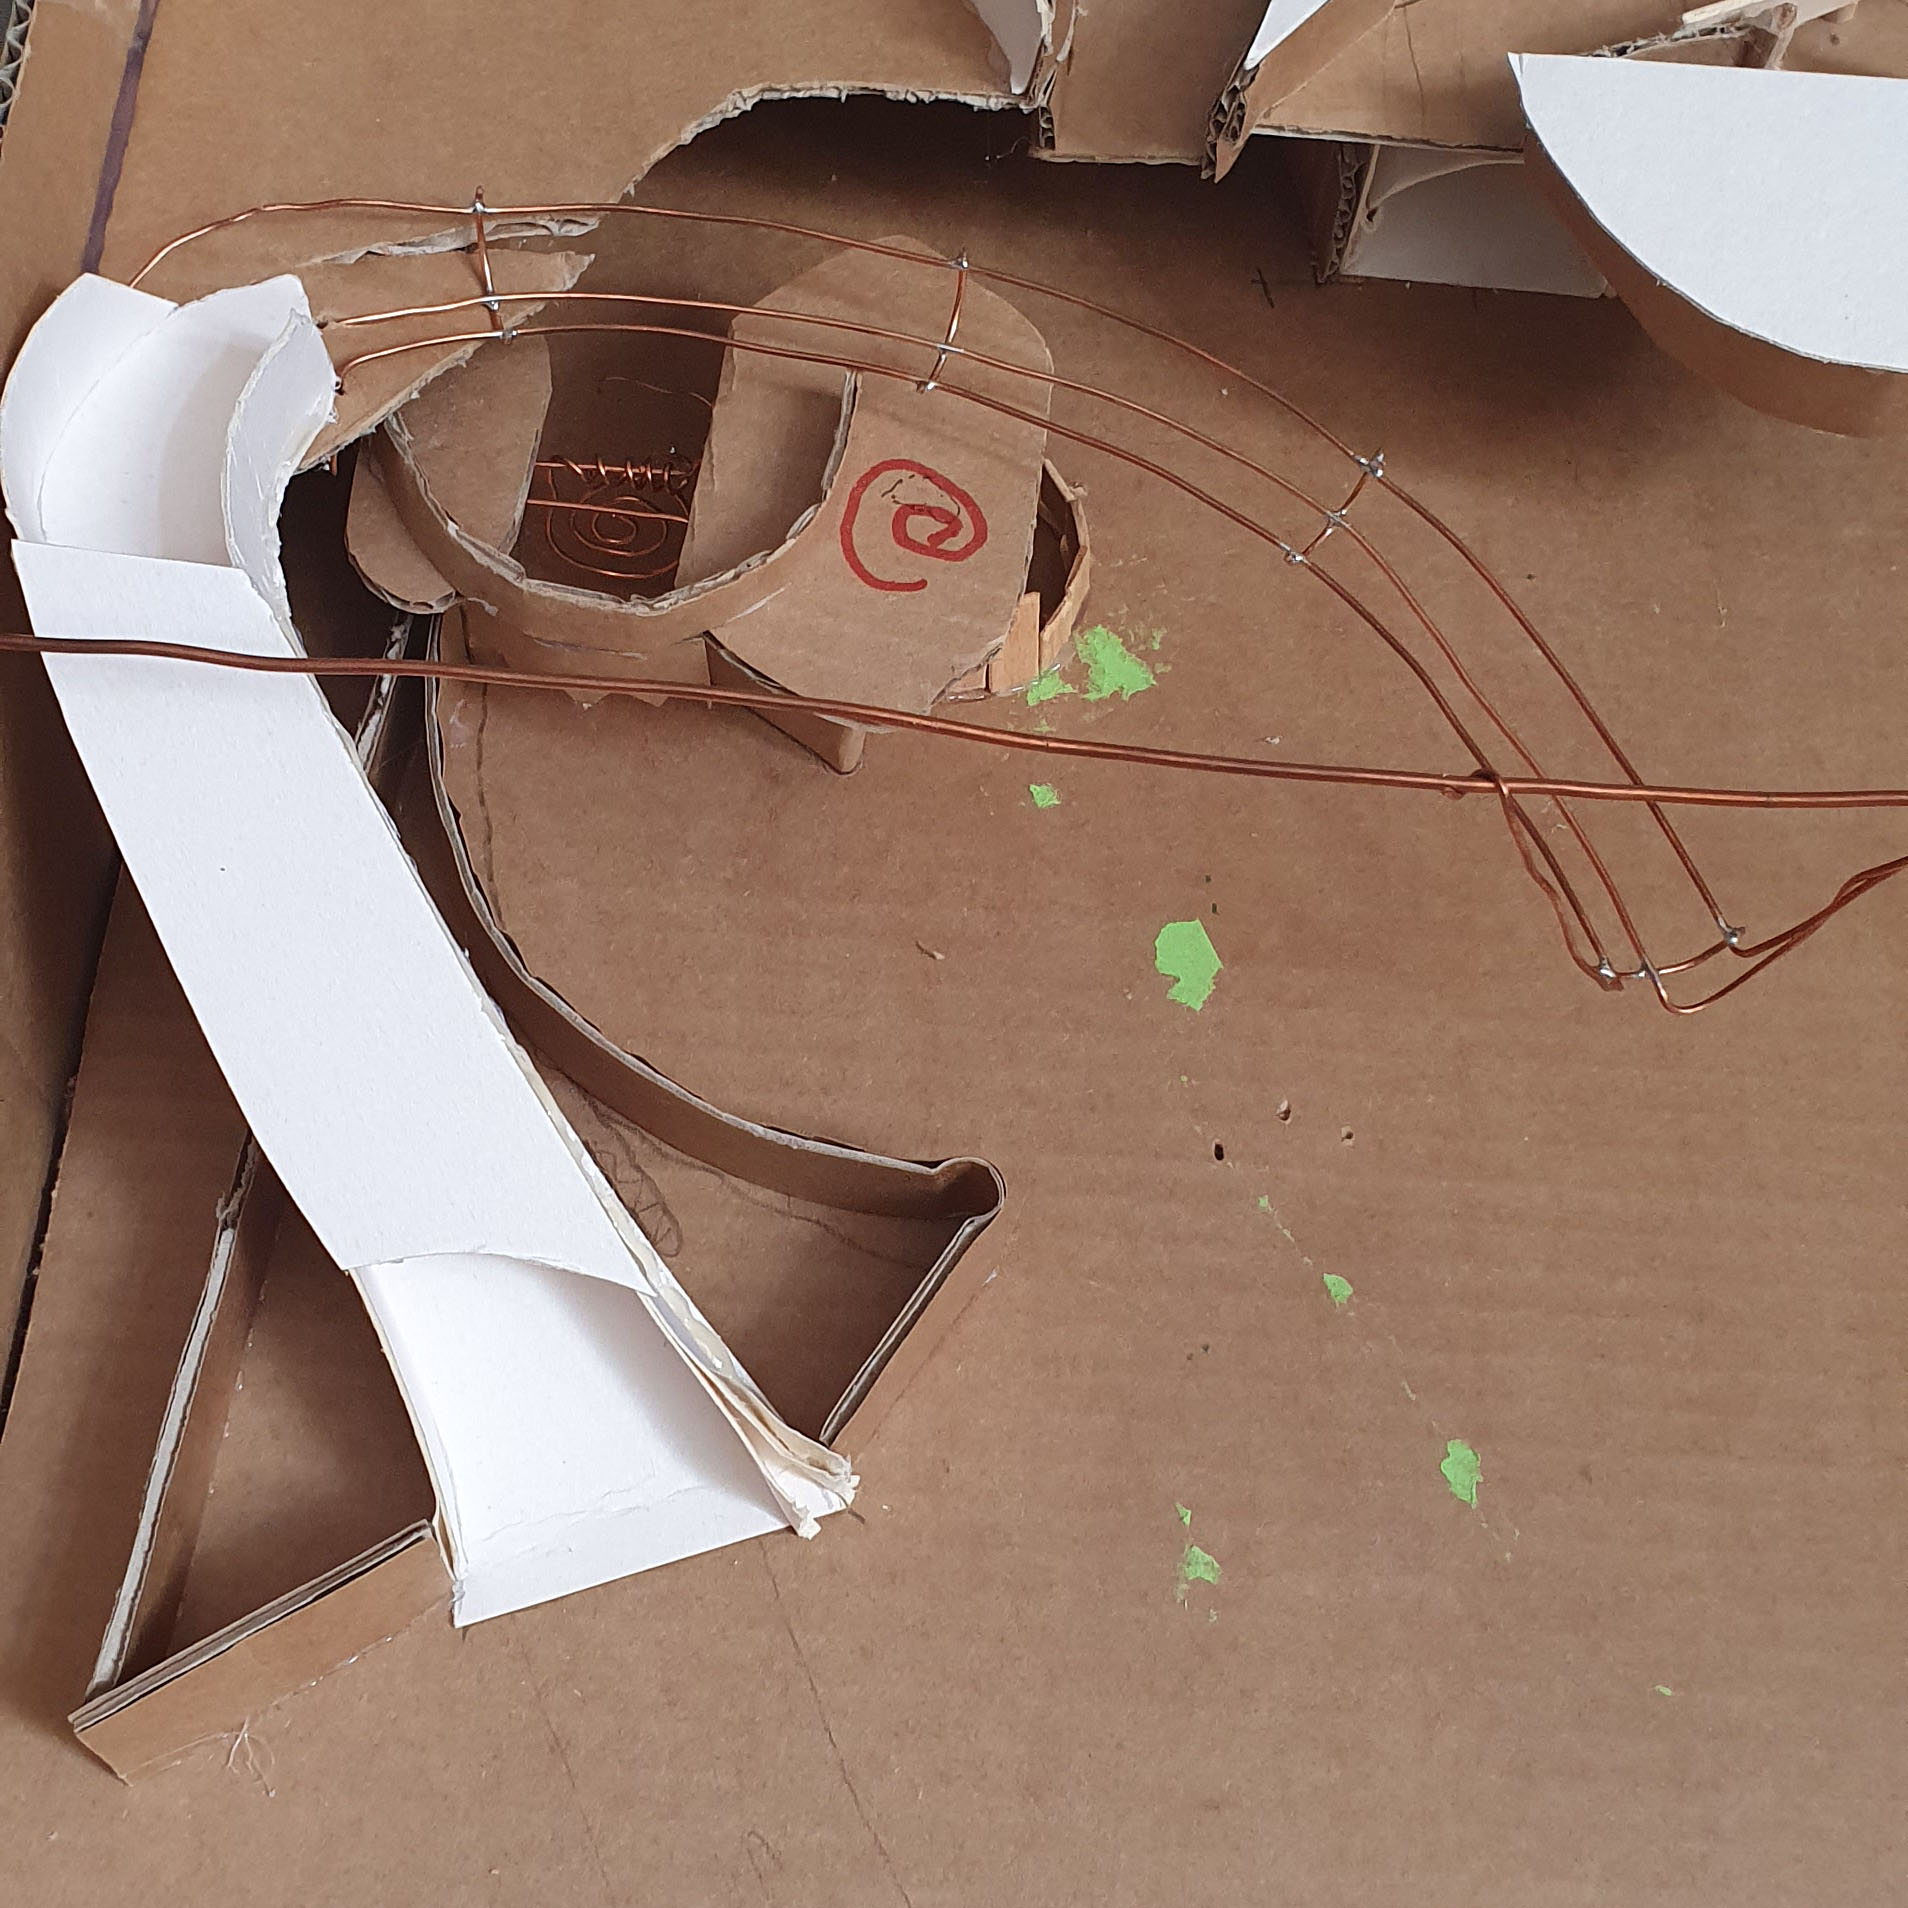
The copper wires were ok, but not as stable as I thought. Finally I started using wooden skewers and toothpicks connected with technical paper glued with hot glue, and it was much better.

The glue looks a little bit ugly from closer perspective, but it also worked 😉
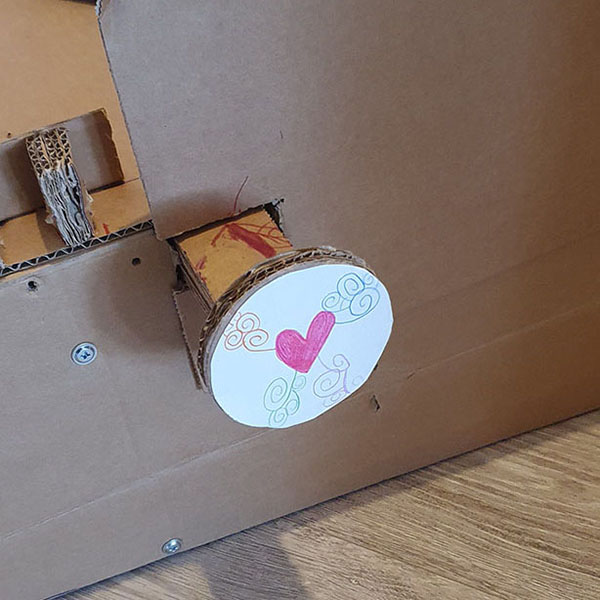
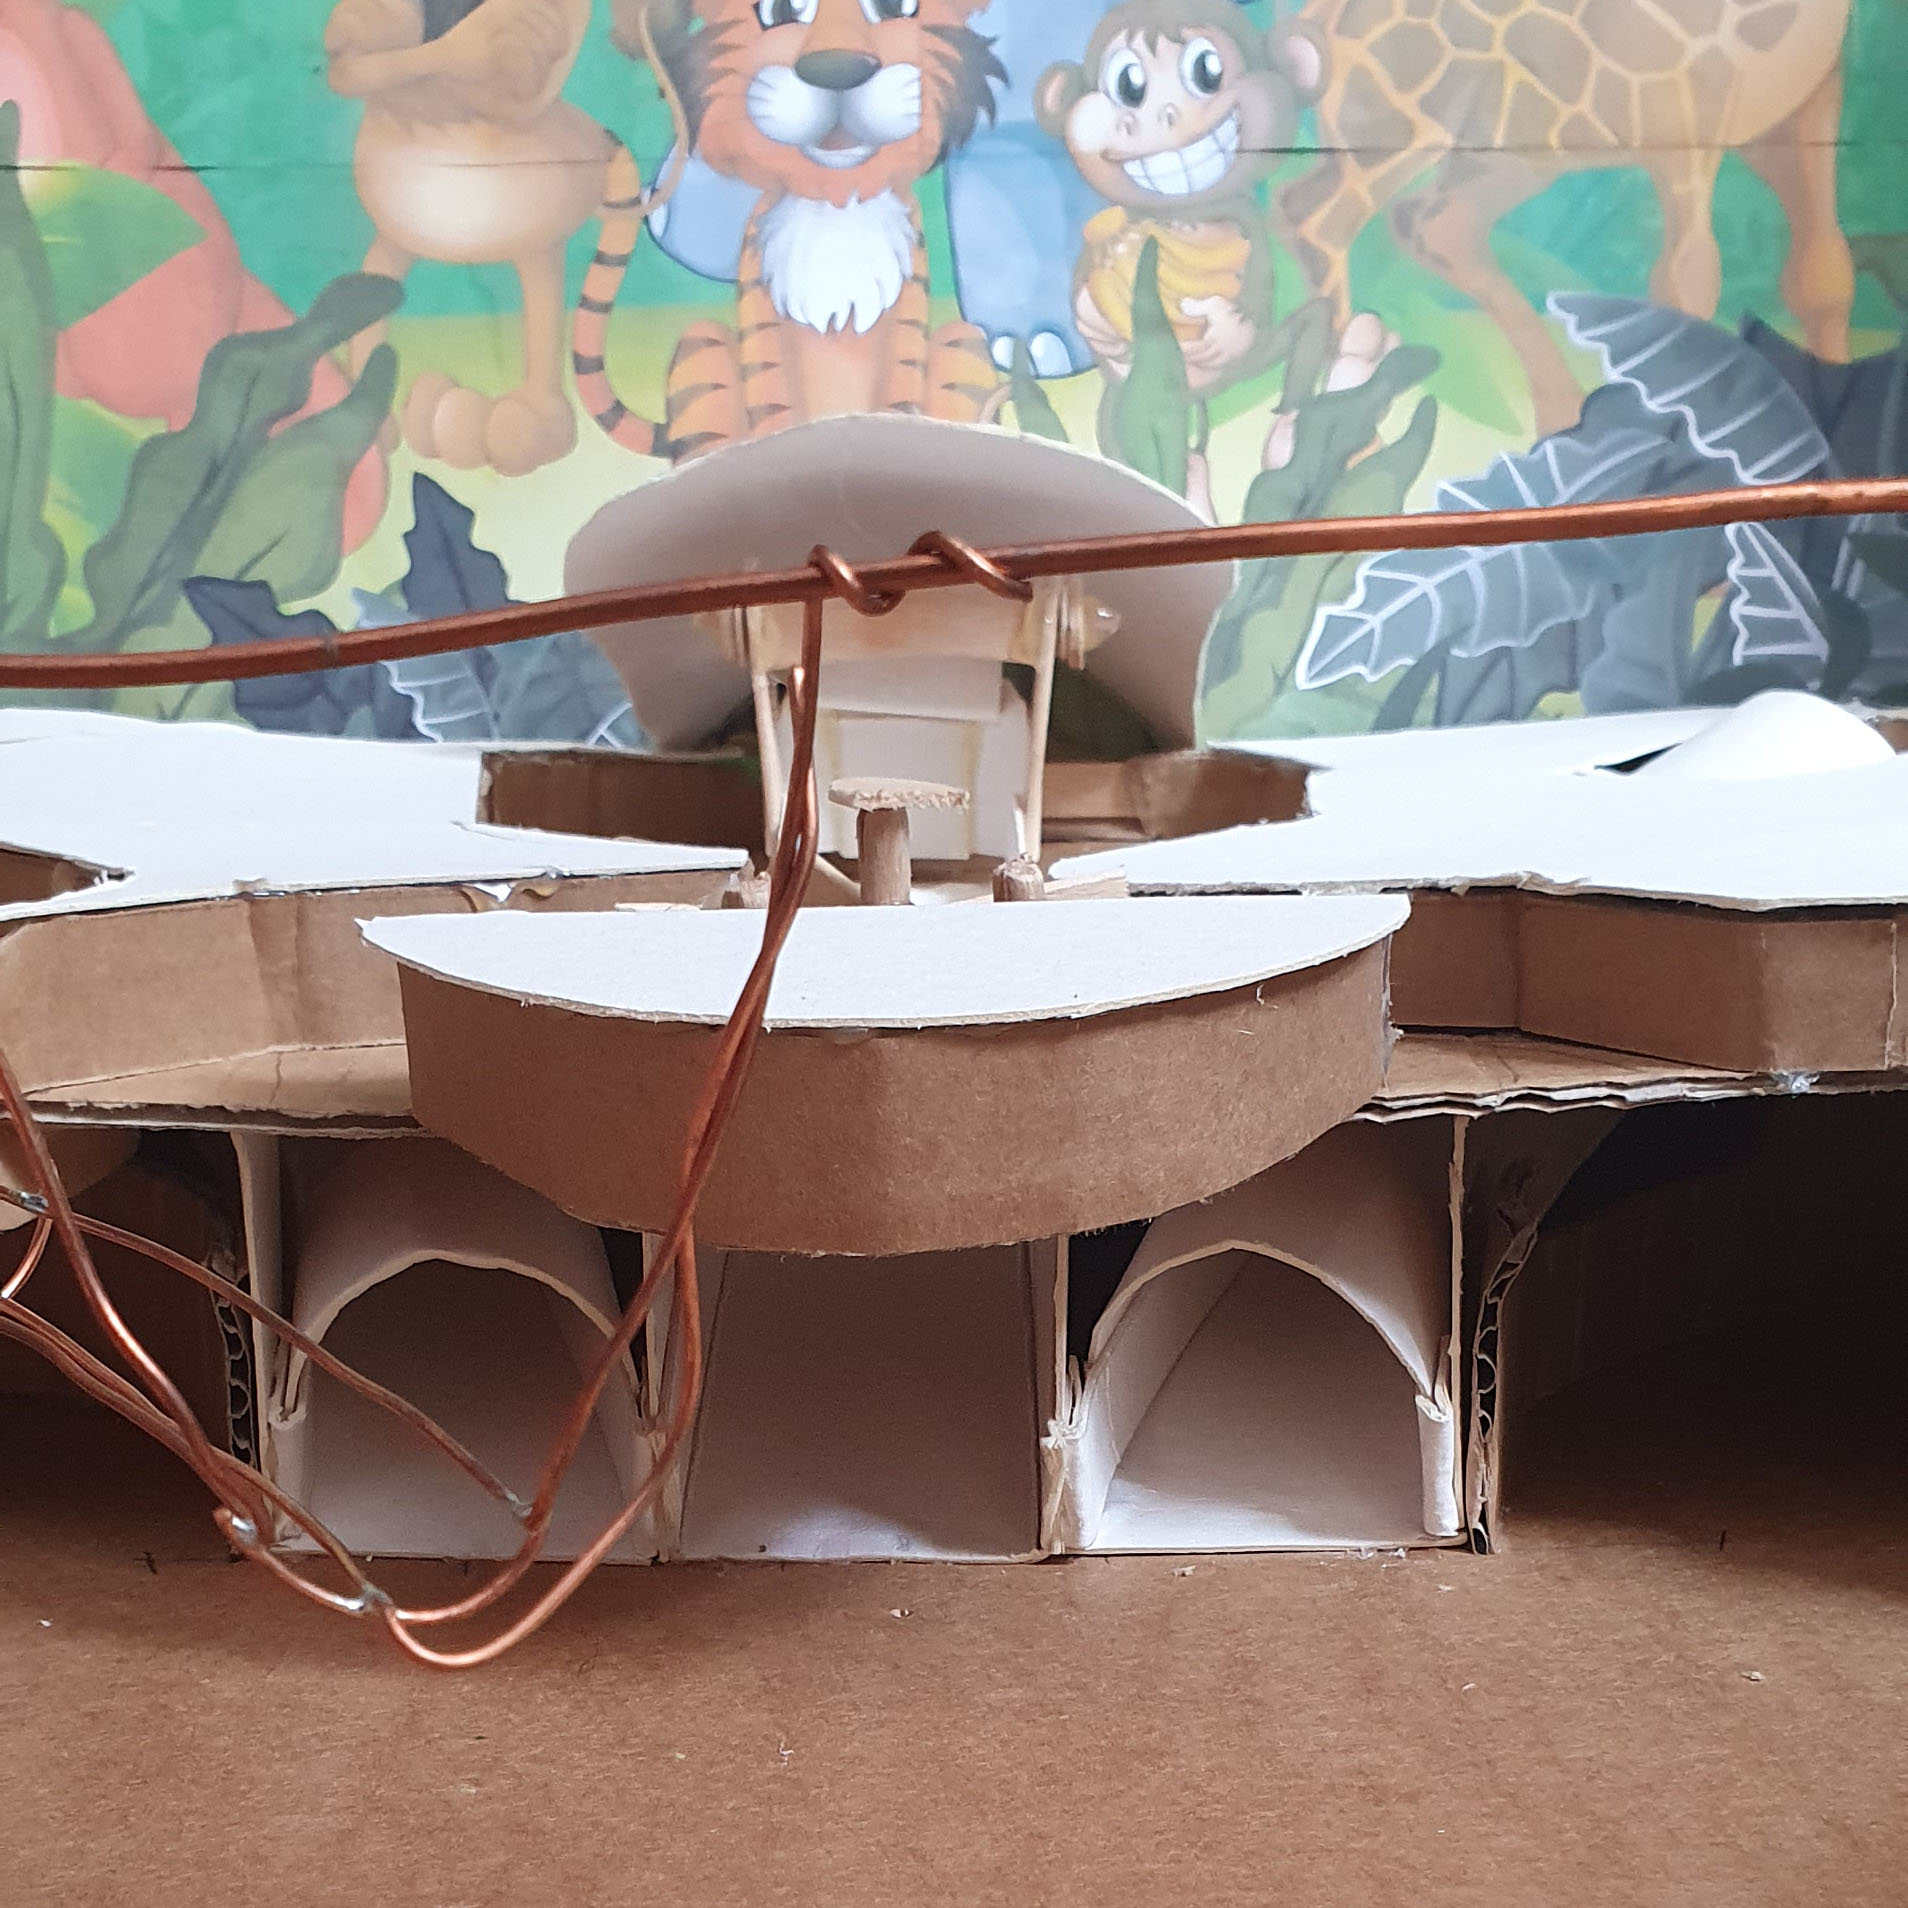
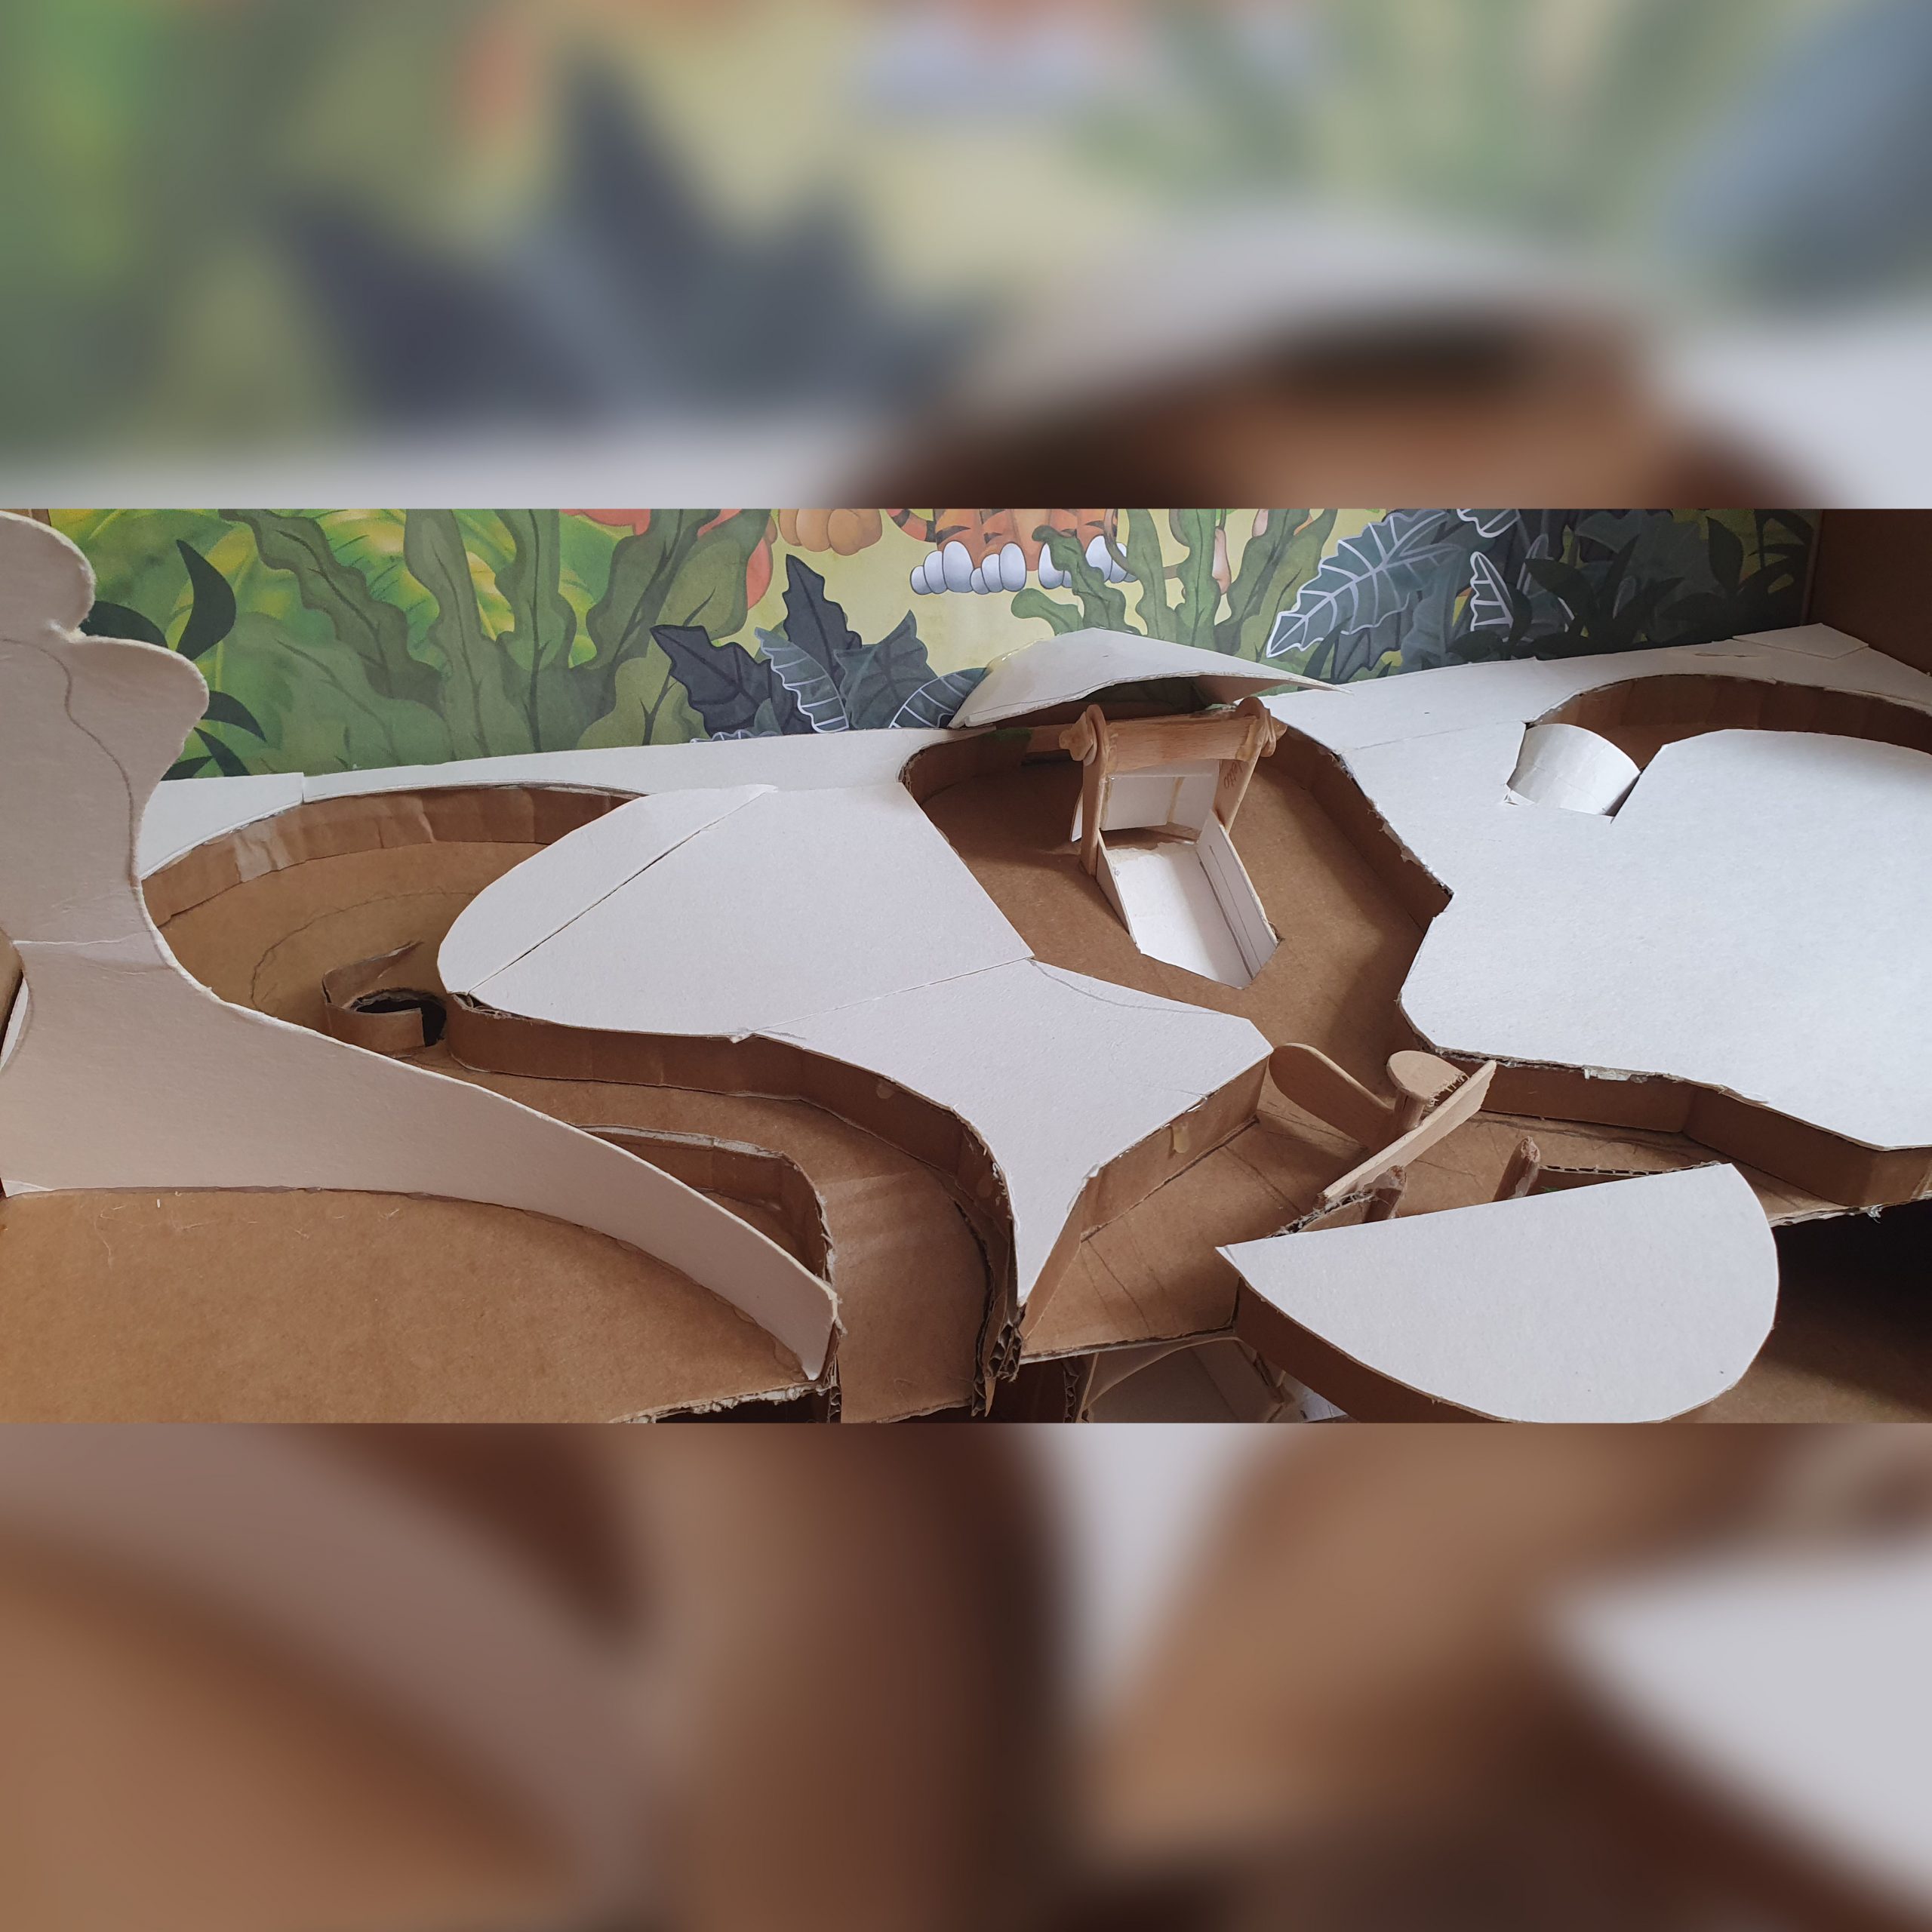
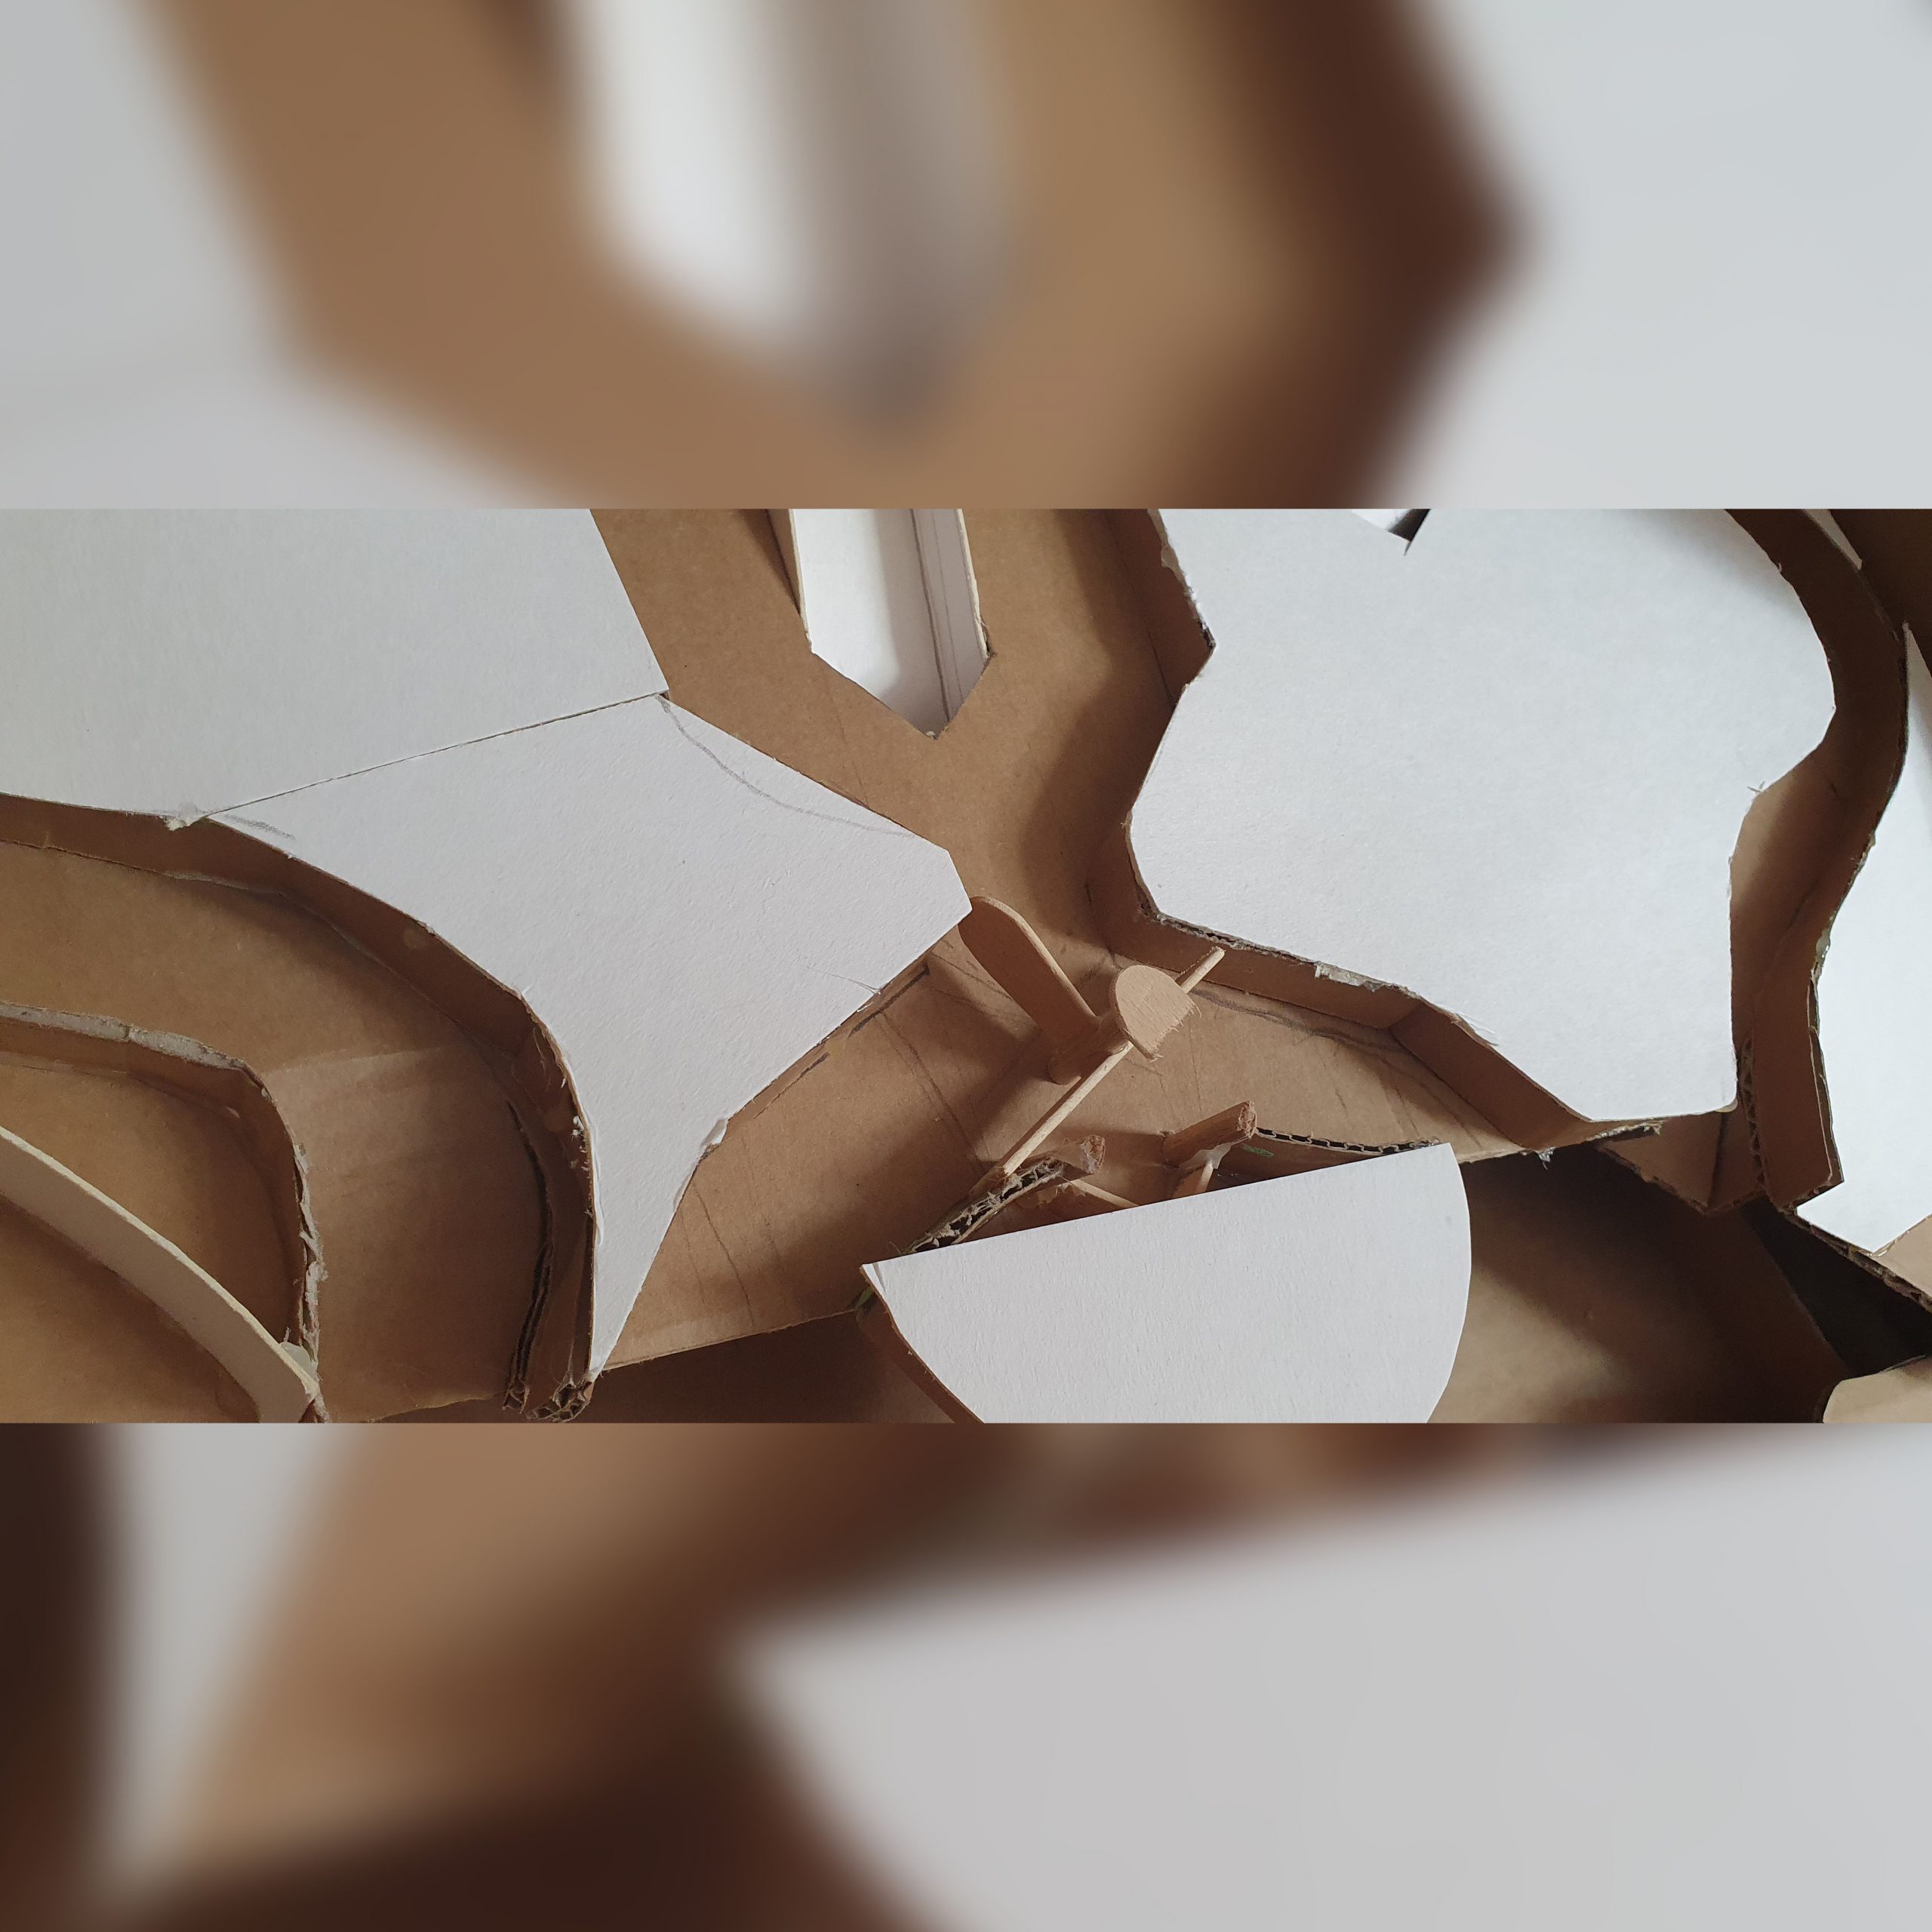
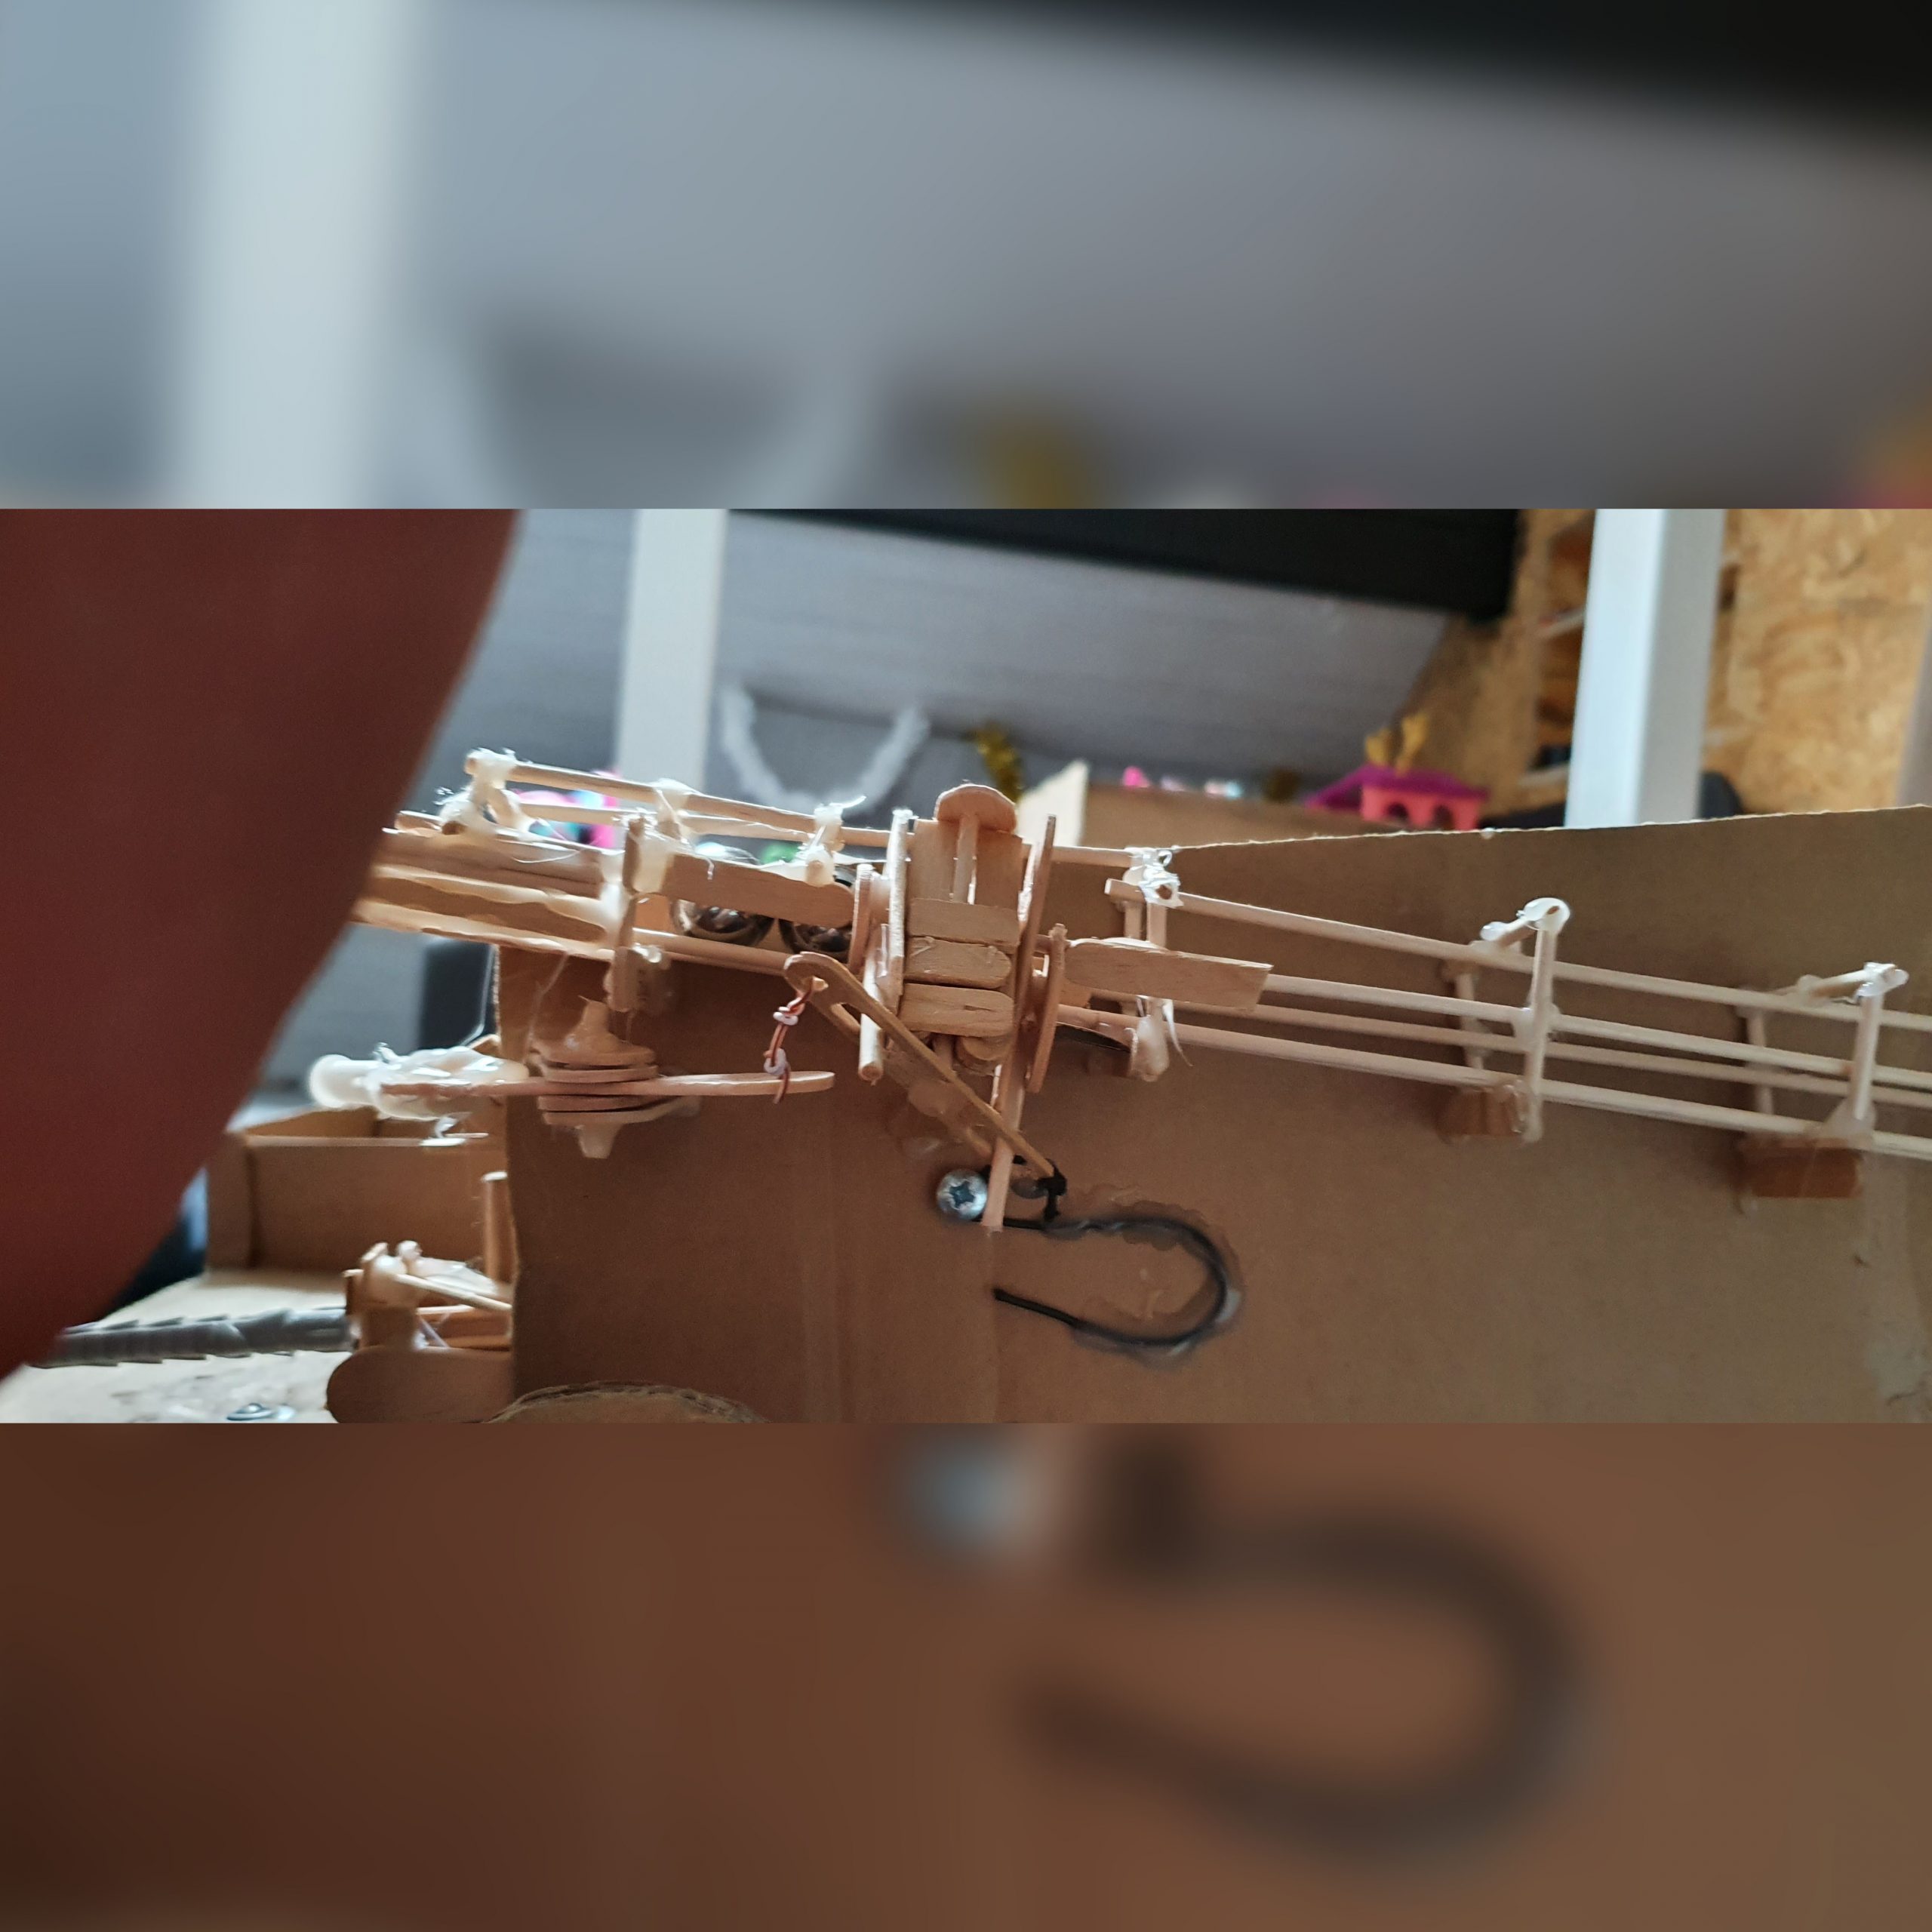
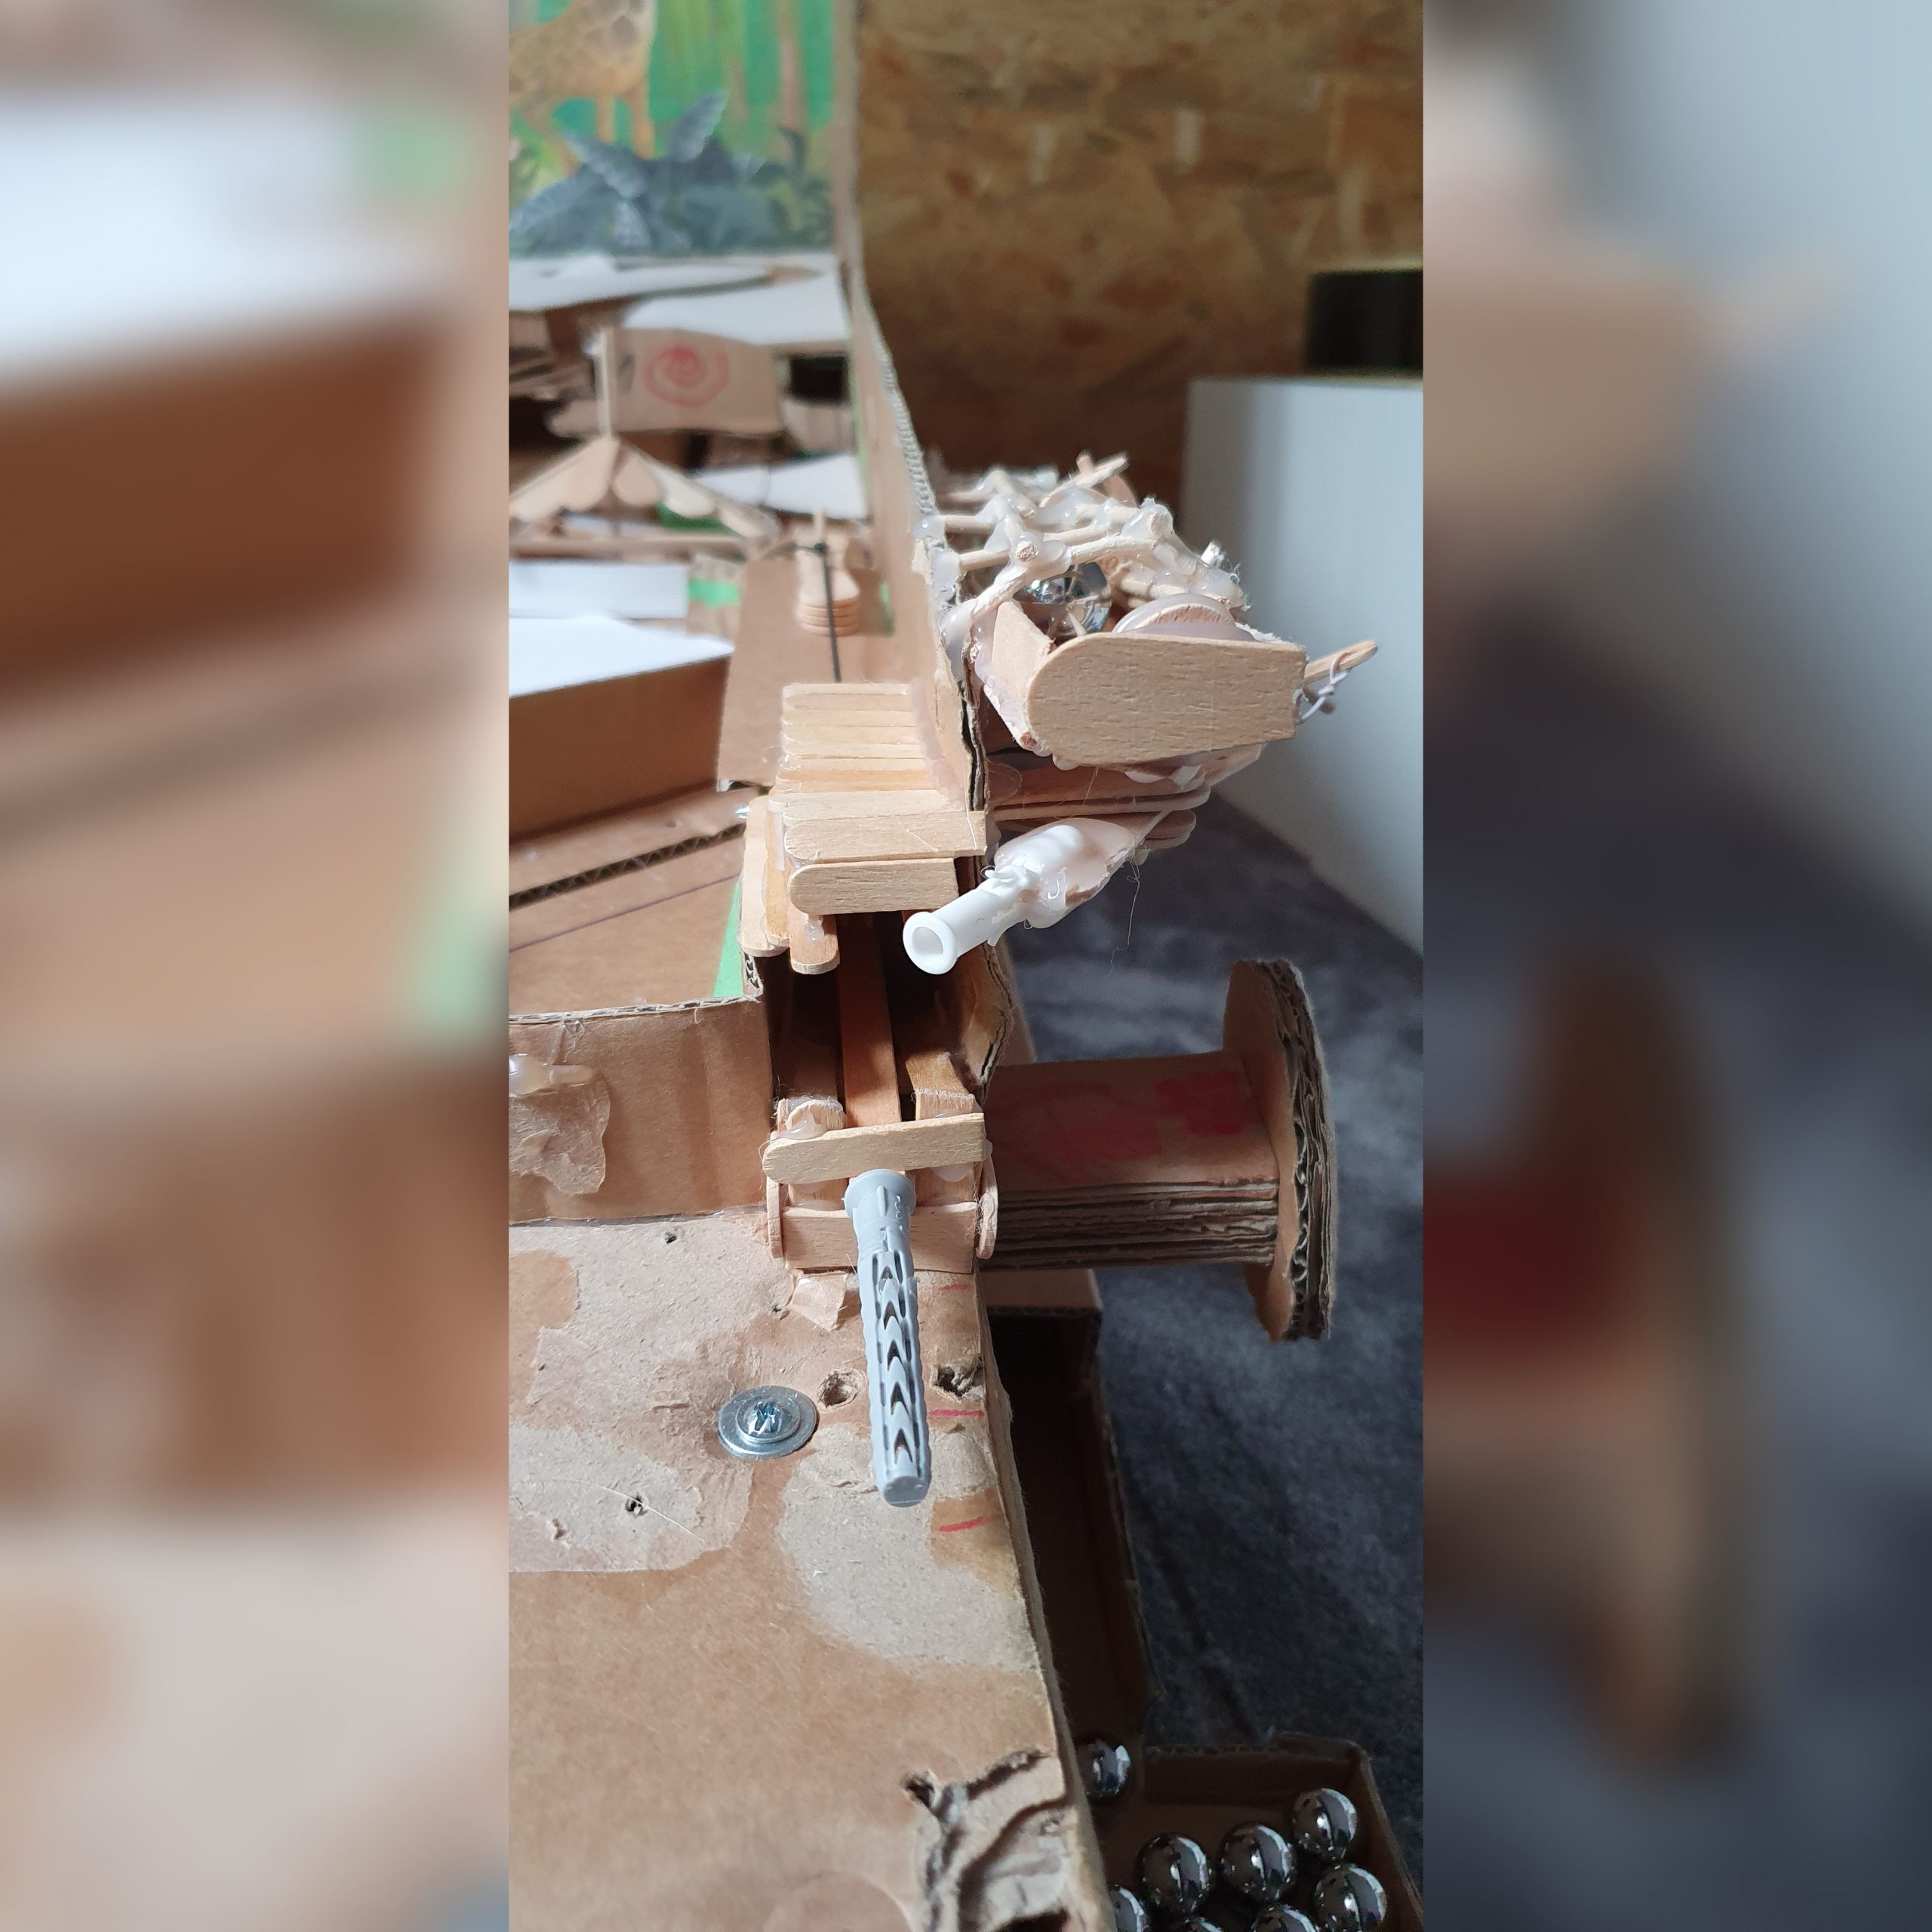
Playfield
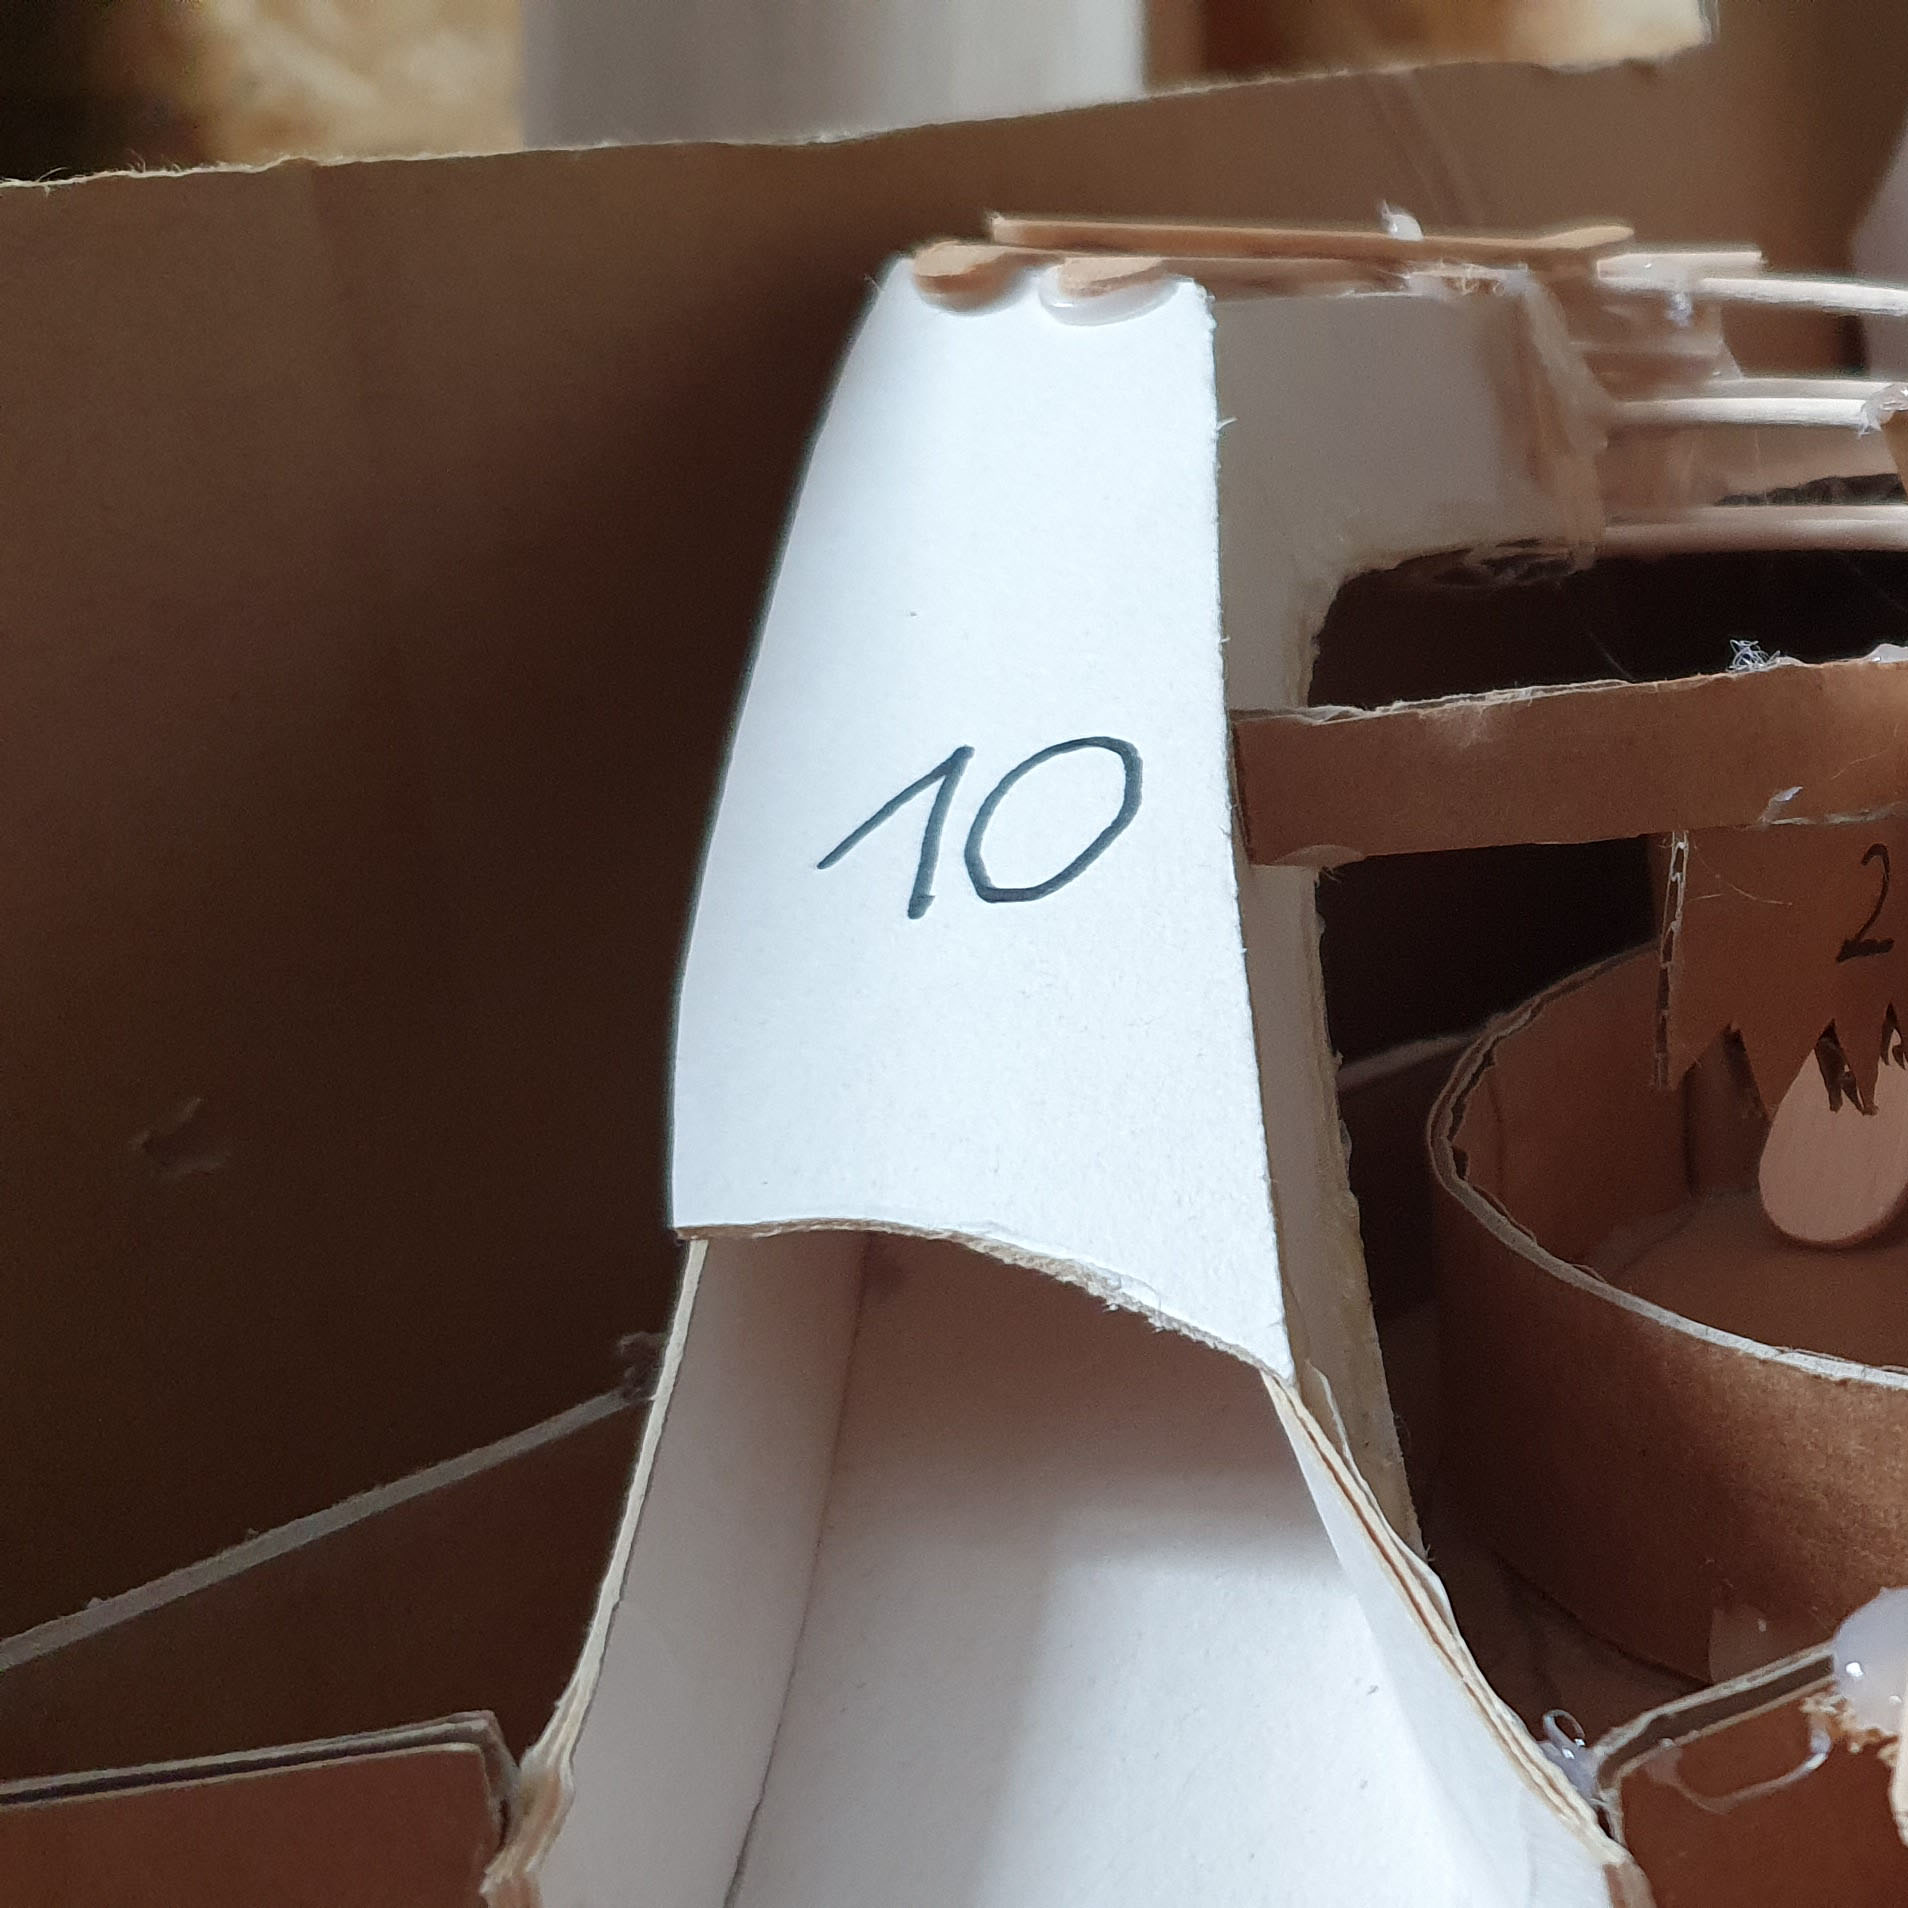
A was extending the playfield a lot over months to add something, to fix something or remove some obstacles. Below some photos of the playfield.


Electronics
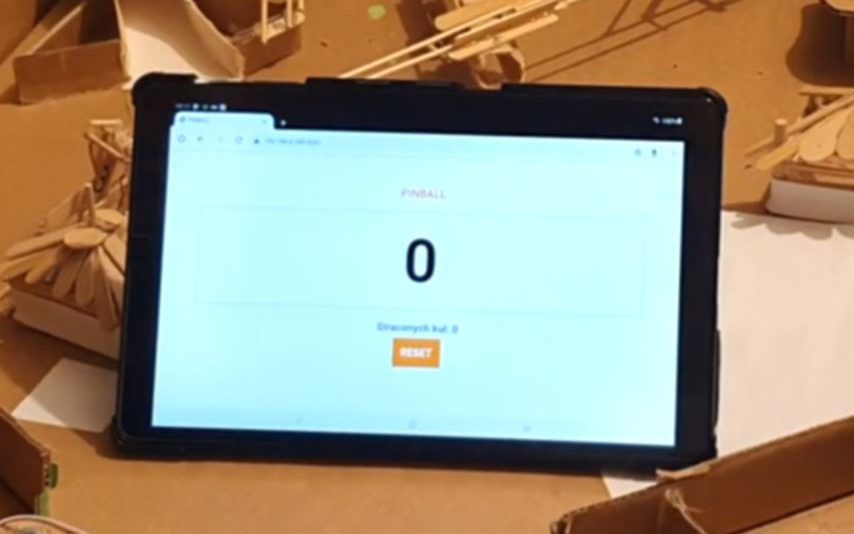
To get more fun from the gameplay I decided to add points collecting for particular sections on playfield. I created very simple switched made of thin copper wires. When the ball went through the gate with moving part, caused the two wires to contact. Wires connected to RPi GPIO inputs gave a HIGH signal that were adding some points to the result. Each GPIO had own value added to the total result. Solution pretty simple but worked. To observe the scored points, I created a simple webpage accessible over the WiFi, that could be opened on any device with the browser. We played many tournaments with my children using that solution.
It’s worth to mention that the contacts made of wires needed software debouncer, to make it work correctly, otherwise, the single ball move could score points many times.
Final look
After many hours and days of work, I created a final version of my cardboard pinball, which was working with electronic heart – Raspberry Pi 2.0, and simple copper wires as a connectors / switches to collect points. RPi was used as a server with very simple website connected to my simple backend. Backend was a program reading GPIO inputs with some software debouncing to collect the data from the playfield. Thanks to that I was able to play with my kids and compare our scores! We had a lot of fun!
Pinball 2.0
Yessss! I am currently working on the second version of the pinball – the real machine. It will work with solenoids, electromechanical parts and electronics! It’s a huge challenge, because pinball is very specific machine. Building such a complicated machine is not an easy task. I’m not a professional electronics engineer, but I’m a developer & engineer, so I know how to code and do mechanics :p I also love to use hardware and software stuff together, so I hope my dream will come true some day. Wish me a luck!